
Mar 31, 2026
Build a Rapid Web App From Idea to Launch in Weeks
Learn how to build a rapid web app using Bubble. Go from MVP scope to full deployment without writing code. Your no-nonsense guide to launching fast.

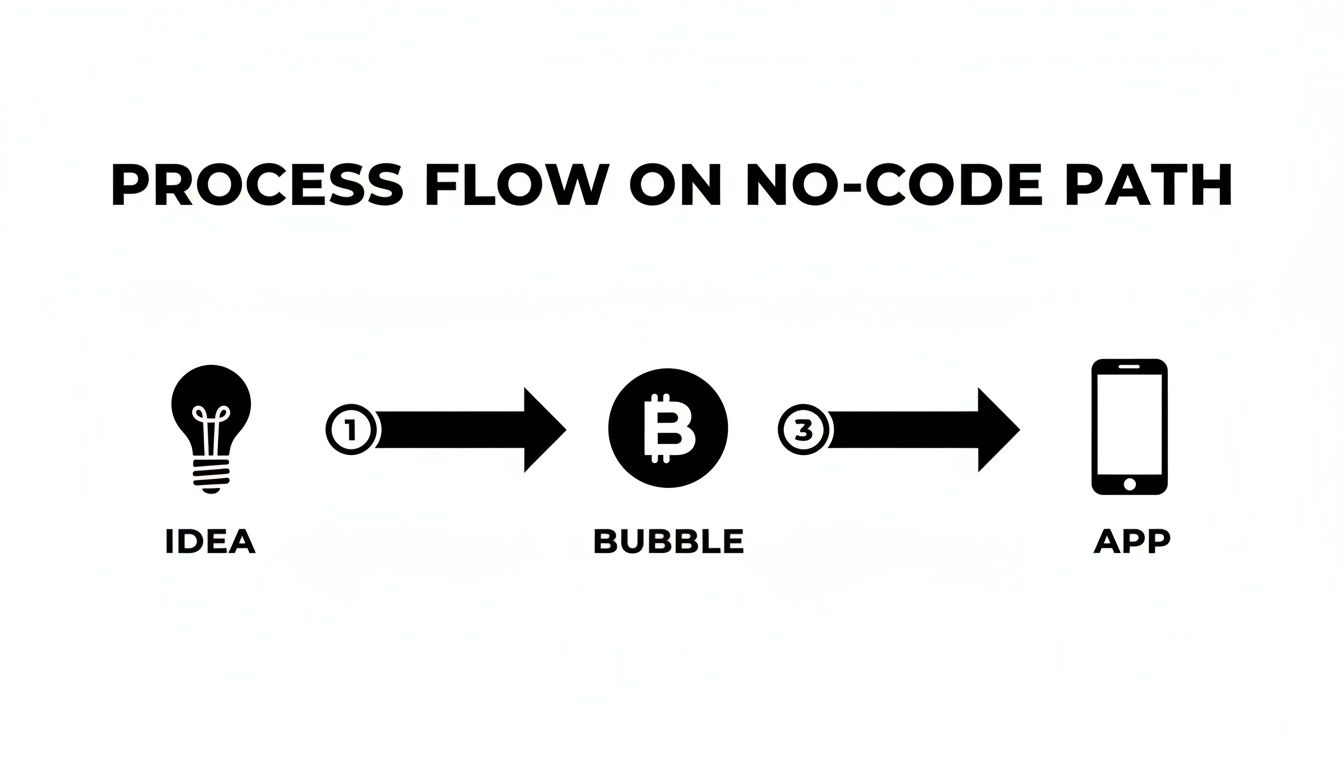
Ever seen a startup launch a polished rapid web app in what feels like the blink of an eye? Their secret probably isn't a huge team of developers chugging coffee 24/7. More often than not, it's a smart decision to build with a no-code platform like Bubble.io, which lets you create powerful applications without touching a single line of code.
The No-Code Path to Your First App
Let's cut right to it: the old way of building software—with its long, budget-draining development cycles—is a momentum killer. This guide is your map for building a real, functional app from the ground up, even if your technical skills are nonexistent. I can personally vouch for this approach; my own first app went from a simple idea to a Product Hunt feature in just a couple of weeks, proving you don't have to sacrifice quality for speed.
My goal here is to pull back the curtain and show you how to turn your vision into a live, scalable product. Think of Bubble as more than just a tool—it's an accelerator, designed for founders who need to get their ideas in front of real users, fast.
Why No-Code Is Dominating App Development
The shift away from traditional coding for new projects isn't just a small trend; it's a massive wave. Industry forecasts predict that by 2026, a full 65% of all new applications will be built using no-code or low-code platforms. This is a fundamental change in how things get made.
Bubble is right at the heart of this movement, already powering over 4.69 million applications for everyone from solo entrepreneurs to growing companies. With its user base growing by 30-35% each year, the market is sending a clear signal: builders are choosing speed. You can see the full growth stats on Bubble for a deeper look.
The core idea behind building a rapid web app is simple: get a focused solution to a real problem into users' hands, learn from their feedback, and iterate. No-code makes that entire loop faster and more accessible than anything that came before it.
Traditional Code vs No-Code Development at a Glance
To really understand the advantage, especially when you're just starting out, it helps to see a direct comparison. The differences in speed, cost, and agility are pretty stark.
Factor | Traditional Coding | No-Code (Bubble.io) |
|---|---|---|
Speed to MVP | 4-12+ months | 2-8 weeks |
Initial Cost | High (dev salaries, infrastructure) | Low (affordable subscription) |
Flexibility | Rigid; changes require coding | High; iterate on features visually |
Required Skills | Expert-level programming knowledge | Logical thinking and design skills |
This table makes it obvious why so many founders are opting for no-code to launch their first product. It’s not about replacing developers, but about empowering creators to build and validate their ideas at a pace that was once unimaginable.
The barrier to building a rapid web app has truly never been lower. If you're ready to explore this path further, our comprehensive guide on no-code app development breaks down even more strategies and insights.
Defining an MVP That You Can Launch Quickly
I’ve seen it happen countless times. A founder has a brilliant idea for a rapid web app, but they get stuck. They fall into the "just one more feature" trap, and their launch date keeps slipping further and further away. If you want to break that cycle, the key is ruthless prioritization. You need a rock-solid definition of your Minimum Viable Product (MVP).
An MVP isn't a buggy, half-built app. Think of it as a sharp, focused tool built to do one thing exceptionally well: validate your idea with real users. Everything else is just noise, at least for now.
This is all about finding the most direct path from your initial concept to a working product. Using a no-code platform like Bubble is what makes this lean approach possible, cutting out the typical development overhead.
The "Must-Have" vs. "Nice-to-Have" Framework
So, how do you decide what stays and what goes? You have to be brutally honest. A simple but powerful exercise I use with clients is to sort every potential feature into two columns: "Must-Have" and "Nice-to-Have."
Let’s say you’re building a simple marketplace. Your brainstorming session probably produced a long list of cool ideas. Here’s how we’d break it down:
Must-Have Features (Core Value)
User Accounts: People need a way to sign up and log in. This is foundational.
Product Listings: Sellers have to be able to add and manage their products. Without this, there's no marketplace.
Basic Search: Buyers need a simple way to find what they're looking for. A keyword search bar is all you need to start.
Nice-to-Have Features (For Later)
User Reviews: Great for building trust, but not critical for the very first transaction.
In-App Messaging: For the MVP, users can connect via email. Build the chat function after you prove people want to connect.
Advanced Filtering: Sorting by price or category can wait until your product catalog is large enough to need it.
Social Sharing: This is a growth feature, not a core function. Focus on the core first.
This isn't about gutting your idea. It’s about identifying the absolute bare minimum required for a user to get value from your app. In our marketplace example, that means a seller can list an item and a buyer can find it. That's it.
A successful MVP isn’t measured by its feature count. It’s measured by how well it solves one core problem. By shipping only the essentials, you get to start learning from real users weeks, or even months, sooner.
Documenting Your Scope to Prevent Rework
Once you've defined your "must-haves," write them down. This doesn't need to be a 50-page technical spec. A simple document or a Trello board outlining the core user flows and features is perfect.
This scope document becomes your North Star. It's what you'll refer back to when you're tempted to add that "one small thing" that really isn't so small. This is your defense against scope creep—the silent killer of timelines and budgets.
The financial upside here is huge. Building with Bubble.io typically costs 40-70% less than a custom-coded project. I’ve seen clients launch simple MVPs, like internal tools or basic dashboards, in just 2-3 weeks. For a non-technical founder, this is transformative. A project that might have been quoted at $50,000+ suddenly becomes achievable in the $10,000-$20,000 range. To see how those numbers break down, you can read a complete cost breakdown of Bubble.io development on sasolutionspk.com.
This lean methodology is the heart of rapid prototyping. It’s all about testing your core business assumptions as quickly and cheaply as possible. If you want to dive deeper into the strategy, you can check out our guide on what is rapid prototyping.
Designing Your UI With Bubble's Responsive Engine
Nothing sinks a new app faster than a user interface that looks great on your laptop but feels broken on a phone. And let's be honest, with over 50% of all web traffic now coming from mobile devices, a design that doesn't adapt is dead on arrival. This is precisely where Bubble's responsive engine becomes your secret weapon.
We’re getting hands-on now. The whole point of building fast is creating a single, polished layout that works everywhere—from a wide desktop monitor down to the smallest smartphone—without having to build separate pages for each.
A piece of advice I give every single builder I work with is to think mobile-first. Seriously. Even when you're building on a desktop, start by designing for the small screen. This one mental shift forces you to prioritize what truly matters and saves you from the massive headache of trying to cram a desktop design onto a phone later.
Getting to Grips with Containers and Layouts
Bubble’s responsive engine is all about containers. The easiest way to think about it is like a set of nesting boxes. Your page is the biggest box. Inside it, you place smaller boxes (which Bubble calls "Groups") that hold all your stuff—text, buttons, images, you name it.
How those boxes behave is controlled by their layout type. You'll spend 99% of your time with these three:
Column: Stacks everything vertically, one on top of the other. It's the natural choice for mobile views.
Row: Lines things up horizontally, side-by-side. Perfect for things like a header with a logo and nav links, or a row of dashboard cards.
Align to Parent: This lets you "pin" an element to a specific spot inside its container, like sticking a chat icon to the bottom-right corner.
The real power comes from nesting these. For example, your main page can be a Column container. The very first item inside it could be a header that's set to be a Row, holding your logo on the left and user menu on the right.
A Practical Example: The User Dashboard
Let's put this into practice and build a classic user dashboard layout: a navigation sidebar on the left and a main content area on the right. On desktop, they should be side-by-side. On mobile, we want the sidebar to stack on top.
First, you’d drop a main container group onto the page and set its layout to Row. This tells Bubble that anything you put inside it should try to sit side-by-side.
Inside that main Row container, you'll add two more groups:
The Sidebar Group: Give this a fixed width, say 280px, so it doesn't get squished. Set its layout to Column so you can stack your navigation links neatly inside.
The Content Group: This group will sit to the right of the sidebar. You’ll want it to fill all the remaining horizontal space. Its layout should also be Column, ready to hold all your dashboard widgets.
The magic happens in the responsive settings. On your main Row container, you'll add a simple rule: "When the screen gets smaller than 768px, collapse and stack your children vertically." And just like that, your layout automatically adapts. No code needed.

This visual approach is what makes building a responsive app in Bubble so different. You're not fighting with complex CSS; you're just telling Bubble how you want things to behave using simple dropdowns and checkboxes.
Simple Rules for a Clean UI
Beyond the technical setup, you don't need to be a designer to create an interface that feels clean and intuitive. Just follow a few simple rules.
First, create a clear visual hierarchy. The most important thing on the page—whether it's a "Sign Up" button or a key piece of data—should draw the eye first. Use size, color, and placement to tell the user what to look at.
Second, embrace whitespace. A crowded interface feels cheap and overwhelming. Adding a bit of breathing room between elements makes your app feel instantly more professional and calm. In Bubble, this is as easy as adjusting the "gap" settings on your Row and Column containers.
Remember, a great UI should be invisible. Your users shouldn't have to think about how to navigate your app; it should just feel natural. The interface gets out of the way so they can get their job done.
Finally, keep it simple. Stick to a limited color palette and just one or two fonts. All you really need to start is a primary color for buttons, a dark neutral for text, and a light background. These small decisions are what separate an app that looks like a prototype from one that feels like a polished, professional product.
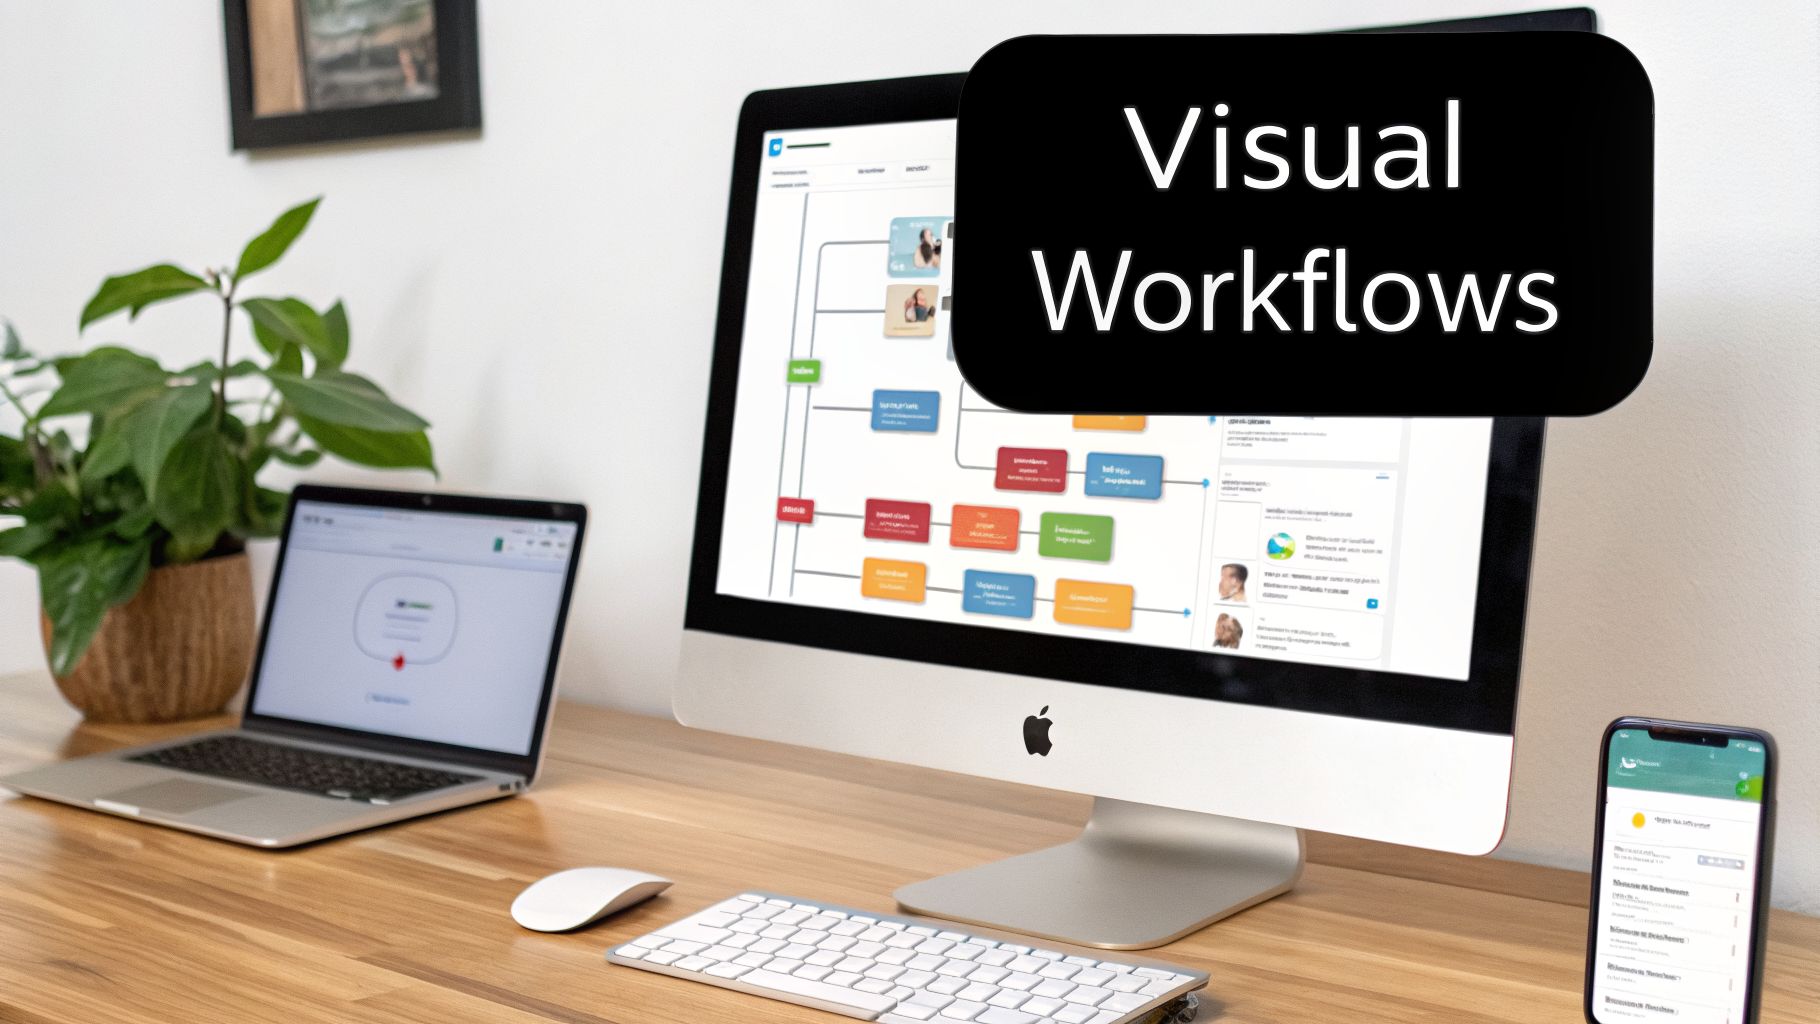
Building Core App Logic With Workflows and APIs
If your UI and design are the face of your rapid web app, then workflows are the brains. This is where you bring your app to life, moving beyond static pages to build the logic that makes it actually do things. In Bubble, this is all handled visually, turning what would normally be complex code into simple "if this, then that" sequences.
You’ve already put in the work to create a clean, responsive design. Now it’s time to connect the dots and make those buttons, inputs, and pages functional. The real magic here is that you're not just mapping out logic on a whiteboard; you're building and testing it in real-time.
Crafting Your First Workflow
Let's start with a foundational workflow for any app: user signup. You have a "Sign Up" button on your page, and making it work is a perfect first step into Bubble's logic engine.
The process is incredibly direct:
The Trigger: The whole thing kicks off when a user clicks your "Sign Up" button. In Bubble, this is literally "When Button Sign Up is clicked."
The First Action: Your first step is to use Bubble's built-in "Sign the user up" action. You’ll just need to point it to the email and password inputs on your form.
The Next Action: After a successful signup, you don’t want to leave them hanging. The next logical step is to "Navigate to page" and direct them to their new dashboard or a welcome screen.
That's it. In just a few clicks, you've built a secure user authentication process that would typically take a developer a fair amount of time to code. This modular approach is the secret to building fast.
The biggest mistake I see new builders make is creating gigantic, sprawling workflows that try to do ten things at once. Instead, build and test one piece of logic at a time. Make the signup work perfectly, then move on to the login, and then to the 'forgot password' flow. This keeps things manageable and easy to debug.
Connecting to the Outside World with APIs
A standalone app is great, but an app that talks to other services is a powerhouse. This is where APIs (Application Programming Interfaces) come into play. Think of an API as a bridge that lets different software applications communicate and share data.
Bubble's API Connector is a genuine game-changer here. It allows you to integrate with pretty much any service that offers a public API, turning your app from a closed system into a central hub capable of amazing things.
Let's say you're building a tool that needs to display real-time data from a Google Sheet your team uses. Instead of constantly importing CSVs, you can set up a live connection.
Setup: You'd start by initializing a new API connection to Google Sheets.
Authentication: Next, you'll provide the necessary authorization, giving your app permission to access the data.
Action: From there, you create a "Get Data" call that pulls information from a specific sheet and tab.
Once it's configured, that data can be displayed in your app as if it were native. When someone updates a row in the Google Sheet, your Bubble app sees the change instantly. The same principle applies to countless other services.
Practical API Integration Examples
The possibilities for API integration are what allow a rapid web app to punch far above its weight in terms of functionality.
Trigger External Actions: You could connect to Zapier to automatically create a new card in Trello every time a user completes a task in your app.
Enrich User Data: Use an API like Clearbit to pull company information and a logo just from a new user's email address, making their profile feel more complete.
Advanced AI Features: To add powerful features, exploring a developer's guide to the Anthropic Claude API can show you how to integrate sophisticated AI for tasks like content generation or text summarization.
These connections are what turn a simple prototype into a sophisticated tool that automates work and provides real value. The process is always the same: authenticate, define the action (like getting or sending data), and then call that action from a Bubble workflow. This simple, repeatable pattern is the key to building complex, integrated systems with incredible speed.
Integrating Payments and User Messaging
If you want your app to make money, you need two things: a way to get paid and a way to talk to your users. These might sound like massive, complicated features, but with Bubble, this is where you really start to feel the platform's speed. We're talking about adding enterprise-level functionality in an afternoon, not in a sprint cycle.
We'll bring in two of the biggest names in the game. For payments, it has to be Stripe. It's the standard for a reason. For keeping users in the loop, we'll hook up Twilio to send out automated SMS notifications. Combining these two will give your app a polished, professional feel right out of the gate.

Setting Up Stripe for One-Time Payments
Getting your monetization dialed in starts with a smooth payment flow. Thankfully, Bubble’s official Stripe plugin makes this a breeze. Once you’ve grabbed it from the plugins tab, the first job is to get it talking to your Stripe account.
You'll need to copy your API keys from your Stripe dashboard and paste them into the plugin settings inside Bubble. Here’s a crucial piece of advice I give everyone: always use your "test" keys during development. This sets up a sandbox environment where you can run thousands of fake transactions without a single real dollar changing hands. If you need a hand finding them, you can learn more about how to get your Stripe API key in our dedicated article.
With your keys plugged in, it's time to build the logic. Let's imagine a simple checkout for a one-time purchase.
First, you'll need a "Buy Now" button on your product page. This button is the trigger for your payment workflow. In Bubble's workflow editor, you'll start a new workflow that kicks off when that button is clicked.
The magic happens with two key actions. The first is "Collect the user's CC information," which presents Stripe's own secure, pre-built payment form to the user. Right after that, you add the "Charge the current user" action. In that action's properties, you'll tell Stripe how much to charge and in what currency. This is where you’d dynamically pull the product's price from your own database to make sure the amount is always correct.
Sending Purchase Confirmations with Twilio
The moment a payment goes through is a critical touchpoint. Sending an immediate confirmation builds trust and feels professional. An SMS notification is perfect for this. Just like with Stripe, you'll start by installing the official Twilio plugin and adding your API credentials.
The workflow for the confirmation text piggybacks on the payment logic you just created.
Trigger: Instead of a button click, this workflow starts with a special event: "When a Stripe charge is successful."
Action: From there, you just need one action: "Send an SMS via Twilio."
Configuration: You'll tell Twilio where to send the message by pulling the user's phone number from their profile in your database. Then, you write the message itself.
You can make your messages feel personal by pulling in dynamic data. A simple but effective message could be: "Thanks for your purchase, [User's First Name]! Your order for [Product Name] is confirmed."
Pro Tip: Twilio also has a trial mode, just like Stripe. Always use your test credentials while building so you can perfect your messaging workflows without burning through your credits or accidentally spamming real users.
By connecting these two plugins, you've just built a complete commercial loop. A user can browse, make a secure payment, and get an instant confirmation on their phone. Building this with traditional code is a serious undertaking. With Bubble, it’s proof of how quickly you can assemble a feature-rich rapid web app.
Finalizing Your App for a Successful Launch
You’ve done the heavy lifting. The core features are built, the design is responsive, and you've even wired up some key services. This is that exciting final leg of the race before your rapid web app actually gets in front of real people. The next few steps—testing, debugging, and deploying—are what separate a side project from a real product.
One of the first things to get your head around in Bubble is the two-environment system: development and live. Your development version is the workshop; it's your sandbox where you can build, experiment, and, yes, break things without any real-world consequences. The live version is the polished, customer-facing app. Nothing you build in development goes live until you deliberately push it there.
Your Pre-Launch Testing Checklist
Thorough testing isn't just a good idea—it's essential. Even a seemingly simple app has a surprising number of moving parts that can go haywire. Before you even think about deploying, you need to run through some serious User Acceptance Testing (UAT). The best way to do this is to grab someone who hasn't been staring at your app for weeks—a friend, a coworker, or someone from your target audience—and watch them use it.
Make sure you hit these critical areas:
Core Workflows: Can someone sign up, log in, do the main thing your app is for (like create a task, post a review, buy something), and log out? Click every single button. No, really.
Responsive Design: Test this on actual devices. Grab your phone and a tablet. Shrink your desktop browser window. Does everything look right and work smoothly? Pay close attention to buttons that might be too small to tap or elements that overlap on mobile screens.
Edge Cases: Now it’s time to try and break your app. What happens if someone leaves a required form field blank? What if they type letters into a number-only input? Do the things a user isn't supposed to do and see how gracefully your app handles the mistake.
From the moment you go live, you need to understand what your users are doing. Set up your analytics before you launch. It’s worth investigating different app tracking monitoring solutions to make sure you're capturing clean, reliable data from day one.
Mastering the Bubble Debugger
Your testing will inevitably uncover some bugs. When it does, Bubble’s built-in debugger becomes your new best friend. It allows you to run your app in a "step-by-step" mode, which is incredibly powerful. It literally pauses the app after every single action in a workflow, letting you inspect the data at that exact moment to see where things went wrong.
The debugger isn't just for squashing bugs; it's a fantastic learning tool. Watching your own workflows run one step at a time gives you a much deeper gut-level understanding of how Bubble's logic engine actually thinks.
If a workflow isn't working as you expect, use the inspector to check the values being passed around. More often than not, you'll find the culprit is a small typo, a forgotten constraint, or a misconfigured data source that’s easy to fix once you can see it clearly.
One-Click Deployment and Going Live
After all that testing and debugging, you’ll be relieved to hear that deployment is the easiest part. In Bubble, it’s literally a one-click affair. You just hit the "Deploy current version to live" button, type a quick note about what you're deploying (a good habit to get into!), and confirm. In seconds, your live app is updated with all your changes.
The final touch is connecting your custom domain. This makes your app feel official and brands it as your own.
And now for the most critical part: just launch. Don't fall into the trap of waiting for perfection. Get your app out there and start collecting the real-world feedback you’ve been working so hard for. That’s the entire philosophy behind building a rapid web app in the first place.
Answering Your Toughest Questions About Building on Bubble
When you're diving into the world of no-code, a few big questions always come up. Let's tackle the ones I hear most often from founders who are on the fence, based on years of real-world project experience.
But Is It Really Scalable?
This is probably the #1 question I get, and it’s a crucial one. The honest answer is yes, a Bubble app is remarkably scalable. I've personally seen apps built on the platform grow to serve tens of thousands of users without breaking a sweat.
Under the hood, your app runs on the same AWS infrastructure that powers a huge chunk of the internet. As you grow, Bubble handles the server resources for you. You just upgrade your plan to get more dedicated server capacity when you need it. The real secret to scaling to massive numbers isn't the plan you're on; it's about building efficiently from the start—designing smart database queries and using server-side workflows properly. That's the stuff you focus on once you've found your product-market fit.
What If I Want to Leave Bubble? Can I Take My Code?
Let’s get this one out of the way: no, you can't export the code. Bubble is a closed, proprietary platform. That’s the core trade-off for the incredible speed and power it gives you.
What you always own, and what really matters, is your data. You can pull all of your app's data out anytime you want, either through a simple CSV export or via the API.
For most founders I work with, the ability to launch an idea in weeks instead of months, and for a fraction of the cost of traditional development, makes the "vendor lock-in" a non-issue. Speed is your biggest advantage in the early days.
What Are the Big Mistakes Everyone Makes?
After coaching hundreds of builders, I see the same few tripwires over and over again. If you can sidestep these, you’ll save yourself weeks of headaches and frustration.
Bloating the MVP: This is the ultimate momentum killer. Trying to cram every single feature you can dream of into your first version is a guaranteed path to burnout. Be ruthless about what's truly essential.
A "Figure It Out Later" Database: A poorly planned database is a ticking time bomb of technical debt. It makes everything harder. Spend a day upfront just thinking about your data and how it all connects.
Forgetting About Mobile: Building your entire app for a desktop view and then trying to tack on mobile responsiveness later is a nightmare. It leads to massive, painful rework. Think mobile-first, or at least mobile-concurrently.
Want to build with confidence and sidestep these common pitfalls? Codeless Coach provides one-on-one tutoring sessions designed to guide you through every stage of your Bubble journey. Book a session today and get an expert in your corner to help you launch faster.


