
Mar 14, 2026
Create a High-Converting Pop Up Button in Bubble
Learn how to build a high-converting pop up button in Bubble. This guide offers actionable workflows, styling tips, and advanced uses for your no-code app.

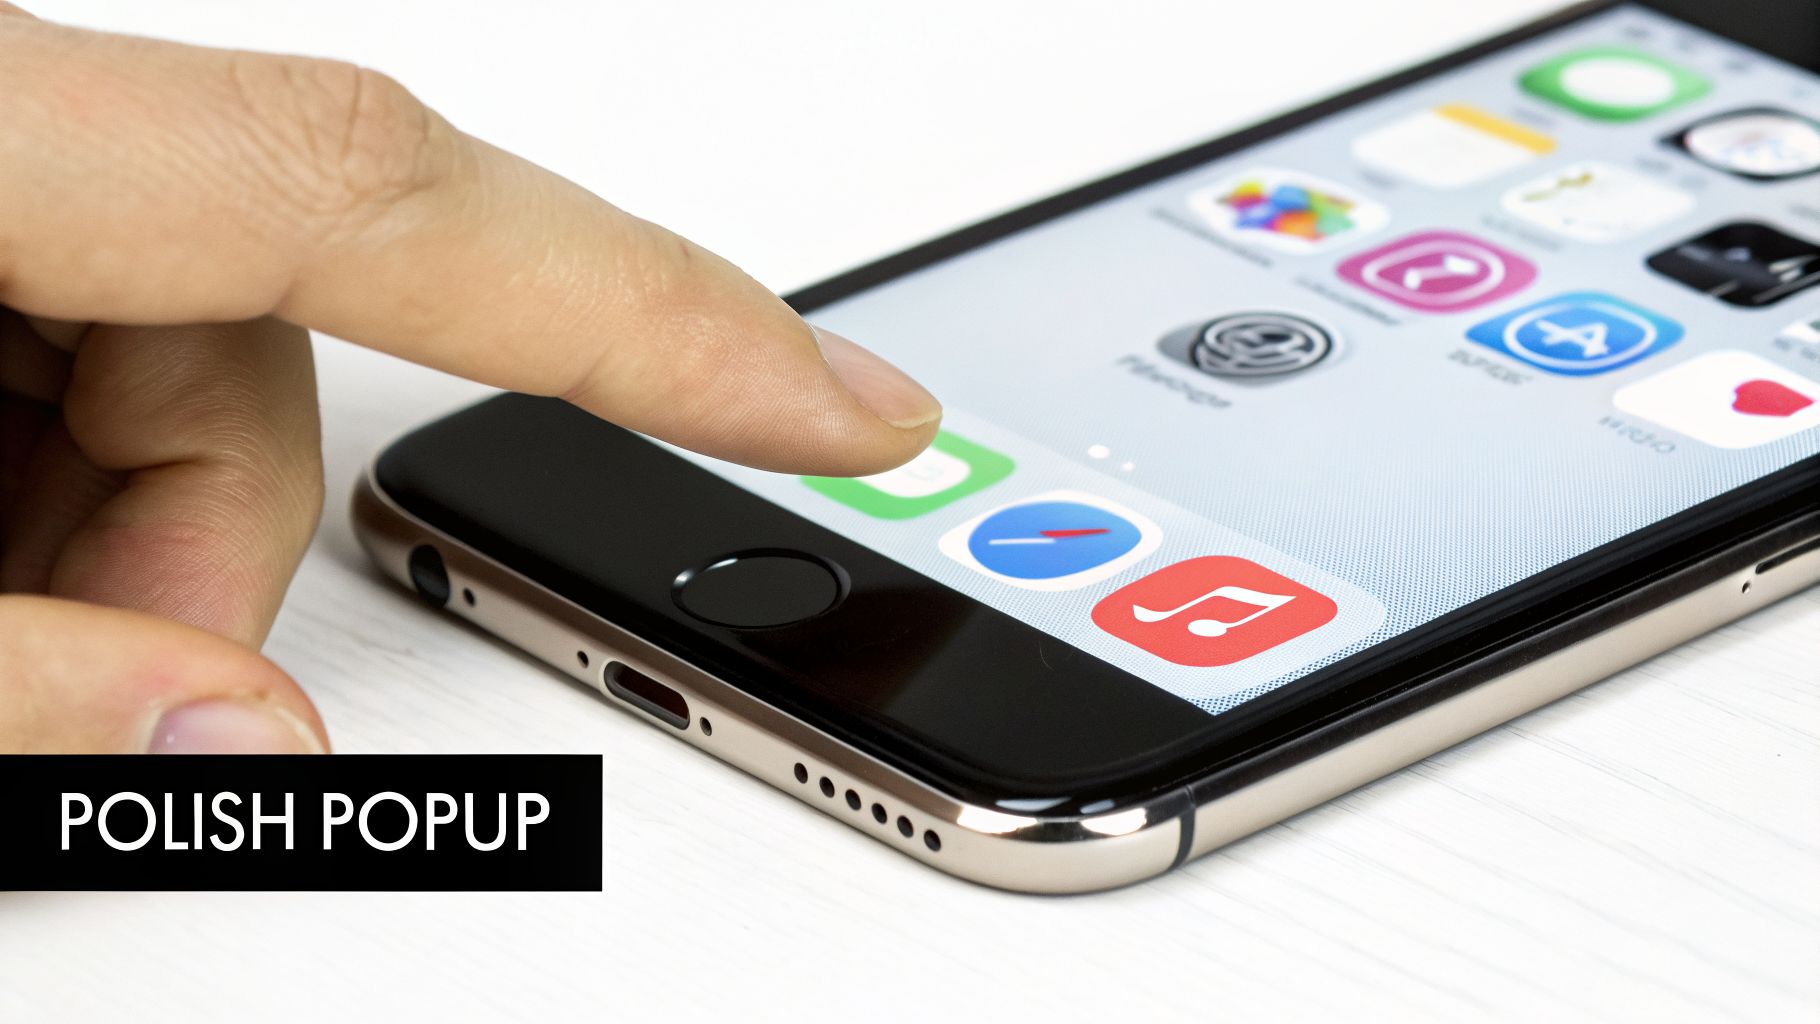
A pop up button does exactly what it sounds like: it’s a button a user clicks to open a modal window. This simple interaction is a respectful and incredibly effective alternative to the automatic popups that everyone hates. Instead of forcing a message on someone, you're giving them control, which completely changes the dynamic.
Why a Pop Up Button Is Your No-Code Secret Weapon
Before we jump into the Bubble editor, let’s talk about why this is such a game-changer for no-code builders. We’ve all been there—you’re reading an article, and suddenly a giant popup blocks your screen. What do you do? You look for the “X” and close it as fast as possible.
A button flips that entire script.
When someone clicks a button like "Get My Discount" or "Learn More," they're signaling genuine interest. It’s a small action, but it’s a powerful one rooted in user intent. They're no longer just browsing; they're actively asking for what you have to offer. This makes them far more open to your message, whether you're capturing leads, asking for feedback, or promoting a sale.
The Power of User Control
Good user experience is all about giving people a sense of control. A well-designed pop up button honors their autonomy, turning a potential interruption into a welcome invitation. And this isn't just fluffy design theory—it has a real, measurable impact on your goals.
I once worked with a SaaS client who used an automatic popup to ask for user feedback on their dashboard. Engagement was terrible. We swapped it out for a simple "Share Your Feedback" button tucked into the corner of the header. The result? Their feedback submission rate more than doubled in the first month.
The lesson here is simple: when you empower your users, they engage. A pop up button transforms a potential annoyance into a valuable, user-driven opportunity.
Unmatched Conversion Performance
The data overwhelmingly backs this up. While you can trigger popups in all sorts of ways, nothing comes close to the performance of a direct click. The user has already raised their hand and said, "I'm interested," before they even see the content of your popup.
To get a better sense of this, it's worth learning what goes into creating high-converting pop up notifications. The performance difference is staggering.
The numbers don't lie. A massive analysis of over a billion popup displays found that click-triggered popups hit an average conversion rate of 54.42%. That's not a typo.
Let's put that number in perspective with some 2026 data.
Popup Trigger Performance Comparison (2026 Data)
This table breaks down the average conversion rates for different popup triggers. It quickly becomes obvious why letting the user click is the winning strategy.
Trigger Type | Average Conversion Rate |
|---|---|
Click-Triggered Button | 54.42% |
AI-Powered Suggestion | 15.98% |
Hover-Based Trigger | 13.05% |
Timed Delay (15 seconds) | 9.87% |
Exit-Intent | 7.12% |
As you can see, the click-triggered button isn't just a little better—it completely blows other methods out of the water. This makes the humble pop up button one of the most powerful and highest-impact elements you can build in your no-code app.
Alright, let's roll up our sleeves and build your first pop up button in the Bubble editor. This is one of those fundamental skills you'll use constantly. We're going to create a clean, efficient interaction by first building the visual pieces in the Design tab, then bringing them to life with logic in the Workflow tab.
Creating the Core Elements
First things first, we need to get our elements on the page. Think of this as setting the stage before the play begins.
Your starting point is the Button element. Just drag one from the Visual elements panel onto your page wherever you want the user to click. A good practice is to immediately update the button’s text in the Appearance tab to something that clearly states the outcome, like "Sign Up Now" or "View Details."
Next, you need the popup itself. For this, my go-to is almost always a Floating Group. Why? Because it sits on a layer above everything else, guaranteeing your users will see it. Drag a Floating Group onto the page, make it smaller than the full page view, and center it horizontally.
Finally, every popup needs an escape hatch. Don't ever forget this! Drag an Icon element inside your new Floating Group and find a simple "X" or "close" icon. Making this obvious is crucial for a good user experience.
With those three pieces in place—the trigger button, the Floating Group, and the close icon—you've got the entire visual foundation ready to go.
Pro Tip: By default, your Floating Group will be visible when the page loads, which isn't what we want. Make sure you select the Floating Group and uncheck the "This element is visible on page load" box in its Appearance settings. This keeps it hidden until the user actually clicks your pop up button.
Wiring Up the Workflows
Now for the fun part: making it all work. We’ll jump over to the Workflow tab, which is where Bubble's real power shines. It all boils down to a simple "When this happens... do that" logic.
Let’s start with opening the popup. Select your trigger button back on the Design tab and click "Add workflow." Bubble will instantly set up a When Button is clicked event for you. Within this event, you'll add an action: find Element Actions > Show and then select your Floating Group as the element you want to reveal.
Of course, what opens must also close. Head back to the Design tab, but this time select the close icon you placed inside the Floating Group. Click "Add workflow" again. For this When Icon is clicked event, the action you need is Element Actions > Hide. Once more, pick your Floating Group as the target element.
And that's it! This simple, two-workflow pattern—one to show, one to hide—is the backbone of countless interactive features. It’s a core concept you’ll build on as you learn how to build a web application from the ground up. While Bubble gives you full control, it can be useful to see how other ecosystems handle this; looking at the 12 best WordPress popup plugin options shows the variety of approaches out there.
If you're wondering why we'd bother with a button-triggered popup instead of one that appears automatically, the data speaks for itself.

Giving the user control with a click-triggered popup results in a 54% conversion rate in some studies—miles ahead of other intrusive methods. It's a clear win for user experience and for your goals.
Styling and Animating for Maximum User Engagement
Getting a pop up button to work is one thing. Making it feel polished and professional is a whole different game. The small details—subtle animations, satisfying hover effects, and clean transitions—are what elevate an app from functional to fantastic. They make the user's journey feel intentional and smooth.
Let's start with the popup's big entrance. A popup that just blinks into existence can feel abrupt and jarring. We can do better. In your Bubble.io workflow, use the 'Animate' action to introduce it gracefully. My go-to is a simple 'Fade in' transition set to a duration of about 300 milliseconds. It’s just long enough to feel smooth without ever slowing the user down.
That same principle applies to the button itself. You want to give users a clear signal that the element is clickable. Using Bubble’s conditional states is perfect for this. I often set a condition for when the button is hovered to make it grow to 105% of its original size or darken slightly. It’s a tiny bit of feedback that tells the user, "Yep, you can click this."
Crafting a Mobile-First Design
It’s no secret that most users will interact with your app on a phone, which means your popup and button must look and feel great on a small screen. Responsive design isn't just a nice-to-have; it's a requirement.
When you're building, think mobile-first. Keep the design simple and the call-to-action crystal clear. This isn't just my opinion—it's backed by data. A comprehensive study found that mobile popups with a single, clear action button can hit a click-through rate of 10%, which blows more cluttered designs out of the water. If you want to dig into the numbers, you can find the data in this research on popup statistics.
Achieving a clean mobile look in Bubble's responsive engine comes down to a few key settings:
Set a max-width: I usually set this between 400 and 600 pixels. This stops the popup from stretching awkwardly on tablets or wide screens.
Center the popup: Always make sure it’s horizontally centered. It creates a much more balanced and professional look on any device.
Check your fonts: Use legible fonts with strong color contrast against the background. If users have to squint, you've already lost them.
Your goal is to make the mobile experience feel native and trustworthy. A clunky, misaligned popup can instantly erode user confidence. When you get this right, your app feels more professional and reliable.
By combining thoughtful animation with a sharp, responsive design, you create an interaction that doesn't just work—it actually improves the user experience. These little touches really add up and can have a direct impact on your conversion rates. For more on this, check out our guide on how to design a mobile application that keeps users coming back.
Mastering Advanced Popup Behaviors
Showing and hiding a simple popup is a good start, but the real power comes when you make them dynamic. When your pop up button can do more than just toggle a static box, your app starts to feel genuinely responsive and intelligent. This is where we go beyond the basics and start tapping into what makes Bubble such a powerful tool.
So, how do we make our popups smarter? A great place to start is by passing data to a popup. Instead of building a generic container, you can send specific information to it, making the content directly relevant to whatever the user just clicked.
Think about a common scenario: a repeating group listing products, each with its own "View Details" button. You certainly don't want to build a separate, hard-coded popup for every single product. The goal is for any button to open a popup that shows the details for that specific product. Getting this to work in Bubble is surprisingly straightforward.
Displaying Context-Specific Data
First things first, your popup element (which is often a Floating Group) needs to be told what kind of data it should be ready to receive. To do this, you'll set its "Type of content". In our product example, you'd just select "Product" from the dropdown menu.
With that set, you now need to tell the pop up button which product's data to send over when it's clicked. This happens in the workflow. Right after your "When Button is clicked" event, add a new action: Element Actions > Display data.
For the "Element," you'll pick your popup. For the "Data to display," you'll point it to the Current cell's Product. That's it. You've just created a connection.
Now your popup is ready. Any text or image elements you place inside it can simply reference the data it's holding. You can have a text element display "Parent group's Product's name" or an image element show "Parent group's Product's image," and Bubble handles the rest, pulling in the correct info depending on which button triggered the workflow.
This single technique is a game-changer. It means you can build one popup that dynamically serves information for hundreds or even thousands of different items—user profiles, order details, event summaries, you name it.
Using Conditionals for Smarter Popups
Another way to level up your popups is with conditional logic. This is all about changing a popup's behavior—or even which popup appears—based on certain rules. A classic use case is handling user authentication.
Let's say you have a "My Profile" button in your site's header. What happens when someone clicks it? With conditional workflows, you can handle both logged-in users and visitors gracefully.
You'd set up a single workflow on the button with multiple conditions:
Condition 1: When "My Profile" is clicked and
Current User isn't logged in... show the "Sign Up / Log In" popup.Condition 2: When "My Profile" is clicked and
Current User is logged in... show the "User Profile" popup.
This simple logic ensures you're always presenting the most relevant next step, creating a smoother experience that guides people down the right path.
These are the kinds of advanced behaviors that separate a static site from a truly dynamic web app. By combining a pop up button with data workflows and conditional logic, you can build a more intelligent and personalized experience that adapts to your user. It’s the same logic that platforms like HubSpot use to trigger the right call-to-action for the right person with a simple button click.
Strategic Use Cases That Drive App Growth
Knowing how to build a pop up button is one thing, but knowing why and when to use it is what separates a decent app from a growth machine. Now that you've got the technical part down, let's dive into some proven playbooks that turn this simple feature into a powerful tool for hitting your business goals.
These aren't just abstract ideas; they're strategies I've seen work time and time again. The key is to stop thinking of popups as a one-size-fits-all solution. Instead, treat each one as a specific answer to a specific problem. Every button you create should trigger a popup with a single, clear purpose.
Capturing Lost Revenue with Cart Recovery
One of the most immediate ways to see a return is by tackling cart abandonment. Imagine this: a user has items in their cart but hesitates on the checkout page and moves their cursor to exit. You can build a workflow that detects this exact behavior.
Right at that moment, a button labeled "Claim Your Discount" could appear, triggering a popup with a small, last-minute offer. This is incredibly effective because you're catching people who are already on the fence about buying. The data backs this up. OptiMonk's 2026 findings show that cart abandonment popups convert at a staggering 17.12%. You can dig into more numbers and comparisons by checking out these popup statistics.
Gathering Priceless User Insights
Another fantastic strategy is using a pop up button to collect feedback. Forget about sending email surveys that most people will ignore. Instead, you can place a "Share Your Thoughts" button directly in your app, right where users are interacting with a feature.
When someone clicks it, a simple popup appears with one or two quick questions. This gives you a direct line to your users, providing real-time insights that can shape your entire product roadmap. It’s the best way to understand pain points without pulling users out of their flow.
Key Takeaway: The most effective popups solve a user's problem the instant it arises. A discount popup counters price hesitation during checkout, while a feedback popup captures an opinion while it's still fresh.
Driving Lead Generation with Gated Content
Finally, let’s talk about a classic for a reason: the lead magnet. The idea is simple. You create something valuable—an ebook, a checklist, a video tutorial—and offer it to users in exchange for their email.
You can design a button like "Download Free Guide." When clicked, it opens a popup with a simple form. From there, your Bubble.io workflow can take over.
Trigger an email that automatically sends the download link.
Add the new contact directly to your mailing list in a tool like Mailchimp or ConvertKit.
Show a "Success!" message right inside the popup to confirm their submission.
This simple exchange is a workhorse for growth. It turns anonymous traffic into qualified leads, building an audience you can connect with long-term. Each of these examples shows how a humble pop up button can be a cornerstone of your app's success.
Common Questions About Bubble Pop Ups
When you're building in Bubble, you're going to hit a few snags with popups. It’s practically a rite of passage. I've spent countless hours helping developers work through these exact problems, so let's get you some quick answers to the most common questions.
A big one I hear all the time is how to make a popup close when a user clicks outside of it. By default, users have to hunt for that little "X" icon. A much smoother experience is letting them simply click away.
Here's a slick little trick for that. Place a transparent shape or a group behind your popup's main content, making sure it covers the entire page. Then, set up a simple workflow: When this background shape is clicked > Hide the popup. It’s an easy fix that makes your app feel instantly more professional and intuitive.
Troubleshooting Workflow Issues
There's nothing more frustrating than a button that just doesn't work. You click it, and... nothing. When your pop up button seems to be ignoring you, it’s almost always one of a few simple culprits.
Check Your Visibility Rules: A conditional setting like "This element is not visible" can easily override your workflow. Double-check the popup's conditional tab.
Inspect the Workflow Action: It's surprisingly easy to target the wrong element. Make sure your "Show" action is actually pointed at the correct popup.
Fire Up the Debugger: Bubble's step-by-step debugger is your best friend here. Run it and watch what happens when you click the button. It’ll show you exactly where the logic breaks down.
Walking through these steps will fix the issue nine times out of ten.
One of the most critical mistakes I see is creating conflicting workflows. If you have one condition trying to hide an element while another is trying to show it at the same time, Bubble will get confused. Keep your logic clean and make sure your rules don't fight each other.
Pop Ups Inside Repeating Groups
Getting a pop up button to work correctly inside a repeating group is another classic challenge. The trick is telling the popup which specific cell’s data it needs to show. It all comes down to passing the right context.
If your popup is blank or showing the wrong information, the problem is almost always the Display data action in your workflow. You have to make sure the "Data to display" is set to Current cell's [Thing]. This simple command tells Bubble, "Grab the data from the exact row where the button was just clicked." Without it, the popup is flying blind.
For a deeper dive into other common sticking points, checking out our other guides for Bubble.io help can save you hours of guesswork.
Ready to stop troubleshooting and start building faster? With Codeless Coach, you get one-on-one, hands-on guidance to overcome any Bubble.io hurdle and bring your app idea to life. Book a session at https://codeless.coach and let's build it together.


