
Apr 4, 2026
Your Guide to the Monday.com API Without Code
Unlock workflows with our guide to the monday.com API. Learn to connect Bubble, Zapier, and Make without writing a single line of code.

The monday.com API is the digital handshake that lets your workspace talk to other tools, whether that’s a custom app you’ve built or your company’s CRM. It’s what allows you to automatically create, update, and pull data, turning your monday.com boards into a true command center for your business.
Why The Monday.com API Is A No-Code Game Changer
Ever get that feeling that your most important apps are living on completely separate islands? Your project management tool has no idea what’s happening in your CRM, and your support tickets are in a different universe from your development tasks. The monday com api is the bridge that connects them all, and the best part is, you don’t need to be a developer to build it.
This guide is all about showing you how to wire up your tools with monday.com. We'll centralize everything from client projects to sales pipelines, saving you from the soul-crushing work of manual data entry.
So, What's An API, Really?
Think of an API (Application Programming Interface) like a waiter at a restaurant. Your app gives the waiter (the API) an order, which is a request for specific information. The waiter then goes to the kitchen (monday.com's servers), gets exactly what you asked for, and brings it back to your table. You don't need to know the recipe or how the kitchen is run—you just need to know how to order.
The monday.com API lets you put these "orders" on autopilot, so all your systems stay perfectly in sync without you lifting a finger.
The real magic of an API isn't just connecting apps; it's turning tedious, repetitive tasks into automated processes that run 24/7 in the background. It’s like hiring a digital assistant that never sleeps.
The GraphQL Advantage
Unlike older, more rigid APIs, monday.com uses GraphQL. This is a huge win for no-code builders because it’s incredibly efficient and flexible. Instead of making multiple trips to the kitchen for your appetizer, main course, and drink, GraphQL lets you place one single, detailed order with everything you need.
For anyone building with no-code tools, this brings a few key benefits:
Fewer API Calls: You can grab a board, all its items, and the specific column values for those items in a single, clean request. This drastically cuts down on complexity.
Faster Performance: Because you’re only fetching the exact data you need, your apps run faster and feel much more responsive to the user.
Easier to Manage: You aren’t juggling dozens of different API endpoints. Everything is handled through one central point, which makes the setup in tools like Bubble, Zapier, or Make much simpler.
Learning to work with robust API access features like these is a powerful skill. The concepts you master with the monday com api are transferable, making you a more capable builder no matter what platform you use. It's a fundamental part of modern no-code app development and a skill that will pay dividends on future projects.
Alright, let's get our hands dirty and actually connect Monday.com to your Bubble app builder. This is where the theory ends and you start building the real integration. We're going to set up a permanent, reusable bridge between the two platforms using Bubble's own API Connector.
Think of this as building a private data highway. Once it's paved, your app can automatically pull project updates, create new tasks, or sync client data with your Monday.com workspace. This is the foundation for building custom internal tools or client-facing portals that are always in sync.
Initial Setup In The Bubble API Connector
Your first stop is the "Plugins" tab inside the Bubble editor. Search for and install the Bubble API Connector. It's a free, official plugin, and honestly, it’s the key that unlocks Bubble's ability to talk to almost any service on the web, including the monday.com API.
Once it's installed, click the "Add another API" button. I recommend naming it something obvious like "Monday.com API"—you'll thank yourself later when your app has multiple API connections.
Now for the most important part: authentication. This setup tells Bubble how to "log in" to Monday.com for every future request, so you only have to do it once.
Authentication: Choose "Private key in header."
Key name: Type Authorization exactly as written. This is the standard name for this type of security header.
Key value: Here’s where you’ll paste your Personal API Token from Monday.com. Be sure to keep this token private.
We need one more shared setting. Under "Shared headers for all calls," add a new header with the key Content-Type and the value application/json. This just tells Monday.com that we’ll be sending our instructions in a format it understands. With the Authorization and Content-Type headers in place, our foundation is set.
Creating Your First API Call To Fetch Boards
With the main API configured, it's time to create our first specific action. Let's start with something simple to make sure everything is working: fetching a list of your boards.
Click "Add another call" and name it something clear, like "Get All Boards." You’ll want to set this as a POST request. It might seem odd since we're getting data, but that's just how GraphQL works—every interaction, whether you're fetching or sending data, uses a POST request.
The URL for the call is Monday.com's main API endpoint: https://api.monday.com/v2.
Next, in the "Body" section, you'll place your first GraphQL query. This is where you tell Monday.com exactly what you want. No more, no less.
For this call, the JSON body is incredibly simple: { "query": "query { boards { id name } }" }
This query just asks for your boards and, for each one, returns only its unique id and its name.
I always recommend starting with the simplest query possible. If something breaks, a simple call like this is much easier to troubleshoot than one with five levels of nested data. A successful "Get All Boards" call is the perfect green light.
Now, click "Initialize call." Bubble will make a live request to your Monday.com account. If all goes well, you’ll see a success message and a preview of your board data.
This flow—your app talking to the API Connector, which then talks to Monday.com—is the core of what we're building.
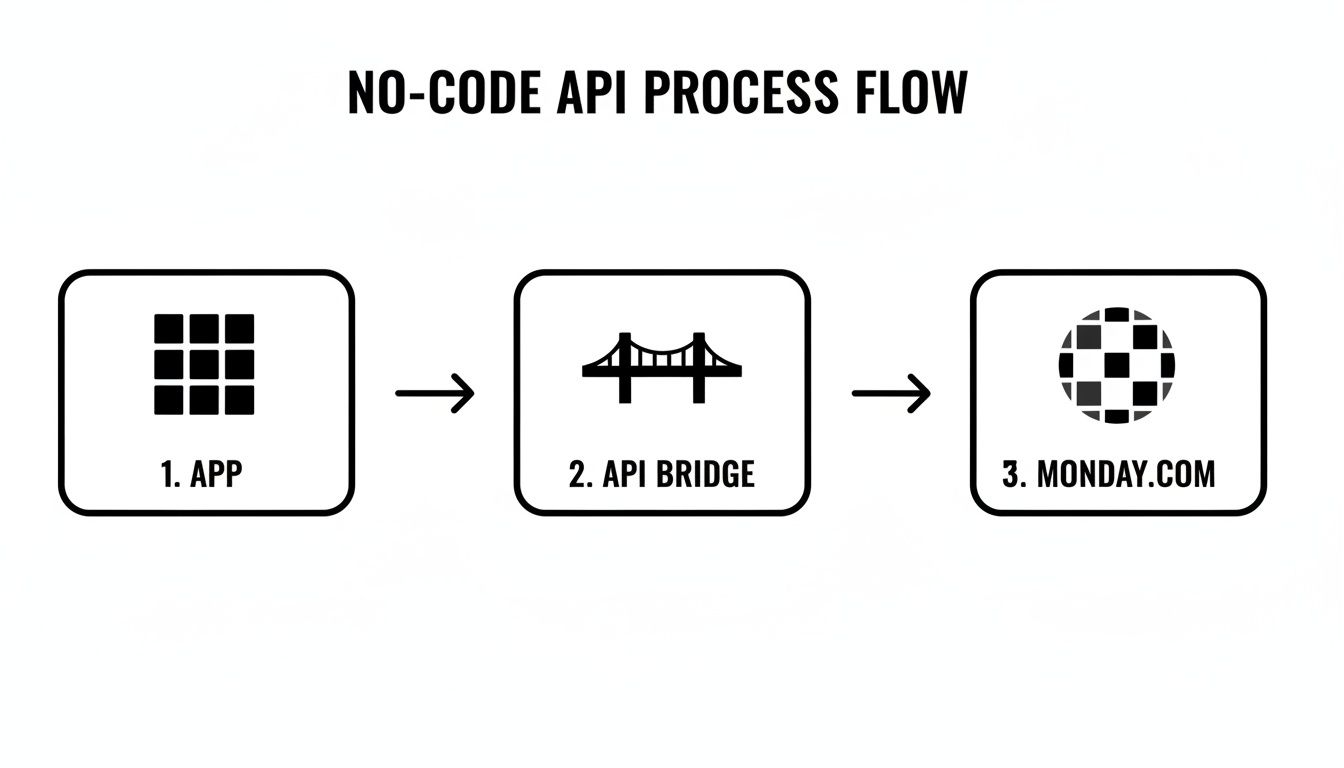
As the diagram shows, the API Connector is the essential translator, turning your app's needs into a structured request that the monday.com API can process.
Retrieving Items And Specific Column Values
Now that the connection is live, let's create a more practical call: pulling all the items from a specific board.
Create a new POST call, maybe named "Get Board Items." The URL is the same as before (https://api.monday.com/v2). This time, however, we're going to make the query dynamic. In the JSON body, we'll use a placeholder, <board_id>, so we can specify which board we want to query later on in our Bubble workflows.
Here’s what the JSON body looks like: { "query": "query { boards(ids: <board_id>) { items { id name column_values { id title value text } } } }" }
When you go to initialize this call, Bubble is smart enough to see the <board_id> placeholder and will ask you for a value to use for the test. Grab a board ID from your Monday.com account and paste it in. This query is asking for a specific board, all of its items, and the column_values for each item.
And that's it! You've just built a solid, reusable connection to the monday.com API. From here, you can build out dozens of other calls to create items, post updates, and manage your entire workspace programmatically, all without writing a single line of code.
Getting Your Hands Dirty: Queries and Mutations for Real Workflows
Alright, you've successfully connected to the monday.com API. Think of it like getting the keys to the city. Now, it's time to actually open some doors and start making things happen. We're about to go beyond just pulling data (queries) and dive into the fun part: changing data (mutations).
This is the skill that separates a simple data dashboard from a truly interactive app. We're talking about building a custom client portal where a new support ticket instantly pops up on your monday.com board. Or maybe a custom dashboard where your team can change a task's status with one click, updating monday.com in real time. That's the power we're about to tap into.
Creating a New Item with a Mutation
Let's run with that client portal idea. A user submits a form in your Bubble app, and you need that info to create a new task on your "Support Tickets" board. For this, we'll use a GraphQL mutation.
A mutation is simply GraphQL's way of saying, "I'm here to write data, not just read it." You'll still make a POST call to the same https://api.monday.com/v2 endpoint, but the body of your request will be structured to create something new.
For our support ticket, the most basic mutation looks something like this:
create_item (board_id: 123456789, item_name: "New Support Ticket") { id }
This tells monday.com to create an item on board 123456789 named "New Support Ticket." Simple enough. But what about all the important details, like who submitted the ticket or a description of the problem? That’s where column_values come in.
Here’s what a more realistic and complete mutation looks like, using variables to make it dynamic:
{
"query": "mutation ($boardId: Int!, $itemName: String!, $columnValues: JSON!) { create_item (board_id: $boardId, item_name: $itemName, column_values: $columnValues) { id } }",
"variables": {
"boardId": 123456789,
"itemName": "Fix login button on user dashboard",
"columnValues": "{"text_column_id":"John Doe","status_column_id":{"label":"New Ticket"}}"
}
}
A couple of things are happening here. We're using variables ($boardId, $itemName, $columnValues) to keep our mutation logic separate from the actual data. This is a huge best practice. In a tool like Bubble, you'd map your form inputs directly to these variables, making your API call reusable and clean.
Pro Tip: The
column_valuesobject must be a stringified JSON object. This is a classic trip-up. You can't just send a raw JSON object; you have to convert it to a text string first. Your no-code tool almost certainly has a built-in way to do this, like Bubble's:formatted as JSON-safeoperator.
Updating an Existing Item's Status
Once that ticket is on your board, the next step is updating it. Let's say a developer picks up the "Fix login button" task. We need to change its status from "New Ticket" to "In Progress." This calls for another mutation, this time using change_column_value.
This mutation needs three pieces of information to work: the board ID, the item ID of the task you're updating, and the column ID of the status field.
Here's the API call structure, again using variables for flexibility:
{
"query": "mutation ($boardId: Int!, $itemId: Int!, $columnId: String!, $columnValue: JSON!) { change_column_value(board_id: $boardId, item_id: $itemId, column_id: $columnId, value: $columnValue) { id } }",
"variables": {
"boardId": 123456789,
"itemId": 987654321,
"columnId": "status_column_id",
"columnValue": "{"label":"In Progress"}"
}
}
Just like when creating an item, the value you send has to be a stringified JSON. For a status column, the object is simple—it just contains the new label you want to apply. This same method works for almost any column type, from text and numbers to dates and user assignments. The only thing that changes is the JSON structure for the value, which you can find in the official monday.com API documentation.
If you can get comfortable with these two mutations—create_item and change_column_value—you've unlocked about 80% of the core functionality needed for most integrations. Mastering them is the key to building powerful, two-way syncs between your custom apps and your monday.com workspace. These aren't just abstract exercises; they're the real building blocks for creating custom CRMs and project dashboards that feel deeply connected to monday.com.
Automating Workflows With Zapier And Make

While a direct API connection in Bubble gives you unparalleled control, it's not always the fastest route. For many day-to-day tasks, jumping into an automation platform like Zapier or Make is simply more efficient.
Think of their pre-built monday.com integrations as expertly wrapped API connections. They handle all the tricky authentication and data mapping behind the scenes, turning what could be a multi-step coding process into a simple, visual, point-and-click setup.
Building A Simple Zapier Workflow
A classic automation I see all the time is creating a backup or a live report. Let's say every time a new task is added to a monday.com board, you want to log it in a Google Sheet. It’s a simple way to feed data into another business process without manual entry.
In Zapier, this is done with a "Zap," which always has a Trigger (the "if this happens...") and an Action (the "...then do that").
Your trigger is, of course, monday.com. You'll pick the "New Item in Board" event. Zapier will then guide you through connecting your monday.com account and picking the exact board you want to watch.
Next comes the action. You’ll choose Google Sheets and its "Create Spreadsheet Row" event. After you select the right spreadsheet and worksheet, you get to the mapping stage. This is where you connect the dots—telling Zapier to take the "Item Name" from monday.com and place it in the "Task Name" column in your sheet, or mapping the creator's name to a "Submitted By" column. Once you turn it on, the Zap just runs in the background. No more copy-pasting.
The real value here is the massive ecosystem. With monday.com as your trigger, you can connect to thousands of other apps. You could fire off a Slack message to your team, create a card in Trello, or add a new lead to your CRM. The possibilities are nearly endless.
Designing A Scenario In Make
Make (which you might remember as Integromat) takes a more visual, flowchart-style approach. It’s fantastic for mapping out more complex, multi-step workflows.
Imagine this scenario: a task's status on your board is changed to "Done," and you want to automatically send a confirmation email to the client using Mailchimp.
Instead of a list, you'd build this on a visual canvas by dragging and connecting modules.
The Trigger: You start by dropping in the monday.com module, configured to "Watch for Column Value Changes." You'll point it to your board and specify the "Status" column.
The Filter: This next step is critical. You'd add a filter right after the trigger to ensure the workflow only proceeds if the new status is exactly "Done." This prevents you from accidentally emailing a client every time a status changes to "In Progress" or "Stuck."
The Action: Finally, you connect the Mailchimp module. You’ll use the "Send an Email" action and map the client's email address (pulled from another column in your monday.com item) to the recipient field and customize your message.
Learning to handle API credentials securely is a fundamental skill that applies everywhere, not just in Bubble. Our guide on how to get your Stripe API key covers the same security principles, which are good to know for any platform you use.
Ultimately, whether you use a standard integration or a custom API call comes down to your specific goal. The pre-built modules in Zapier and Make will cover 80% of common use cases and are incredibly quick to set up. But if you hit a wall and need to do something very specific that isn't offered, both platforms allow you to make a direct API call. This gives you the best of both worlds: the platform's ease of use combined with the full power of the monday com api.
Managing API Rate Limits and Pagination Like a Pro
If you're building anything serious with the monday.com API, you will eventually run into rate limits. It's not a matter of if, but when. When it happens, your workflows can grind to a halt without warning, so learning how to manage these limits is crucial for building a stable, scalable app.
Think of it less like a strict speed limit and more like a budget you have to work with. Every minute, monday.com gives you a "complexity budget" of 10,000,000 units. Each API call you make—from fetching a board to creating a new item—spends a portion of that budget. Simple queries are cheap, but complex ones that ask for a ton of nested data can get expensive, fast.

Monitoring Your API Consumption
You can't manage a budget you can't see. Thankfully, monday.com gives us the API Analytics dashboard (available on Pro plans and up), which is your command center for tracking API usage.
This dashboard is your single source of truth, showing you:
Total Complexity: A live look at how much of your per-minute budget you're actually using.
Most Expensive Queries: This is my favorite part. It pinpoints the exact API calls that are draining your budget, so you know exactly where to focus your optimization efforts.
Error Rates: Helps you catch failing API calls that are just wasting your budget with repeated, unsuccessful attempts.
Checking this dashboard regularly is the difference between being reactive (scrambling to fix a broken app) and proactive (optimizing before you ever hit the limit). For instance, if you spot a query that fetches items and all their updates is consistently burning 500,000 complexity points, you've just found your top priority for refactoring.
While Zapier and Make are great, exploring more powerful automation platforms that offer an n8n integration can give you more fine-grained control over your API calls, which is another great way to manage this budget.
Mastering Pagination for Large Datasets
One of the surest ways to blow through your complexity budget is trying to grab thousands of items in a single API call. It's like walking into a library and asking the librarian for every single book at once. They'd look at you like you're crazy. The right way is to ask for one shelf at a time. In the API world, we call this pagination.
Pagination simply means breaking up a massive request into a series of smaller, more manageable chunks. Instead of asking for every item on a board, you ask for the first 100, then the next 100, and so on, until you've retrieved everything.
The monday.com API handles this cleanly by letting you specify a limit (how many items to get) and a page number in your query.
Here’s what a query looks like when fetching the second page of 50 items:
{ boards(ids: 12345) { items(limit: 50, page: 2) { id name } } }
This approach keeps each API call small and efficient, keeping you safely under your complexity limit. It's also the key to preventing timeouts and ensuring your app feels snappy, even when it's churning through huge amounts of data.
My Personal Strategy: I have a hard-and-fast rule: never pull raw API data directly into a user-facing element like a repeating group in Bubble. Instead, I always use a backend workflow to paginate through all the items and save them to a local database table. This creates a cache, so the expensive API sync only has to happen once. After that, the app is pulling from the local data, making the user experience dramatically faster.
By pairing proactive monitoring with smart pagination, your app won't just work—it will be robust, scalable, and ready for whatever you throw at it. These aren't just "nice-to-have" skills; they're foundational for building anything serious with the monday com api.
Your Questions About The Monday.com API Answered
As you dive into integrating monday.com, you’re bound to hit a few common roadblocks. It happens to everyone, from founders just starting their no-code journey to seasoned developers. Frustration is part of the process, but it doesn't have to stop you.
I've put this section together to tackle the most frequent questions I get from my own clients. Think of it as your personal cheat sheet for getting unstuck, saving you hours of sifting through forums and documentation.
What's The Difference Between The V1 And V2 API?
This is a big one, so let's get it straight right away. You might see older tutorials referencing monday.com's v1 API. Ignore them. That version was a REST API, and it has been officially deprecated and is no longer supported. Building on it is a recipe for future headaches.
The only version you should be using is v2, which is built on GraphQL.
So, why the change? In a word: efficiency. With GraphQL, you can craft a single, precise request to get exactly the data you need. Imagine needing a board, all its items, and the specific status and date columns for each of those items. With the old REST API, that would have meant juggling multiple, separate calls. With GraphQL, it's one clean request.
Every modern tool, from Bubble to Zapier, should be pointed squarely at the v2 GraphQL API.
My API Call Is Failing. What Should I Check First?
That sinking feeling when an API call fails is all too familiar. But before you start pulling your hair out, take a breath. More often than not, the fix is surprisingly simple. In my experience, over 90% of failures I see come down to one of these four things.
Run through this checklist first:
Your Authentication: This is almost always the prime suspect. Is your Personal API Token pasted correctly? Is the "Authorization" header spelled perfectly? A single typo here will bring everything to a halt.
Your JSON Body: GraphQL has no patience for bad syntax. A misplaced comma, an extra curly brace, or a quote mark in the wrong spot will cause the entire call to fail. I always recommend using a free online JSON validator—just paste your query in, and it'll spot errors instantly.
Field and Column Names: The API needs exact names. If you're trying to fetch a column named
item_namebut your query usesitem_Name, it won't work. Always have the official monday com api documentation open to double-check the precise naming for boards, items, and columns.The Error Message Itself: Don't ignore the error response from monday.com! It's your best clue. It will often tell you exactly what's wrong with messages like
InvalidColumnId,ComplexityBudgetExhausted, or the classicAuthenticationError.
How Do I Handle Custom Column Types Like A Link Or Phone?
This is where things can get a little tricky. You can't just send a simple string of text for every column type when you're creating or updating an item. Many columns, especially the more complex ones, require you to format the data as a specific JSON object.
For instance, updating a Link column isn't as simple as sending a URL. You have to pass a JSON object that contains both the URL and the display text. The entire thing needs to be sent as a stringified JSON, which looks like this: {\"url\": \"https://codeless.coach\", \"text\": \"Visit Site\"}. A Phone column is similar, requiring an object with the phone number and country code.
The absolute best practice here is to bookmark the "Column Types" section of the official monday.com API documentation. It gives you the exact JSON structure and copy-paste examples for every single column, from Status and People to Formulas and beyond. It will save you an incredible amount of guesswork.
Can I Use The Monday.com API On Any Plan?
Yes, and this is great news! API access is included on all monday.com plans, even the free one. This means you can start experimenting and building out your proof-of-concept without a financial commitment.
However, there's a catch: rate limits. The number of API calls you can make per minute is significantly restricted on the lower-tier plans. The Free plan is perfect for learning and light testing, but any real-world app with active automations will slam into those limits very quickly. You'll need a Pro or Enterprise plan for the much higher rate limits required for scalable workflows.
Another key difference is the API Analytics dashboard. This tool is a lifesaver for monitoring your usage, identifying expensive queries, and troubleshooting performance. It's only available on Pro and Enterprise plans. So, while you can start for free, any serious project will eventually need a paid plan to run smoothly and reliably.
Building powerful automations with the monday com api can feel complex, but you don't have to figure it out alone. At Codeless Coach, I offer one-on-one tutoring to help you master Bubble, connect to any API, and build your app faster. If you're ready to turn your ideas into a real product, let's build it together. Book your session at https://codeless.coach.


