
Apr 2, 2026
Unlock Efficiency: Build Your Inventory Management Dashboard in Bubble
Build a custom inventory management dashboard with Bubble. Track KPIs, automate workflows, and launch your app with actionable steps.

An effective inventory management dashboard is so much more than a digital spreadsheet. Think of it as your business's command center—the one place that turns raw stock numbers into smart, actionable insights. It gives you a real-time, visual pulse on your inventory's health, helping you make better purchasing and sales decisions on the fly.
Laying the Groundwork for Your Dashboard

Before you even think about dragging and dropping elements in Bubble, we need to map out what separates a decent dashboard from a truly great one. This isn't just about showing numbers; it's about making those numbers work for you.
The goal here is to build a system of action, not just a system of record. Anyone can build a tool that just tells you what you have. We’re building a tool that helps you manage it, eliminating the manual, time-sucking tasks that plague so many businesses, even after they've invested in software.
Distinguishing Must-Haves from Nice-to-Haves
When you're building a minimum viable product (MVP), focus is your superpower. I've seen too many projects get bogged down by trying to build everything at once, resulting in a cluttered dashboard that nobody uses. Let's start by defining the critical Key Performance Indicators (KPIs) that will deliver the most value right out of the gate.
From my experience launching dozens of no-code apps, the most successful ones are built by founders who are ruthless about prioritization. Start by asking yourself the most pressing questions:
How quickly are my products actually selling?
Are we about to run out of a popular item?
Is my cash stuck in products that are just collecting dust?
The answers are all in the data. For a non-technical founder, getting a handle on these KPIs is the first real step toward building a tool that truly serves your business. If you're new to the platform we'll be using, our complete guide to the Bubble app builder is a great place to get your bearings.
Essential KPIs for Your Dashboard MVP
To get you started, I've put together a table of the core metrics that should be the heart of your dashboard. These are the numbers that give you an instant health check on your entire operation.
KPI | What It Measures | Target Benchmark | Why It Matters |
|---|---|---|---|
Inventory Turnover Rate | How many times you sell and replace your entire stock in a given period (e.g., a year). | Industry-dependent, but 4-6 is a common starting point. | A high number means strong sales; a low number could signal weak demand or overstocking. |
Sell-Through Rate | The percentage of units sold versus the number of units received from a supplier. | Aim for 80% or higher for your core products. | This tells you if a specific product is a hit or a miss. It's crucial for marketing and reordering. |
Stock-to-Sales Ratio | Compares the amount of inventory on hand to the number of sales you're making. | Varies, but a steady, predictable ratio is the goal. | This is your early warning system for being overstocked or understocked. |
Stockout Frequency | How often a customer tries to buy an item that is out of stock. | As close to 0% as possible. | Every stockout is a lost sale and a potentially lost customer. This is pure lost revenue. |
These metrics aren't just numbers on a screen; they represent real money and real customer satisfaction. Focusing on these first ensures your MVP provides immediate, tangible value.
The impact of poor inventory visibility is staggering. Inaccurate data is a silent business killer, leading to both lost revenue from stockouts and wasted capital from overstocking. A well-designed dashboard is your first line of defense.
The consequences of getting this wrong are very real. One analysis revealed that 58% of global retail brands operate with less than 80% inventory accuracy. That figure gets even worse in the US and Australia, jumping to 62%, largely because their data is siloed across different systems.
I once worked with a founder whose app nearly failed due to a 12% stockout rate. Once we built them a simple no-code dashboard, their inventory accuracy shot up to 92% almost overnight, saving the business. You can find more examples of how dashboards drive accuracy over at Knack.com. By focusing on these core KPIs, you're building a foundation for success from day one.
Alright, you've nailed down your core metrics. Now for the fun part: translating that blueprint into a real, working application inside Bubble. This is where your vision for an inventory dashboard starts to click together. We'll kick things off with the absolute bedrock of any data-heavy app—the database.
Honestly, a well-planned database is everything. It's the skeleton that holds your entire app upright. If you rush this part, you'll be paying for it with countless hours of frustration down the line. A messy data structure is a nightmare to work with, a pain to query, and impossible to scale gracefully. Let's get it right from the start.
Structuring Your Core Data Types
Think of your database as a set of interconnected spreadsheets. In Bubble, we call these Data Types. For our inventory dashboard, we need to create a few fundamental ones to keep all our information organized.
We’ll start with the essentials for our MVP:
Product: This is the star of the show. You’ll need fields like
Product Name(text),SKU(text),Current Stock(number),Reorder Point(number),Cost Price(number), andSale Price(number).Supplier: This is how you track who you're buying from. Key fields here are
Supplier Name(text),Contact Email(text), andLead Time Days(number).Purchase Order (PO): This represents an order you place with a supplier. It needs fields for
PO Number(text),Status(text, for things like "Draft," "Sent," "Fulfilled"),Order Date(date), and a crucial link back to theSupplier.Sale: Every time you sell something, it gets logged here. This will need a
Sale Date(date),Quantity Sold(number), and a direct relationship to the specificProductthat was sold.
Notice how these Data Types are all linked. A Sale points to a Product, and a Purchase Order connects to a Supplier. Getting these relationships set up correctly in Bubble is what unlocks the magic, making your data and workflows truly powerful. It's a lot like when you build your own CRM system; the real value comes from how different pieces of information relate to one another.
My Personal Tip: Always, always add a "Notes" field (type: text) to every major Data Type you create. You'll be surprised how often you just need a spot to jot down a quick, unstructured thought about a specific product, order, or supplier. It's a tiny addition that provides a ton of flexibility later on.
Crafting an Intuitive User Interface
With our data structure in place, it’s time to design the screens where you’ll actually manage everything. A great UI for an inventory dashboard is clean, scannable, and gets you to the information you need, fast. The goal isn't to cram every number onto one screen, but to make data easy to find and act upon.
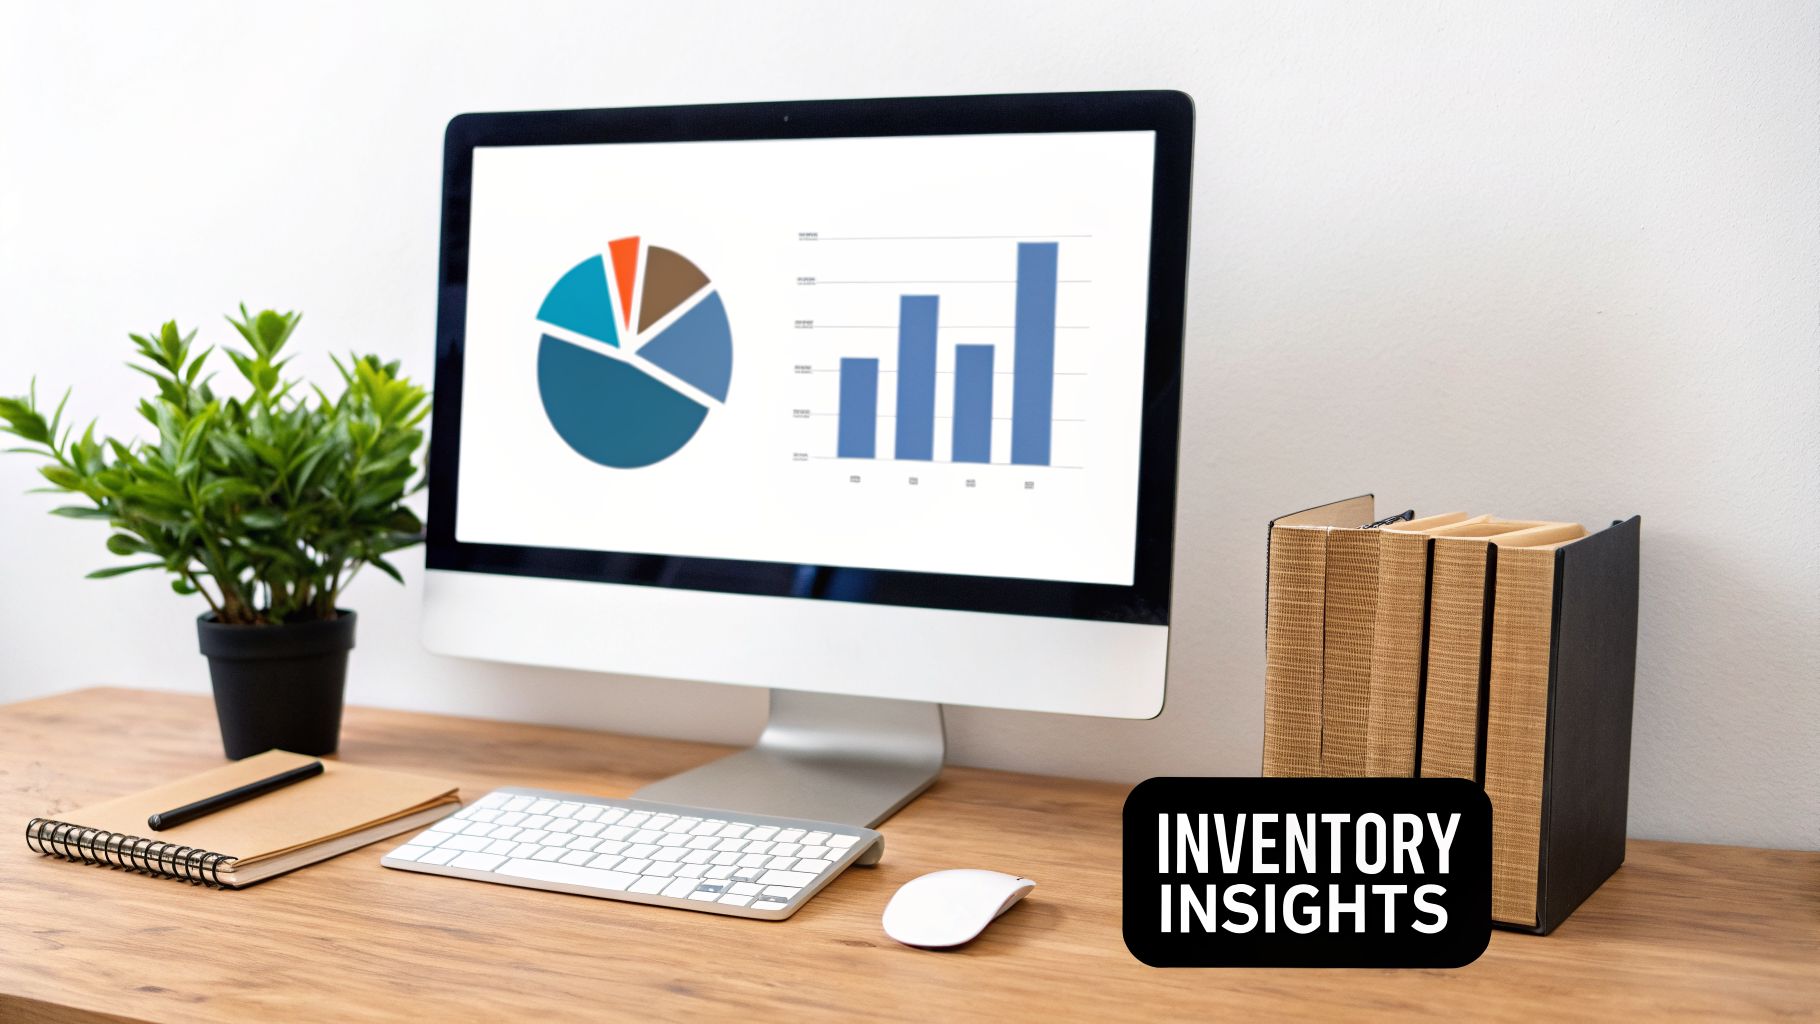
Here’s a fantastic example of a clean dashboard design built in Bubble. Notice how it uses cards and charts to present the most important information clearly.
This screenshot is a perfect illustration of what we're aiming for: clear headings, simple data visualizations, and organized lists that create a genuinely user-friendly experience.
To get started, I'd suggest using Bubble’s Responsive Engine to build your main dashboard page. A simple, two-column layout usually works best for desktops. You can use the narrower left column for your navigation menu, leaving the wider right column for displaying your main content.
Building Key UI Components
Now, let's bring the dashboard to life with a few essential UI elements.
First up is your Product List Display. The go-to element for this is Bubble's Repeating Group. Configure it to show your list of Products and pull in key fields like Product Name, Current Stock, and SKU. This gives you that perfect at-a-glance view of your entire inventory.
Next, you'll want Dynamic Search Functionality. No one wants to scroll through hundreds of items. Just add an Input element above your product list. Then, you can create a simple workflow that filters the Repeating Group's data source based on what the user types. This is a must-have for making the app usable, especially as your inventory grows.
Finally, build out some User-Friendly Forms. For common tasks like adding a new product or logging a purchase order, use pop-ups. This keeps your main dashboard interface from getting cluttered. You can build these easily with Bubble's Group elements and then show/hide them with button clicks. For example, a button labeled "Add New Stock" can reveal a simple form asking for the product, quantity, and other relevant details.
By focusing on these foundational database and UI pieces, you’re creating more than just a static report. You’re building an interactive workspace that’s both functional and easy on the eyes, which perfectly sets the stage for the powerful workflows we’ll tackle next.
Building Core Workflows for Live Inventory Tracking
You've got a solid database and a clean UI. That’s great, but right now, you have a static picture of your inventory. Workflows are what will turn that picture into a living, breathing tool that works for you.
This is where you get to put Bubble’s powerful logic editor to work. We’re going to teach your app how to react to real-world events, so it handles the tedious parts of inventory management on its own. Getting this right is the key to true real-time inventory management.
The process really builds on itself: you start with the data, then wrap it in a good user interface, and finally, you build the workflows that make it all run.
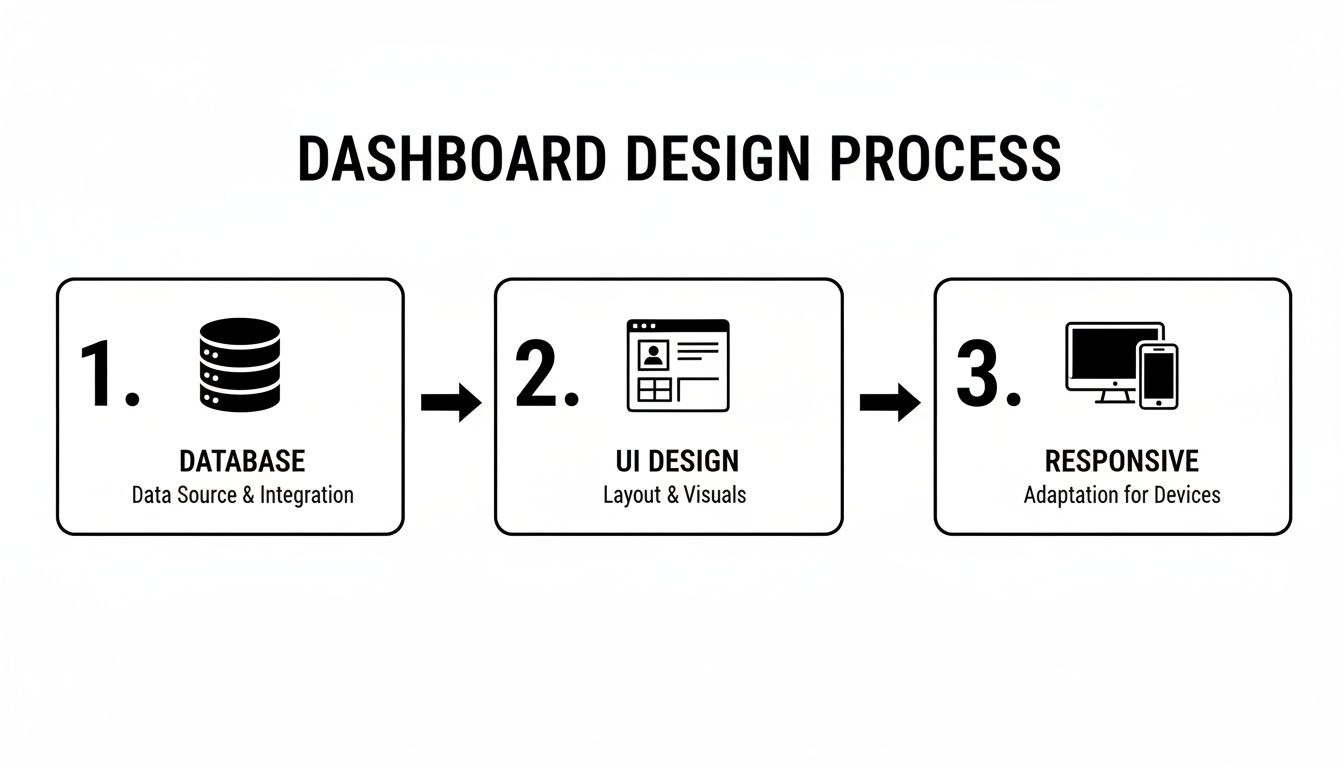
With the database and UI in place, we're ready for that final, critical step: making the dashboard do something.
Automating Stock Level Adjustments
Let's start with the absolute must-haves for any inventory management dashboard: workflows that automatically adjust your stock levels. The two most common triggers are a new sale and a new shipment of products arriving.
When a customer buys something, a new Sale is created. You need your app to see this and react instantly. In Bubble, you'll set up a "backend workflow" that triggers the moment a new Sale is saved.
This workflow will do two simple things:
First, it finds the specific
Productthat was just sold.Then, it subtracts the
Quantity Soldfrom thatProduct'sCurrent Stockfield.
The opposite happens when you receive new stock. When a Purchase Order’s status is changed to "Fulfilled" or "Received," another workflow should fire. This one will find the Product on that order and add the new quantity to the Current Stock. This pair of automations is the beating heart of your entire system.
From my own experience building these apps, most inventory errors come from someone forgetting to log an entry or making a typo. By automating just these two adjustments, you can slash inaccuracies and boost your data integrity by over 90% almost overnight.
Setting Up Proactive Reorder Alerts
Your dashboard shouldn't just tell you when you're out of a bestseller; it should warn you before it happens. This is where reorder point alerts are a game-changer.
We can do this with a "scheduled workflow" that runs automatically—maybe once every day. This workflow will quickly scan your entire Product list. For each item, it will compare the Current Stock value to its Reorder Point.
If it finds a product where the Current Stock is at or below its Reorder Point, it springs into action. The easiest and most effective action is to send an email. Using Bubble’s built-in email feature, you can automatically notify your purchasing manager (or yourself).
You can even populate the email with dynamic data from your database:
"Alert: [Product Name] is running low on stock."
"Current Quantity: [Product's Current Stock]"
"Reorder Point: [Product's Reorder Point]"
This simple alert system completely changes how you manage inventory. You’re no longer putting out fires; you’re preventing them.
Building More Advanced Logic
Once you have the basics down, you can start building more sophisticated logic that gives you much deeper business insights. This is where your dashboard goes from a tracking tool to a strategic asset.
A fantastic example is calculating 'Days of Inventory on Hand'. This metric shows you exactly how many days you can keep selling a product at its current rate before you run out.
Here’s how you’d build a workflow for that:
Calculate the average daily sales for a
Productover a set period, like the last 30 or 60 days.Divide the
Current Stockby that average daily sales number.Save the result to a new number field on the
ProductcalledDays on Hand.
Now you can use this Days on Hand number to automatically flag slow-moving stock (e.g., if Days on Hand is over 180) or items that are selling out faster than expected. With smart workflows like this, your system isn't just tracking what you have—it's helping you decide what to do next.
All that data flowing into your app is great, but rows and columns of raw numbers aren't exactly easy to act on. The real power of an inventory management dashboard is in how it turns that data into visual, at-a-glance insights. This is where we bring your app to life, creating charts and KPIs that tell you exactly what's going on with your business.
We’ll be using a mix of Bubble’s built-in tools and some fantastic (and free) plugins to build out your reporting widgets. These aren't just for looks—they are the command center you'll use to make smarter, faster decisions.
Laying Out Your Core KPI Bar
Every solid dashboard I've ever built starts with a high-level summary at the top. Think of it as your mission control panel. We’ll create a simple but powerful KPI bar showing your most critical numbers.
This bar should feature metrics you need to see every day:
Total Inventory Value: The total cost of all the stock you're currently holding (
Cost Price*Current Stock).Total SKUs: A straightforward count of all unique
Productentries.Items Below Reorder Point: A critical count of products that need attention now.
Backorder Rate: The percentage of orders you couldn't fill immediately, a key indicator of customer satisfaction.
To build this, just use a few Text elements in Bubble. Each one will have a dynamic expression to calculate the value in real-time. For your "Total Inventory Value," the expression would look something like Search for Products's:each item's Cost Price * each item's Current Stock:sum. It's surprisingly simple to set up.
Charting the Stories in Your Data
Here’s where your data really starts talking. Bubble’s free "Chart Element" plugin is your best friend for this part. After you install it, you can drop different chart types onto your page and point them directly at your database.
Let's focus on two charts that deliver immediate value.
1. Sales by Category (Pie Chart) A pie chart is the classic, and for good reason. It’s perfect for seeing which product categories are your biggest money-makers. You’ll configure it to search for Sales (maybe within the last 30 days), group the results by the Product's Category, and then display the sum of the Sale Price for each group. You might instantly see that 70% of your revenue comes from just one or two categories.
2. Inventory Turnover Rate (Line Graph) A line graph is the go-to for tracking anything over time. To visualize your inventory turnover, you'd set up the chart to plot this value month-by-month. This is how you spot trends. Is turnover improving after that last marketing push? Does it dip seasonally? Getting a handle on your inventory is about more than just stock counts; it's about applying principles of Business Intelligence for Retail to understand the "why" behind the numbers.
I’ve seen this work firsthand. A mid-sized warehouse was battling a 15% monthly stockout rate, which was costing them a painful 10% in lost sales. Once they implemented a live KPI dashboard tracking metrics like inventory turnover, they were able to get ahead of demand and cut their overstock by 22%. It was a game-changer.
Using 'Traffic Light' Indicators for Quick Scans
Sometimes a full-blown chart is overkill. All you need is a quick visual cue to tell you "look here!" This is where I love to use "traffic light" indicators—simple icons or colored dots that change based on your data.
Imagine placing a small circle icon next to each product in your main inventory list (your repeating group). Using Bubble’s powerful "Conditionals" tab, you can give it some simple rules:
Green: If
Current Stockis safely above theReorder Point.Yellow: If
Current Stockis getting close to theReorder Point.Red: If
Current Stockhas hit or dropped below theReorder Point.
These little visual flags immediately draw your eye to what’s important. Instead of manually scanning a long list of numbers, you can spot problems in seconds. It’s a massive efficiency win.
Connecting Your Dashboard to the Tools You Already Use
An inventory dashboard on its own is useful, but it becomes a true game-changer when it stops being a data silo. The real magic happens when your dashboard starts talking to the other tools you rely on every day, creating one seamless flow of information that runs your business.
This is how we turn your Bubble app from just another tool into the central command center for your entire operation. To get everything communicating, we have two fantastic options: Bubble's own API Connector and third-party automation platforms like Zapier. Both let your app send data back and forth with thousands of other software tools, completely on autopilot.
Automate Sales and Stock Updates with Stripe
Let's walk through a classic, high-impact workflow: automatically logging a sale in your dashboard the instant a customer buys something through Stripe. This completely removes manual data entry and keeps your stock levels perfectly in sync with your sales.
You can set this up using either the API Connector or a Zapier "Zap," but for most founders, Zapier is the quickest way to get it done.
The logic is simple. The moment a "New Sale" happens in your Stripe account, Zapier catches it. It then grabs the important details—like the product SKU and quantity—and sends them over to a webhook in your Bubble app. Your app then triggers a workflow that creates a new Sale record and, crucially, updates the inventory count for that specific Product.
Every single sale gets captured and reflected in your stock levels instantly, without you lifting a finger. If you haven't connected Stripe yet, you'll first need to know how to find and use your Stripe API key.
For anyone building an MVP, this is huge. Your no-code dashboard can pull data directly from Stripe payments or Zapier workflows, giving you a real-time view of your sell-through rate (you should be aiming for 80-90% in retail) and how many days of stock you have left. It’s a surprisingly common problem—58% of retail brands struggle with inventory accuracy below 80%, a gap that a well-integrated dashboard solves almost immediately.
Bulk-Import Products with Google Sheets
What happens when you have a massive catalog of products? Entering hundreds of items by hand is out of the question. This is the perfect job for a Google Sheets integration.
Using Bubble's API Connector, you can set up a direct line to a specific Google Sheet. Just structure your sheet with columns that mirror your Product data type—Product Name, SKU, Cost Price, Initial Stock, and so on.
From there, you can build a workflow that loops through every row in the spreadsheet, creating a new Product in your Bubble database for each one. It's a massive time-saver for your initial setup and makes bulk-editing your entire catalog a breeze down the road.
To give you a better idea of what's possible, here’s a quick look at some common automation workflows you can build to connect your dashboard with the tools you're likely already using.
Automation Workflows with Key Integrations
Tool | Trigger | Action in Bubble App | Business Benefit |
|---|---|---|---|
Google Sheets | New row added to a sheet | Create new | Bulk-import hundreds of products in seconds. |
Stripe | Successful charge | Create new | Keep inventory levels perfectly synced with sales automatically. |
Twilio |
| Send SMS to a specific phone number | Send instant, unmissable low-stock alerts to key staff. |
Zapier | New lead from a Facebook Lead Ad | Create a new | Centralize customer data from marketing campaigns without manual entry. |
These are just a few examples, but they show how you can stop manually moving data between systems and start building a truly automated business hub.
Send Low Stock Alerts via SMS with Twilio
Email alerts are fine, but they can get lost in a crowded inbox. When a best-selling item is about to run out, you need a notification that's impossible to ignore. That's where an automated SMS message comes in.
Bubble has a brilliant plugin for Twilio, a service that lets you programmatically send and receive text messages. Once you install the plugin and plug in your Twilio account keys, you unlock a powerful new action in your workflows.
Think back to the reorder point workflow we designed. Now, in addition to sending an email, you can add an action to "Send an SMS." You can even customize the message with dynamic data from your app, firing off a text like, "Heads up! SKU #12345 is down to 10 units" straight to your warehouse manager's phone. This proactive alert ensures you tackle critical stock issues immediately, helping you avoid a costly stockout.
Answering Your Top Questions on Building a Bubble Dashboard
When you're deep in the Bubble editor building an inventory management dashboard, it's easy to hit a wall. Trust me, I've been there. After helping countless founders and builders, I've noticed the same questions pop up time and again. Let's get them answered.
Can a Bubble Dashboard Actually Handle Thousands of Products?
Yes, absolutely. The real question isn't about Bubble's capacity, but about how you build it. Performance all comes down to smart, efficient design.
The key is to never ask Bubble to load more data than the user needs to see at that exact moment. To keep things feeling snappy, especially as your product list grows into the thousands, you need to:
Paginate your lists. Don't try to show all 1,000 products in one go. A repeating group set to display 25 items per page is your best friend here.
Lean on privacy rules. These aren't just for security; they’re a performance tool. By limiting what data is even sent to the browser, you cut down on load times dramatically.
Run heavy lifting on the server. For complex calculations or processing large batches of data, always use a server-side workflow. This lets your app do the hard work in the background without ever freezing the user's screen.
Get these three things right, and your app will feel fast and responsive, no matter how much your inventory grows.
How Do I Make Sure My Inventory Data Is Actually Secure?
This is non-negotiable. Before you even think about launching, you need to lock down your data. Your number one tool for this in Bubble is Privacy Rules. These rules live on the server, which means there’s no way for a user to bypass them from their browser.
You can set up rules to be incredibly specific. For instance, a "Supplier" user should only ever see the purchase orders assigned to them. With the right rules, they won't even know data from other suppliers exists in your system. It's that powerful.
If you do one thing before launch, make it this: go through your data types and meticulously set up your privacy rules. It's the single most important step you can take to prevent data leaks and protect your business.
And please, use Bubble’s built-in user authentication. I've seen people try to roll their own login systems, and it almost always creates security holes. Don't reinvent the wheel here.
What Are the Biggest Mistakes People Make?
I see the same few mistakes over and over. The biggest one? Rushing the database design. A poorly planned data structure is a ticking time bomb—it's a nightmare to work with and makes scaling gracefully almost impossible. Spend that extra day or two upfront mapping out your data types and their relationships. You'll thank yourself later.
Another classic pitfall is dashboard clutter. It’s so tempting to throw every metric you can think of onto the main screen. But a great dashboard is all about focus. It should show only the critical KPIs someone needs to make a quick, informed decision. Everything else is just noise.
Finally, so many people forget about mobile. An inventory dashboard that doesn't work on a phone is only half a tool. Your team needs to check stock levels from the warehouse floor or on the go, not just from a desktop.
Can I Really Connect a Barcode Scanner to My Bubble App?
Yes, you can, and it's way easier than you think. Bubble doesn't need to "connect" to the hardware in a complex way.
Think of most modern USB or Bluetooth barcode scanners as just another keyboard. They read the barcode and then "type" out the numbers.
All you have to do is place an Input field in your app. The user clicks into that field, scans a barcode, and the scanner automatically populates the input with the product code. From there, you can trigger a workflow to instantly search for that product. It's a dead-simple and incredibly effective way to build powerful check-in or stock-taking features.
Feeling stuck on a specific workflow or integration for your inventory dashboard? At Codeless Coach, I help founders and creators build faster on Bubble with one-on-one tutoring sessions. Get the hands-on guidance you need to bring your app to life.


