Apr 6, 2026
How Do You Launch an App Without Code
Want to know how do you launch an app without code? Get a real-world guide for non-technical founders to build, test, and launch an MVP with Bubble.

So, you have an incredible idea for an app. The big question is, how do you get from a concept scribbled on a napkin to a live product in the hands of real users? It's easy to get overwhelmed, but I'm here to tell you it's not a single, terrifying leap. It’s a series of deliberate, manageable steps.
This guide is your roadmap. We'll walk through exactly how to validate your idea, build a focused Minimum Viable Product (MVP), and execute a launch—all without writing a single line of code.
What It Takes to Launch an App in 2026
Let’s be real for a moment. The app market today is incredibly crowded, but it’s also more open than ever for founders who don't have a technical background. The secret isn't building a perfect, all-in-one product from the start. Far from it.
Success comes from discipline. It's about rigorously testing your assumptions, building only what's necessary, and learning from your first users. Most apps fail because they skip the hard part: proving people actually want what they're building. This is where a no-code tool like Bubble becomes your unfair advantage.
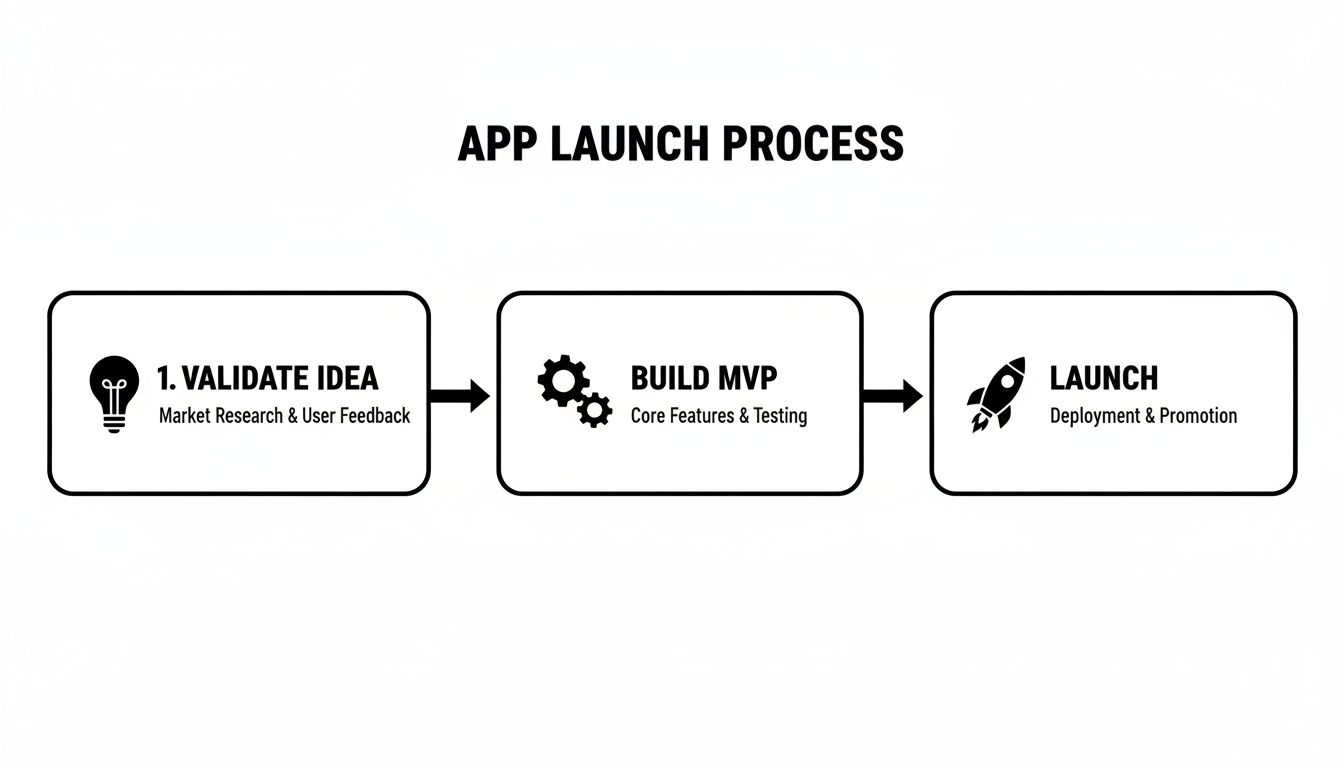
This process is your north star. Notice that "build" isn't the first step. Strong validation is the foundation of every successful app I've ever seen or worked on.
Understanding the Modern App Landscape
The numbers can be sobering. In 2022, a study found that a tiny 0.4% of new apps on the Apple App Store hit over $100,000 in revenue in their first year—a critical marker for survival. With over 40,000 new apps flooding Google Play every month and privacy rules getting stricter, just getting seen is a massive challenge.
This is precisely why we’re going to focus on a web-first strategy using Bubble. It’s the smarter, faster way to launch.
Launch in Days, Not Months: You can completely sidestep the long, unpredictable App Store review process.
Iterate on the Fly: Found a bug or want to add a feature? Push updates instantly without waiting for anyone's approval.
Prove Your Concept for Less: You can test your core idea and get paying customers with a fraction of the investment a native app would require.
One of the most common—and costly—mistakes I see founders make is trying to build for the App Store right out of the gate. Launching a web app first gets you to market faster, gives you priceless user feedback, and validates your business model before you even think about native wrappers or custom development.
The Founder's No-Code Advantage
Platforms like Bubble have leveled the playing field entirely. As a founder without a programming background, you’re no longer stuck. You don't need to sink your savings into an expensive agency or spend months searching for a technical co-founder. You now have the power to build, test, and launch your vision yourself.
Of course, building the app is just one piece of the puzzle. You still have to get it in front of the right people. For a deep dive into that side of the equation, you should check out this practical playbook on how to market your app.
For now, this guide will focus on the mechanics of the build and launch, giving you a clear, actionable path from idea to a live product that people can actually use.
From Big Idea to Buildable MVP
Every founder starts with a grand vision. That's the easy part. The hard part—and the secret to a successful launch—is learning to shrink that vision down to its absolute, most essential core. Before you even think about opening the Bubble editor, your first job is to chisel away at your idea until all that’s left is a Minimum Viable Product (MVP).
Let's be clear: an MVP isn't just a half-baked version of your final app. It's the most focused version. It’s designed to solve one painful problem for one very specific person. This disciplined focus is how you actually get to launch day. You prove your core assumption works before you spend months building features nobody asked for.
Find Your One Problem for Your One User
So, who are you building this for? If your answer is "everyone," you're on the fast track to building for no one. I've seen it a hundred times. You have to get brutally specific.
Don't build "a project management tool for small businesses." Instead, build "a simple daily task tracker for solo freelance web designers." See the difference? One is a vague category; the other is a person you can actually picture.
Once you know your user, find their single most agonizing problem. What's the one thing that grinds their gears, wastes their time, or kills their momentum every single day? Your MVP needs to be the aspirin for that one headache.
Your User: A solo freelance web designer.
Their Problem: They lose 30 minutes every morning just figuring out which client task to tackle first, completely killing their flow state.
Your MVP Solution: An app where they can dump all their tasks, and it automatically highlights the single most important task for the day using a simple priority score.
This laser focus is your superpower. It makes your build manageable, your marketing message crystal clear, and ensures you're delivering real value from day one. If you're finding it tough to narrow things down, our guide on planning a no-code MVP offers a great deep-dive on the process.
The Art of Saying "Not Yet"
With your core problem locked in, it's time for the feature massacre. This is where most founders get stuck because every feature feels critical. It's not.
List out every feature you've ever dreamed of for your app. Now, for each one, ask this question: "Does this directly help my freelance designer decide what to work on right now?"
If the answer isn't a firm "yes," it goes on the "not yet" list. User profiles with avatars? Not yet. A fancy reporting dashboard with charts? Not yet. Team collaboration? Definitely not yet.
Your first version isn't about delighting people with extra features. It's about validating one critical hypothesis: "Will people use this to solve this one specific problem?" Anything else is just noise that delays your launch and pollutes your user feedback.
This ruthless process is what turns a potential 6-month build into something you could realistically ship in a few weeks. It forces you to focus on the one thing that truly matters: creating immediate value.
Mapping Your User Flow and Data for Bubble
Okay, now we can get practical and map this out for a Bubble build. Forget about complex technical specs. All you need is a simple sketch of the user's journey and the data you'll need to support it.
First, what's the 'happy path'? This is the simple A-to-B journey your user takes to solve their problem.
User signs up or logs in.
They land on a dashboard and can add a task (e.g., Task Name, Client, Priority).
The dashboard automatically shows them their "Top Task for Today."
They can mark that task as complete. Simple.
Next, let's think about the data needed to make this happen. In Bubble, these are your "Data Types." Looking at the flow above, we really only need two to get started:
Data Type | Key Fields (Columns) |
|---|---|
User | email (built-in), password (built-in) |
Task | name (text), client (text), priority (number), is_complete (yes/no), creator (links to User) |
That's your entire blueprint. This simple plan becomes your North Star during the build. It keeps you on track, prevents scope creep from sneaking in, and is the most reliable first step toward launching an app that people will actually use.
Building Your App With No-Code and AI
Alright, you've got your lean MVP plan. Now for the fun part: actually building the thing. This is where your idea starts to take shape on the screen, and we'll be using Bubble.io as our digital workshop. Forget coding—think of it more like assembling your app with high-tech LEGOs.

This phase is pure execution. We're focused on building quickly and efficiently, but without taking shortcuts that will come back to haunt you. The goal is a solid foundation you can build on for years to come.
Mastering the Bubble Responsive Engine
One of the first hurdles you'll face is Bubble's Responsive Engine. This powerful feature is what makes your app look sharp on everything from a 32-inch monitor to a smartphone. I've seen countless first-time founders skip this step, and the result is always a clunky, frustrating user experience. Don't be that founder.
Here’s my non-negotiable advice: build for mobile first. Seriously. Start your page design on a narrow screen width, maybe 380px. It's infinitely easier to expand a well-designed mobile layout than to shrink a cluttered desktop view. This approach forces you to be ruthless about what's truly essential on every screen.
Structuring Your Database for Success
Before you even think about dragging a button onto the page, you need to set up your database. Remember that simple data model we sketched out? Implementing it correctly in Bubble’s Data tab is arguably the most critical step in the entire build.
A clean, logical database makes your app faster, more scalable, and a heck of a lot easier to work on. Get this wrong, and you're signing up for a world of pain.
Keep it Lean: Only create the Data Types and Fields you need for the MVP. Resist the urge to add "nice-to-haves." You can always expand later.
Use the Right Tools: Use the
numbertype for numbers and thedatetype for dates. When linking data to a user, always use the built-inUsertype. This simple discipline prevents countless bugs.Set Privacy Rules from Day One: This is huge. Make sure a user’s private data (like their to-do list or messages) is only visible to them. Setting up these rules from the start is a security fundamental.
Your database is the backbone of your entire application. A rushed or messy database is like building a house on a shaky foundation. Take the time to get this right, and you'll save yourself dozens of hours of headaches down the road.
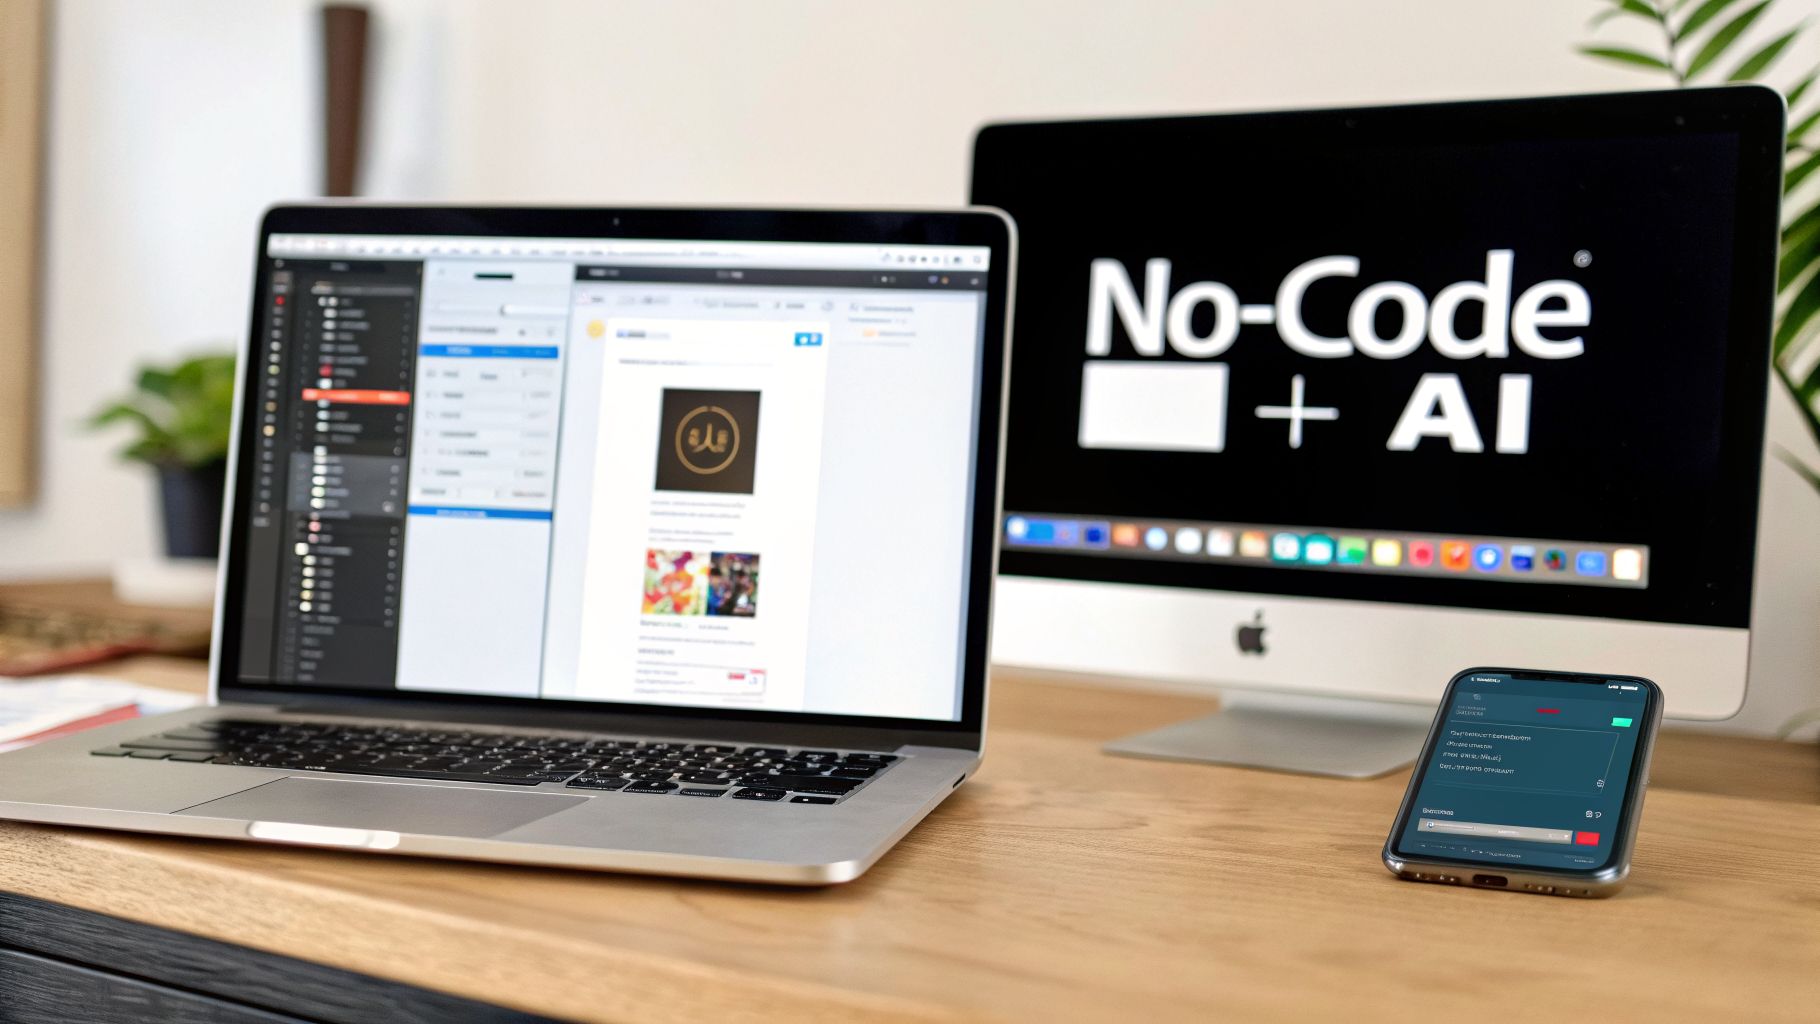
This is also where a bit of modern tech can give you a serious advantage. Combining no-code with AI has been shown to boost app launch success rates by up to 35%. Some reports even suggest that AI-enhanced apps can generate double the revenue per install compared to the median. For a founder bootstrapping with Bubble, that means getting to profitability faster.
Integrating Payments and Essential Tools
Your no-code app doesn’t have to live on an island. A huge part of launching a professional app is connecting it to other best-in-class services. Bubble's API Connector is your bridge to the entire software ecosystem.
When it comes to getting paid, don't reinvent the wheel. The official Stripe plugin is the gold standard for Bubble apps. It handles subscriptions, one-off charges, and customer management seamlessly, saving you a massive amount of development time.
Beyond payments, a few other integrations are table stakes for a modern app. Here are a few must-haves to consider from day one.
Essential No-Code Launch Integrations
Integration | Purpose | Codeless Coach Tip |
|---|---|---|
Stripe | Payment Processing | The official plugin is robust. Start with their pre-built checkout pages to launch even faster. |
Postmark | Transactional Email | Ensures your welcome emails, password resets, and notifications actually hit the inbox. Far more reliable than Bubble's default. |
Twilio | SMS & Text Messages | Perfect for sending verification codes or important alerts directly to a user's phone. |
Segment | Analytics Hub | Lets you send user data to multiple tools (like Google Analytics, Mixpanel) from a single integration. A huge time-saver. |
These tools aren't just add-ons; they are what transform a simple project into a real business.
And don't forget about AI's role in the build itself. You can use a no-code AI app builder to accelerate everything from writing placeholder text for your UI to drafting launch announcements. This isn't about letting AI build the app for you—it's about using it as a super-powered assistant to amplify your own efforts and get to market faster.
Testing Your App and Preparing for Launch
So, you’ve built your app. The core features are in, the design is taking shape, and it’s finally starting to feel like a real product. It’s a huge milestone, but whatever you do, don't hit that launch button just yet. The phase you're entering now is what separates a smooth, professional launch from a frustrating, bug-ridden disaster. We need to talk about testing, deployment, and getting everything lined up for your first users.
Think of this as shifting from being an architect to a meticulous inspector. This pre-launch process is your final quality assurance (QA) sweep to make sure that first impression is a great one. It involves you trying to break things and then getting a small, trusted group to do the same.
The Founder's QA Process
"Quality Assurance" sounds corporate and intimidating, but for a non-technical founder, it’s really just a structured way of trying to break your own app. The goal is simple: find the bugs before your users do. Start by running through every single user flow you’ve built.
Don't just stick to the "happy path" where everything works perfectly. You need to actively try to cause problems. What happens if a user leaves a required field blank? What if they type letters into a number-only input? These are the simple edge cases that trip up so many new apps right out of the gate.
Once you’ve done your own sweep, it’s time for User Acceptance Testing (UAT). This is where you bring in fresh eyes. Find 3-5 people who actually fit your target customer profile and give them access to your app.
Give them a mission: Don't just say, "test the app." Provide specific scenarios. For instance, "I need you to sign up for an account, create three projects with different due dates, and then invite a team member to the first project."
Create a feedback loop: Your testers need a dead-simple way to report what they find. A shared spreadsheet, a Trello board, or a private Slack channel works wonders. Make sure they can easily add screenshots or screen recordings.
Triage and prioritize: Not all feedback is a five-alarm fire. A bug that blocks login is a showstopper. A button that’s a few pixels off-center is not. Sort the feedback into "critical," "important," and "nice-to-fix" buckets so you can focus on what truly matters for launch.
Deploying Your Bubble App
With the most critical bugs squashed, you're ready to push your app from Bubble's development environment to the live server. This is a huge step in launching on your own terms. It involves a few straightforward, but important, technical steps right inside your Bubble dashboard.
First, you’ll deploy your development version to "Live." This action pushes all your latest changes to the public-facing version of your app.
Next up is connecting your custom domain. Having your app live on yourapp.bubbleapps.io is fine for testing, but a professional launch demands a custom domain like www.yourapp.com. It’s non-negotiable. Bubble has a fantastic step-by-step guide in the Settings > Domain / Email tab to get this done. This process also includes setting up your SSL certificate, which encrypts the connection and gives you that secure "https" in your URL.
Bubble automatically handles SSL certificate setup and renewal for any domain connected to your app. This is a huge benefit, as it ensures your site remains secure without any manual intervention on your part.
Getting Into the App Stores
But what if you absolutely need a native app in the Apple App Store or Google Play? As a no-code founder, you don't have to start over and learn to code. Instead, you can use what’s called a "wrapper" service.
These services essentially take your finished Bubble web app and package it inside a native mobile shell. The result is a downloadable app that you can submit to the app stores. It’s an incredible middle ground, giving you an app store presence without the six-figure price tag of custom native development. Services like BDK Native or Natively are really popular in the Bubble community for this exact reason.
This approach gives you the best of both worlds: the speed and low cost of a web app with the distribution and credibility of the official app stores.
Your Final Pre-Launch Checklist
Before you shout about your new app from the rooftops, take a deep breath and run through this final checklist. This is your last-minute systems check to make sure all the supporting pieces are ready for showtime.
Analytics: Is Google Analytics (or your preferred tool) installed and actually tracking user activity? Don't just install it—check that the data is flowing.
Payments: Have you switched your Stripe keys from "test" mode to "live" mode? I've seen people forget this, and it's a painful mistake.
Emails: Are your transactional emails (welcome, password reset, notifications) working? Are they sending from a professional address, not a generic Gmail account?
Marketing Prep: Do you have your basic launch assets ready? Think screenshots for social media, a simple landing page, and a few pre-written announcement posts.
Legal: Are your Privacy Policy and Terms of Service written and linked in the footer? This is an easy thing to forget but essential for building trust.
Ticking off these boxes turns launch day from a frantic scramble into a controlled, confident execution. You’ve got this.
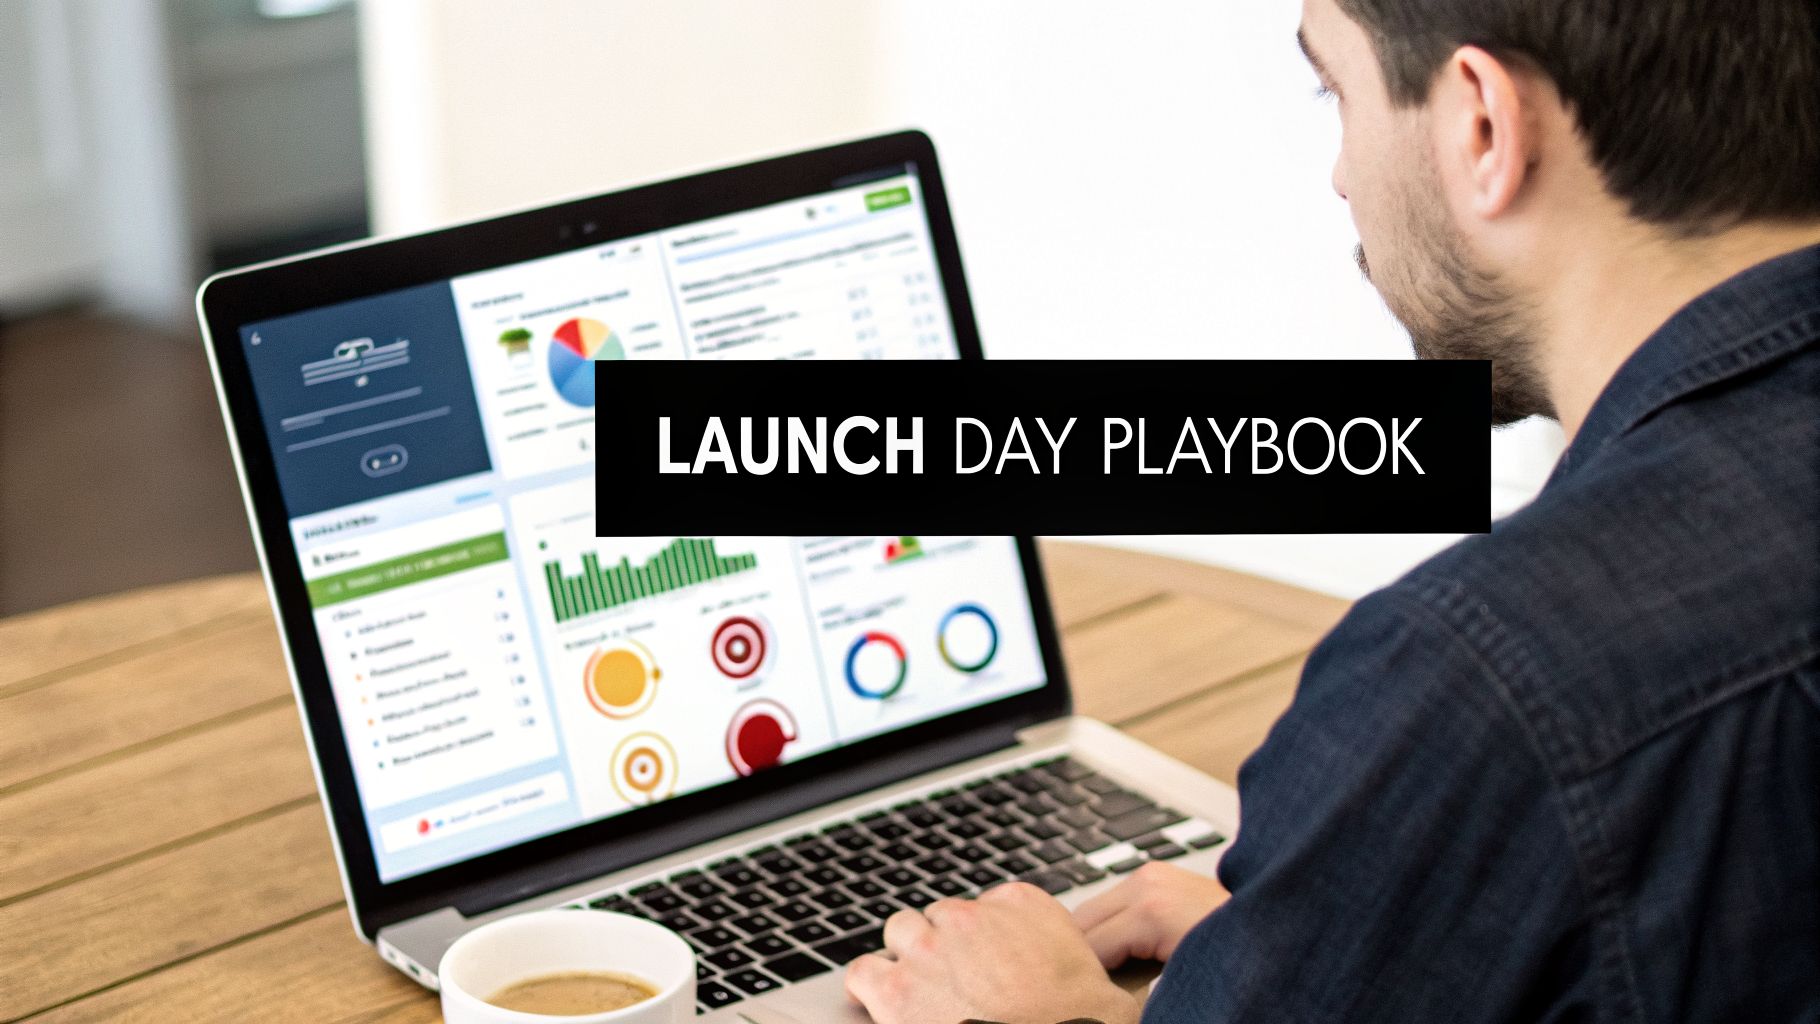
Executing Your Launch Day Playbook
Your pre-launch checklist is done. Your app is live, and the domain is pointing to the right server. This is it—the moment you’ve been working towards. But don't mistake this for the finish line; it’s actually the starting gun. A solid product launch strategy is what separates a fizzle from a bang, guiding you from this initial validation into real growth.
Today's goal isn't to get thousands of signups. It's to get your first users and start learning from them the second they walk through the digital door. You’re aiming for a small, concentrated burst of attention that you can turn into priceless early feedback.
Where to Share Your App on Day One
On launch day, your energy is a finite resource. Focus it on a few high-impact channels where your target audience already gathers. Spreading yourself too thin is a classic mistake that leads to a quiet launch. Instead, pick two or three places and truly be present.
A fantastic launchpad is Product Hunt. It's a built-in community of tech enthusiasts, early adopters, and fellow founders who are genuinely looking for new tools. A good showing there can drive hundreds, sometimes thousands, of motivated visitors in a single day.
Beyond that, you need to go where your ideal customers live online. This is so much more effective than just shouting into the void on a huge platform.
Niche Subreddits: Find the specific subreddits dedicated to your industry or the problem you solve. If your app helps freelance designers, posting in r/freelance or r/web_design is a no-brainer. Just make sure you read the community rules and offer real value—don't just drop a link and disappear.
Facebook Groups & Slack Communities: Just like Reddit, there are highly focused private groups for nearly every profession and hobby. Share your founder's story, explain the problem you’re solving, and ask for honest feedback.
Indie Hackers & Hacker News: These communities respect the hustle. Sharing the details of your build process, your revenue goals, and the challenges you overcame can resonate deeply and attract exactly the right kind of engaged users.
The key isn't just to drop a link and run. Stick around. Answer every single question. Thank people for their time and feedback. Your personal engagement on launch day sets the tone for your company and can turn a curious visitor into a loyal early champion.
The Shift to Post-Launch Monitoring
The buzz of launch day is incredible, but the real work starts the morning after. Your focus has to shift immediately from promotion to observation and interaction. This is when you find out if your great idea actually has legs.
Get comfortable living inside your analytics. Tools like Google Analytics or Mixpanel are your new command center. You're not just glancing at vanity metrics like page views; you’re hunting for patterns in user behavior.
This table shows how your focus needs to shift from the initial splash to the long-term grind.
Launch Day vs. First 30 Days Focus
Metric/Activity | Focus on Launch Day | Focus in First 30 Days |
|---|---|---|
Primary Goal | Generate initial traffic, feedback, and social proof. | Understand user retention, identify friction, and validate value. |
Key Channels | Product Hunt, niche communities, social media announcements. | Direct user outreach (email), in-app surveys, support channels. |
Core Metrics | Unique visitors, signups, upvotes, initial comments. | Activation rate, retention cohorts, feature usage, DAU/MAU ratio. |
Founder's Role | Community engagement, answering questions, celebrating. | Analyzing data, talking to users, prioritizing the first updates. |
The first month is all about turning that initial interest into a sustainable feedback loop that fuels your product's evolution.
Interpreting Early User Behavior
The hard truth is that 25% of users abandon an app after just one use. This number really drives home how critical that post-launch period is. You have to look past the raw signup numbers and dig into metrics that show the real health of your app, like the DAU/MAU ratio (which measures your app's "stickiness").
This is where you compare what you thought users would do with what they're actually doing.
Are people completing the core action you designed the app for?
Where are they getting stuck or dropping off in your onboarding flow?
Are there features they're ignoring completely?
This data is pure gold. It gives you an unbiased look at your user experience and creates a data-backed to-do list of what to fix first. If you want to dive deeper into getting your app seen, check out our guide on how to market a new website.
Collecting Feedback and Prioritizing Updates
While analytics tell you what users are doing, you need to talk to them to understand why. Don't be shy about reaching out directly to your first group of users. A simple, personal email from you, the founder, can work wonders.
Ask open-ended questions like, "What's one thing you were hoping our app would do that it doesn't?" or "Was anything confusing when you first signed up?"
This qualitative feedback, combined with your analytics data, gives you a powerful roadmap for your first round of updates. Your priority list should be a mix of fixing what's broken and doubling down on what's working. If a bug is blocking signups, that's priority #1. If users are surprisingly excited about a small feature, figure out how to make it even more central to the experience. This feedback loop—launch, measure, learn, iterate—is the engine that will drive your app's success.
Common Questions About Launching an App
Even with the best roadmap, launching an app is a journey filled with tough questions. As a founder, you're constantly making calls with limited information, and it's completely normal to have a few nagging uncertainties. I want to tackle the most frequent questions I hear from non-technical founders who are launching an app for the first time.
Let's cut through the noise and get you some straight answers. My goal here is to give you the clarity and confidence to push forward.
How Much Does It Cost to Launch a No-Code App
This is always the first question, and the answer is one of the best parts about building with no-code: it costs a tiny fraction of traditional development. You can forget the scary five- or six-figure quotes you see for custom-coded apps. With a tool like Bubble, your budget is much more grounded in reality.
Your main costs are actually quite predictable.
Bubble Plan: This will be your primary recurring expense. The plans are designed to scale with your app's growth, so you start small.
Plugins: While many are free, some premium plugins can add incredibly powerful features for a one-time fee or a small subscription.
Domain Name: This is a simple yearly cost, usually under $20.
Wrapper Service (Optional): If you decide to package your app for the app stores later, this will be an extra cost down the line.
Honestly, you can launch a really solid MVP for well under a thousand dollars. The biggest savings, though, come from not wasting time on costly mistakes and building efficiently from the start—which is exactly what I focus on helping founders do.
Should I Build a Web App or a Native App First
For 99% of first-time founders, the answer is a no-brainer: start with a responsive web app. It's the smartest, fastest, and most capital-efficient path to market. This approach lets you validate your core idea and start getting paying customers before you ever have to deal with the headaches of app store submissions.
A well-built responsive web app on Bubble works beautifully on any device—phone, tablet, desktop—right from a browser. This gives you universal reach from day one.
Once you have proven demand and have paying customers, you can then use a "wrapper" service like BDK Native to package your web app into a native build for submission to the iOS and Google Play stores. This strategy gives you the best of both worlds without the massive upfront investment.
Starting with a web app also means you can iterate almost instantly. You can push updates, fix bugs, and roll out new features on the fly without waiting weeks for app store approval. That speed is your single greatest advantage.
How Do I Know When My MVP Is Ready to Launch
This question usually hides a deeper fear: launching something that isn't perfect. The reality is, your Minimum Viable Product (MVP) is ready when it reliably solves the single, core problem you set out to fix for your target user. It's not about a long list of features; it's about nailing that one primary value proposition.
There's a reason Reid Hoffman's famous quote sticks around: "If you're not embarrassed by the first version of your product, you've launched too late."
Your MVP is good to go when:
The main user journey is stable and doesn't crash.
It actually delivers the one key outcome you promised the user.
You’ve squashed any critical, show-stopping bugs you found during testing.
The goal isn't perfection. The goal is to get your product into the hands of real users as fast as you can. Their feedback is infinitely more valuable than spending another month polishing a feature nobody asked for.
Can a No-Code App Really Scale
Absolutely. This is a huge misconception that unfortunately holds a lot of founders back. Platforms like Bubble.io were built from the ground up to scale as your user base grows. I've personally seen and worked with countless successful businesses generating millions in revenue, all built entirely on Bubble.
Bubble’s architecture handles all the backend infrastructure for you, so you never have to worry about managing servers. As your traffic and activity increase, you can simply upgrade to a dedicated capacity plan to ensure your app stays fast and responsive.
Ultimately, scalability isn't about the tool itself—it’s about how you build with it. An app with a clean database structure and efficient workflows is an app that's ready to grow. Building smart from day one is the real secret to creating a no-code app that can support a thriving business.
Feeling stuck on your Bubble build or wondering how to turn your idea into a scalable app? At Codeless Coach, I provide one-on-one tutoring to help you build faster, avoid common pitfalls, and launch with confidence. Book a session today and let's get your app across the finish line.


