
Apr 5, 2026
Master the Constant Contacts API in Bubble
Unlock powerful email automation in your Bubble app. Learn to connect the Constant Contacts API with real-world examples and step-by-step guidance for 2026.
At its core, the Constant Contact API is what lets your application talk directly to your email marketing platform. It’s the key to making your marketing work for you, automating everything from adding new contacts to segmenting users and tracking how your campaigns are doing—all without ever leaving your app's dashboard.
The Real Power of Connecting Constant Contact and Bubble

Before we get into the nuts and bolts, let's talk about why this is such a game-changer. Connecting these two platforms is about building a smart, automated marketing engine that makes your no-code app feel like it has a full marketing team behind it. It’s less about just sending emails and more about creating a direct, responsive line of communication with your users.
Imagine a new user signing up for your app and instantly getting dropped into a welcome email series. Or a customer making a big purchase and automatically being added to a "VIP" list. That’s the kind of seamless automation you get when you pair the Constant Contact API with a powerful no-code tool. If you want a deeper dive into what that tool can do, our guide on the Bubble app builder is a great place to start.
Create a Seamless User Experience
This direct integration closes the awkward gap between what a user does in your app and the marketing they receive. When someone hits a milestone, like finishing your onboarding checklist, the API can trigger a congratulatory email in real-time. That instant feedback makes your communication feel personal and incredibly timely.
Here are a few real-world scenarios I've seen work wonders:
Reward Active Users: Automatically move someone to a "Power User" list after they log in for 5 days in a row, maybe teeing up an exclusive offer.
Deeply Personalize Your Emails: You can sync custom fields from your Bubble database—think user names, subscription levels, or last purchase dates—straight into Constant Contact for truly personalized emails.
This isn't just about cool features; it's about professionalizing your marketing from day one. Your app stops being a static product and becomes a dynamic hub for communication, building genuine relationships that give you a serious edge.
Save Time and Scale Your Efforts
If you're a solo founder or part of a small team, you know that manual list management is a soul-crushing time sink. Exporting CSVs, cleaning up data, and re-uploading contacts is slow, tedious, and a recipe for mistakes.
The Constant Contact API just gets rid of that entire process. It frees up dozens of hours you can pour back into building a better product or talking to your customers. It's how you scale your marketing without having to scale your workload.
Getting a Handle on V3 API Authentication in Bubble

Before your Bubble.io app can start talking to Constant Contact, it needs to get permission. This process, called authentication, is the digital handshake that proves your app is who it says it is and has the right to access data. Getting this right is the first big step.
Thankfully, the Constant Contact V3 API gives us two clear paths for this handshake. The one you pick is a critical decision, as it dictates how your app interacts with user accounts and what kind of features you can ultimately build.
Choosing Your Authentication Method
The first path is straightforward: using a simple API key. Think of this as a secret password for your app. You generate this long string of characters from your Constant Contact developer account and plug it into Bubble. This method is perfect for server-side actions where your app is working on its own behalf, like running a backend workflow to sync your own company's contacts.
The second path, OAuth 2.0, is a bit more involved but is the gold standard for security and scalability. Instead of using a single key, your app temporarily sends your users to a Constant Contact login screen. Once they approve, they are sent back to your app with a temporary token. This is the only way to go if you're building a SaaS app where your customers need to connect their own Constant Contact accounts.
My Rule of Thumb: If your app is the only one using a single Constant Contact account (yours), an API key is faster and easier. If you need your app's users to grant access to their individual Constant Contact accounts, you absolutely need to use OAuth 2.0.
API Key vs. OAuth 2.0: Which Is Right for Your App?
Deciding between an API key and OAuth 2.0 really comes down to what your app needs to do. This table breaks down some common scenarios I've seen to help you make the right call from the start.
Scenario | Recommended Method | Why It's a Good Fit |
|---|---|---|
Internal company tool that syncs sales leads to a single marketing list. | API Key | It's simple, fast to set up for a single, trusted account, and ideal for backend workflows. |
SaaS platform that offers email automation tools for your customers. | OAuth 2.0 | Each user can securely connect their own account without ever sharing their credentials with you. |
A simple website form that adds new subscribers to your newsletter. | API Key | The action is on behalf of your website, not the visitor. It's a server-to-server call. |
Ultimately, OAuth 2.0 is built for user-delegated permission, while an API key is for direct, trusted access to your own account. Choose the one that matches your app's architecture.
A Quick Word on Scopes and Rate Limits
No matter which method you go with, you'll have to define scopes. Scopes are just permissions. They let you tell Constant Contact exactly what your app is allowed to do. For instance, you could request the contact_data scope to add and edit contacts but leave out the campaign_data scope. It's a fundamental security practice—only ask for the permissions you truly need.
Constant Contact’s V3 API has been a game-changer for automating email workflows, especially for those of us building on no-code platforms. It has a generous but firm limit of 10,000 requests per day for each API key, which is plenty for most growing businesses. One of my favorite features is the Bulk Activity endpoints; they let you process thousands of contacts in a single API call, which is incredibly efficient.
For a more general overview of how these security protocols work, this guide on API Authentication is a great resource.
Alright, let's get our hands dirty and connect your Bubble app to Constant Contact. This is where the magic happens, turning those API credentials into a real, working integration. The tool for the job is Bubble's own API Connector plugin.
If you haven't already, you'll need to install it. Head over to the "Plugins" tab in your Bubble editor, hit "+ Add plugins," and search for "API Connector." It's an official Bubble plugin, so you know it's solid. Go ahead and install it.
Setting Up the API Connector
Once installed, you'll find a new "API Connector" section in your plugins tab. This is your mission control for talking to any external service.
Click the "Add another API" button. You'll want to give this connection a clear name for your own reference—something like Constant Contact V3 works great.
This is what you'll be looking at: a blank slate ready for you to configure the connection.
Every part of your integration, from authentication to the specific API calls you'll make, gets defined right here.
Handling Authentication
This next part is where most people get tripped up, so pay close attention. In the configuration window, you need to choose your Authentication method. As we talked about earlier, you've got two main routes:
Private key in header: This is for using an API Key. It's the simpler path and perfect for server-side actions, like adding a new user from your app to one of your own email lists.
OAuth2 User-Agent Flow: This is the more complex OAuth 2.0 option. You’d use this if you want your users to connect their own Constant Contact accounts to your app.
We'll focus on the API key method first since it's the most common starting point.
Select "Private key in header," and two new fields will pop up. For the "Key name," you have to enter Authorization. Then, in the "Key value" field, type the word Bearer, add a single space, and paste in the long-lived access token you got from your Constant Contact developer portal.
Crucial Tip: I can't stress this enough: the
Bearerprefix (with the space) is absolutely mandatory. Forgetting it is the #1 reason I see people get a 401 'Unauthorized' error. Your final key value should look exactly like this:Bearer your_long_api_key_here.
This authentication setup is the foundation for all your server-to-server calls. If you're building more advanced integrations, like payment systems, you might find our guide on embedding a Stripe checkout page in Bubble useful, as it follows a similar pattern.
With the authentication handled, your app is now trusted to talk to the Constant Contact API. The next step is to start defining the actual API calls—telling Constant Contact what you want it to do.
Building Essential API Workflows in Your App
Alright, with authentication squared away, we can get to the fun part: making your app actually do something. A successful connection is great, but the real power of the Constant Contact API comes from building automated workflows that handle the tedious stuff for you.
We’re going to start with the absolute fundamentals and then work our way up to more advanced tricks. The whole process really boils down to three key stages: getting your initial settings right, handling the authentication handshake, and then firing off your first real API call.
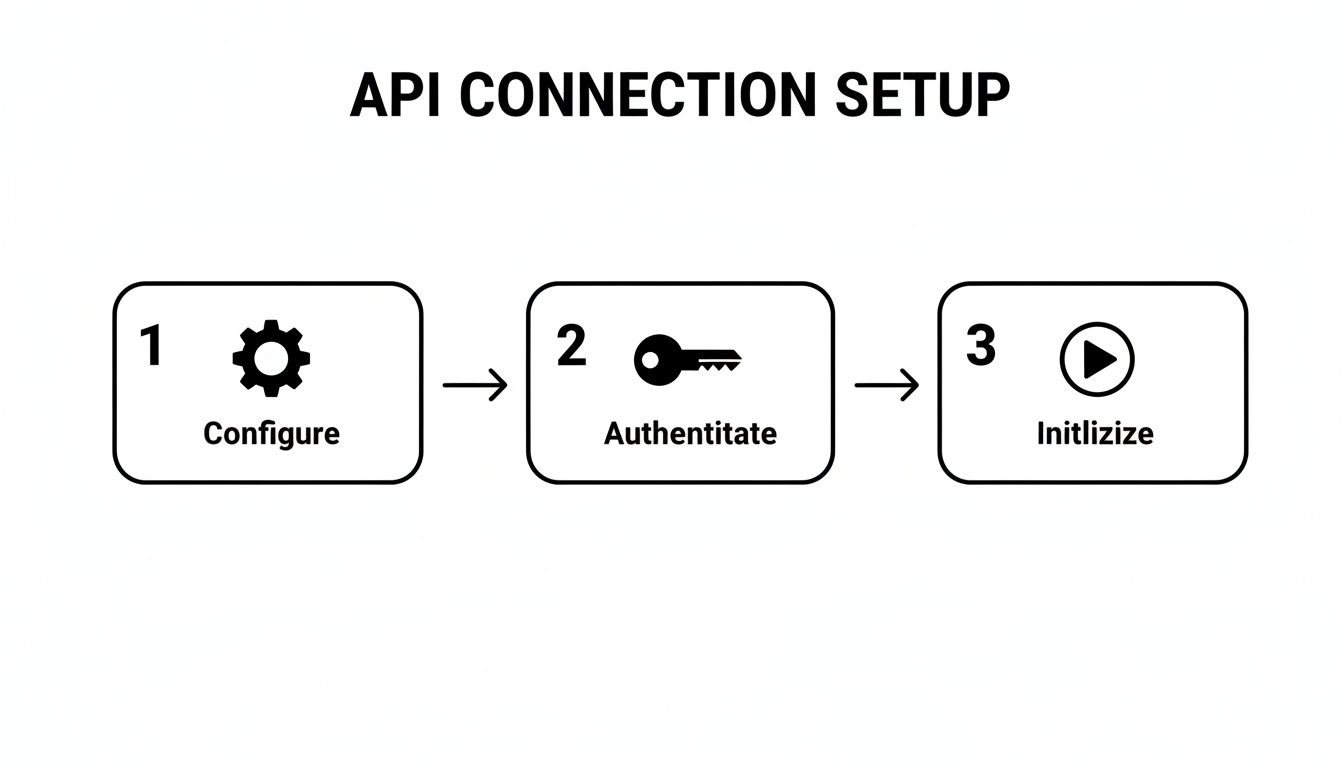
Nailing these three steps is your ticket to unlocking some serious automation.
By far, the most common and valuable workflow is adding a new contact. Think about a user filling out a "Join Our Newsletter" form in your Bubble app. You don't want to be manually exporting CSVs—you want that email added to your "Newsletter Subscribers" list the second they click "submit." This is exactly what the POST /contacts endpoint was made for.
Adding a New Contact to a List
To get this working, you'll need to set up a new API call in Bubble's API Connector. Make sure to define it as an "Action," which allows you to trigger it from a workflow, like when a user clicks a "Subscribe" button. The call itself will be a POST request to https://api.cc.email/v3/contacts.
The magic really happens in the JSON body you send along with the request. This is how you tell Constant Contact who you're adding and which list to put them on.
Example JSON Body to Add a Contact
{
"email_address": {
"address": "example.user@email.com",
"permission_to_send": "implicit"
},
"list_memberships": [
"your_list_id_goes_here"
]
}
Back in your Bubble workflow, you'll dynamically insert the email from your form's input field. The list_id is the unique code for your mailing list, which you can easily find inside your Constant Contact account.
Updating a Contact with Custom Data
But what if you want to sync more than just an email? The PUT /contacts/{contact_id} endpoint is your tool for enriching existing contacts with fresh data from your app. This is incredibly useful for segmenting your audience based on what they actually do.
For instance, let's say a user upgrades to your "Pro" plan. You can fire off a workflow that immediately updates their Constant Contact profile using custom fields.
Essential Custom Fields for Segmentation
Subscription Tier: Sync if a user is on a "Free," "Pro," or "Enterprise" plan.
Last Login Date: Keep tabs on user activity to spot your most engaged—or at-risk—users.
Total Spent: Create segments for high-value customers to reward them with exclusive offers.
By syncing this kind of data directly from your app, you can create incredibly powerful email segments. Imagine building an automation that sends a special discount only to "Pro" users who haven't logged in for 30 days. That’s the kind of targeted marketing that gets results.
Retrieving Campaign Performance
The Constant Contact API isn't just a one-way street for managing contacts; it’s also fantastic for pulling performance data back into your app. Using the GET /emails/activities/{campaign_activity_id} endpoint, you can fetch detailed stats for a specific email campaign.
This opens the door to building a custom analytics dashboard right inside your own Bubble application. You could display key metrics like open rates, click-throughs, and bounce counts, giving you a single, unified view of your marketing efforts without ever leaving your platform.
The Contacts endpoint is surprisingly flexible, too, allowing you to manage everything from sign-up forms to contacts for both email and SMS campaigns. In my experience, using the API for proper list management can reduce unsubscribe rates by 15-20% globally. Since the V3 API was released, integrated apps have seen 40% faster contact growth compared to manual imports. You can dive deeper into how the Constant Contact API can streamline your workflows on their official knowledge base.
Troubleshooting Common API Errors and Pitfalls
Sooner or later, every Bubble builder hits an API error. It’s not a failure; it’s just the API’s way of telling you exactly what it needs. Think of yourself as a detective. This section is your field guide to decoding those cryptic messages and getting your Constant Contact integration back on track right inside the Bubble editor.
The error I see pop up more than any other is the dreaded 401 Unauthorized. Nine times out of ten, this points directly to an issue with your access token. Your first suspect should always be the Bearer prefix in your API Connector's header settings. Did you include it? Is there a space after "Bearer" and before your key? A missing prefix is the single most common reason for this error.
Another classic culprit, especially if you're using OAuth 2.0, is an expired token. If your API calls were working perfectly and then suddenly stopped, this is likely the cause. You'll need to build a workflow in Bubble that uses the refresh token (which you got during the initial setup) to automatically fetch a new access token.
Diagnosing Bad Requests and Rate Limits
If you're getting a 400 Bad Request error, the problem isn't with your authentication—it's with the data you're actually sending. The Constant Contact API is very particular about the JSON structure it receives. Something as tiny as a misplaced comma, an extra bracket, or a typo in a field name can throw everything off.
Your first move should be to pull up the official Constant Contact documentation for that specific endpoint. Compare your JSON body from the Bubble API Connector side-by-side with their example. I also highly recommend using a free online JSON validator. Just paste your code in, and it will immediately flag any syntax errors you might have overlooked. For a deeper look into the nuances of different error responses, the official documentation on API error handling is a great resource.
Eventually, you might also hit a 429 Too Many Requests error. While Constant Contact’s V3 API gives you a pretty generous 10,000 requests per day, it’s not impossible to hit that limit. This usually happens because of an inefficient workflow, like triggering an API call on every single page load when it only needs to run once.
Pro Tip: For any kind of bulk operation, lean on Bubble's backend workflows. Instead of trying to update an entire list of users with one massive API call, set up a recursive workflow. This lets you process them one by one with a small delay between each, keeping you well under the rate limits and ensuring your app stays responsive.
Common Pitfalls to Avoid
Beyond the major error codes, a few other common slip-ups can cause some serious headaches. Here are a few I've seen trip people up time and again:
Wrong HTTP Method: You're using a
GETcall for an endpoint that clearly requires aPOST. It’s an easy mistake to make when you’re moving fast. Always double-check the API docs.Endpoint URL Typos: A single wrong character in the URL will result in a
404 Not Founderror. Copy and paste the endpoint directly from the documentation to be safe.Mismatched Data Types: The API expects a text string for a field, but you’re sending a number. This will almost always trigger a
400error. Make sure your JSON body's data types align perfectly with what the API specifies.
Debugging is a skill you build with experience. But if you’re pulling your hair out over a stubborn bug that just won’t quit, sometimes an outside perspective is what you need. Getting some expert Bubble.io support can offer that personalized help to get you past the finish line.
Frequently Asked Questions
As you start integrating the Constant Contact API into your Bubble app, you'll inevitably hit a few common roadblocks. Here are some of the questions I see pop up all the time, with advice pulled directly from real-world projects.
Can I Use the Constant Contact API for Transactional Emails?
This is a big one, and the short answer is a hard no. It's a common mistake to try and funnel critical emails like password resets, order confirmations, or welcome messages through the Constant Contact API.
Here’s why that’s a bad idea: Constant Contact is a marketing machine. Its infrastructure is built for sending beautiful campaigns to large lists, not for the instantaneous, one-to-one delivery that a transactional email demands. Trying to use it for this will only lead to delays and frustrated users.
For those essential, time-sensitive emails, you absolutely need a dedicated service. Tools like SendGrid or Postmark are designed from the ground up for this exact purpose, ensuring your most important messages land in the inbox immediately. A professional setup uses both—Constant Contact for marketing, and a transactional service for everything else.
How Do I Sync Custom Fields from My Bubble App?
This is where the magic really happens with a direct API integration. It's how you go from generic newsletters to truly personal communication. The process is surprisingly simple.
First, you'll need to jump into your Constant Contact account and define the custom fields you want to track. These should mirror important data in your Bubble app—think fields like "Subscription_Tier," "Last_Login_Date," or "Total_Purchases."
Once those are set up, you just need to include the custom_fields object in the JSON body of your API call. Whether you're adding a new contact (POST /contacts) or updating an existing one (PUT /contacts/{contact_id}), you can pass that rich user data straight from your Bubble database.
Syncing real user behavior from your app is a game-changer. It lets you build automated campaigns that react to what people actually do, which is worlds more effective than just blasting out the same email to everyone.
Should I Use the API Directly or a Tool Like Zapier?
This really comes down to a classic "speed vs. scale" trade-off.
For simple, one-way automations, a tool like Zapier is incredibly fast. If all you need is to add a new contact whenever someone fills out a Typeform, Zapier will get you there in minutes. It's perfect for quick, isolated tasks.
But the moment your logic gets more complex or tied directly to your app's core functions, the direct API connection in Bubble becomes the clear winner. It's more powerful, far more flexible, and—crucially—cheaper as you grow. Relying on the direct API avoids Zapier's task-based pricing, which can get very expensive for an active app. Going direct gives you total control over your workflows without being boxed in by a third-party plan.
If you're ready to get past the roadblocks and build powerful automations faster, Codeless Coach offers personalized, one-on-one Bubble.io tutoring sessions to help you launch your app. Book a session today and let's build it together.


