Mar 8, 2026
Founder's Guide to stages product development in 2026
Discover the stages product development journey for founders: a no-code guide to turning ideas into launches with practical, beginner-friendly steps.

Turning a great idea into a real, working product isn't magic—it's a process. Following a structured path, from that first spark of inspiration to launching and growing your app, is what separates a daydream from a successful business. This journey gives you a clear, step-by-step guide to turn an abstract concept into a tangible solution people will actually use.
Your No-Code Roadmap Through Product Development
Let's be honest: taking an idea from your brain to the marketplace feels like a massive undertaking, especially if you're not a coder. The traditional route for software development is notoriously slow. On average, it takes a staggering 22 months to get a product from concept to launch. That's almost two years of development before you even know if you've built the right thing.
This is precisely why no-code is such a powerful alternative. The demand for building digital products is exploding—the product design services market hit $15.8 billion in 2022 and is on track to more than double to $32.9 billion by 2030. For non-technical founders, tools like Bubble cut through the long timelines and high costs, letting you build and launch a first version (your MVP) in months, not years.
Think of this guide as your strategic roadmap. We'll walk through each phase, giving you a high-level look at what to expect.
This timeline gives you a bird's-eye view of how a no-code approach can seriously speed things up, taking you from an initial idea to a launch-ready product in roughly four months.
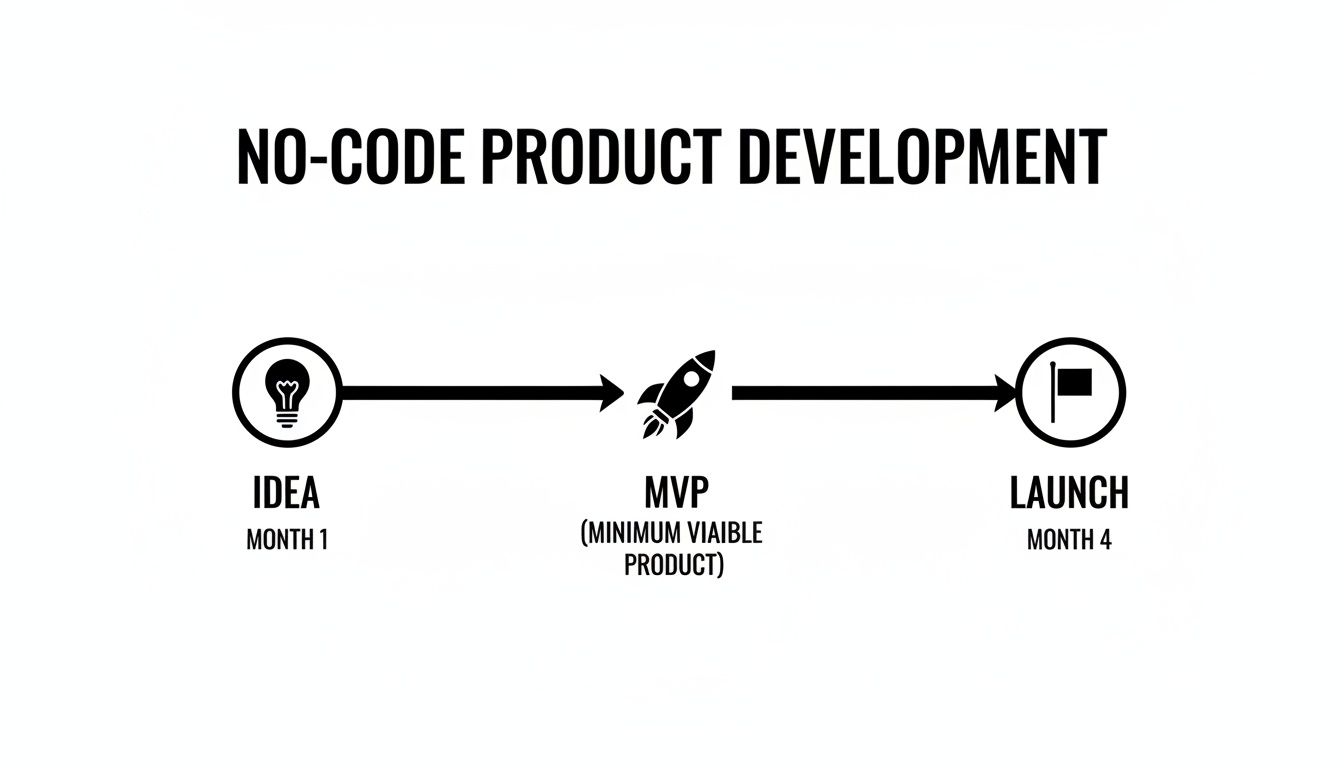
As you can see, building with no-code shortens your feedback loops dramatically, getting your app into the hands of real users much faster.
The No-Code Product Development Stages at a Glance
To give you a clearer picture before we dive into the details, here’s a quick summary of the stages we’re about to break down. Each phase has a distinct goal and a realistic timeline tailored for a founder building with a no-code platform. If you're just getting started and want an even broader overview, our complete guide on how to make an app is a great place to begin.
Here’s what the journey looks like from 30,000 feet:
Stage | Primary Goal | Typical No-Code Timeline |
|---|---|---|
Idea & Discovery | Find your problem-solution fit and confirm there's a real need. | 2–4 Weeks |
UX/Design & Prototyping | Map out the user experience and create a visual, clickable model. | 1–3 Weeks |
No-Code Build & Iteration | Use Bubble to build the core features of your functional product. | 4–8 Weeks |
Integrations & Testing | Connect external services (like payments or email) and squash bugs. | 1–2 Weeks |
Launch & Go-to-Market | Release your product to the world and get your first users. | 1 Week |
Post-Launch & Maintenance | Gather user feedback, make improvements, and scale your app. | Ongoing |
Now, let's unpack each of these stages one by one, so you know exactly what to do, what to watch out for, and how to make the most of your no-code build.
Stage 2: Idea Validation & Finding Your Market
So you have an idea. Great. But before you get lost in the excitement of building, we need to do a reality check. This is where most aspiring founders stumble—they fall in love with their solution before they've even confirmed anyone has the problem.

This stage is all about gathering evidence to prove that a real, painful problem exists and that people are willing to pay for a solution. Don't just trust your gut. The data is sobering: market research shows only 1 in 7 ideas ever becomes a market hit, and just four of seven even make it to the development phase.
This is exactly where a no-code approach with Bubble gives you a massive advantage. You can test your ideas fast without sinking a fortune into a product nobody wants.
Nail the Problem, Not the Solution
Let's get specific. Your first job is to move from a vague concept to a crystal-clear problem. "I want to build a better project management app" is a recipe for failure. It's too broad.
A much stronger starting point is, "Creative freelancers struggle to track their project profitability because all the current tools are either too expensive or way too complicated." See the difference? Now we have a specific audience with a specific pain point.
This is your problem statement, and it’s the foundation for everything that comes next. To avoid building a solution in search of a problem, it's crucial to understand how to validate a business idea before you go any further.
Next, you'll want to create a user persona. Think of this as a detailed profile of your perfect customer, based on your research so far. Give this person a name, a job, and some real-world frustrations.
For example:
Name: "Alex, the Freelance Designer"
Goal: Wants to spend more time designing and less time drowning in admin work.
Frustration: Feels completely overwhelmed trying to figure out which projects are actually profitable using a jumble of messy spreadsheets.
This persona isn't just a silly exercise; Alex becomes your north star. Every feature, design choice, and marketing message should be aimed at solving their problem.
Gather Feedback Without Building a Thing
With your problem and persona in hand, it's time to see if you're onto something. The goal here is to get real, honest feedback without writing a single line of code or spending more than a few bucks.
The most common mistake founders make is asking, "Would you use my app?" That's the wrong question. You need to find out if the problem you've identified is a real, urgent, and frequent headache for them.
You can learn a surprising amount with some simple tools. Spin up a quick survey on a platform like SurveyMonkey to ask your target audience direct questions about their current challenges. You're not selling your idea yet; you're just listening.
Other cheap and effective methods include:
A Simple Landing Page: Create a one-page site that explains the value you plan to offer and includes an email sign-up form. Are people interested enough to give you their email?
Online Communities: Jump into relevant Reddit threads, Facebook Groups, or industry forums. Don't spam your idea. Instead, listen to the conversations and ask questions about the problems people are facing.
At the end of this stage, you should have a clear answer to one critical question: "Is this a real business, or just a hobby project?"
Stage 2: Designing the User Experience and Prototype
Okay, so your idea has legs. You've done the groundwork and confirmed you're solving a real problem for real people. Now comes the fun part: making your solution tangible. This is where we stop talking about ideas and start building something people can see and touch.
The goal here is to translate your concept into a visual and interactive experience—a prototype. This happens before you write a single line of code or build out the full application.

We're going to shape the user experience (UX) and build a clickable model that feels just like a finished product. For non-technical founders, this stage used to be a huge hurdle. But with the right tools, you can design and test everything yourself, no developer needed.
From User Flows to Wireframes
First things first, you need to map out your user flows. Think of these as treasure maps for your users. What specific path does someone like "Alex, the Freelance Designer" take to get from A to B in your app? How does he sign up? How does he create his first project and track its profitability? Sketching these journeys out helps you think through every step.
With those flows mapped, you can start creating wireframes. These are the basic, no-frills blueprints of your app’s screens. Forget about colors, fonts, or fancy graphics for now. You can use a pen and paper, a whiteboard, or a simple digital tool like Figma. The only goal is to nail down the structure and layout.
Don't aim for perfection. A prototype is a tool for learning, not a final product. Its purpose is to get something functional into users' hands quickly to test your core assumptions and gather feedback.
Once you've sketched out the basic structure, it's time to create a more polished, clickable prototype. For a much deeper dive on this, check out our complete guide on prototyping an app with no-code tools. It’s the perfect resource for turning those simple wireframes into an interactive model.
Building a Clickable Prototype in Bubble
This is where a platform like Bubble becomes a founder's best friend. You can take your wireframes and build a high-fidelity, interactive prototype directly in the Bubble editor, giving you total, pixel-perfect control over the design.
The screenshot above shows Bubble's visual editor in action. You just drag and drop elements like buttons, text fields, and images to build out your interface. Then, you can add simple logic to link the screens together, creating a prototype that looks and feels like a real, working application. This is exactly what you'll put in front of users for your first crucial round of testing.
Stage 3: Building Your MVP with No-Code Logic
Alright, this is where the magic happens. You’ve validated your idea and have a solid prototype in hand. Now, it's time to take that vision and forge it into a real, working application. This stage is all about building the core functions of your Minimum Viable Product (MVP) with a visual, no-code platform like Bubble.
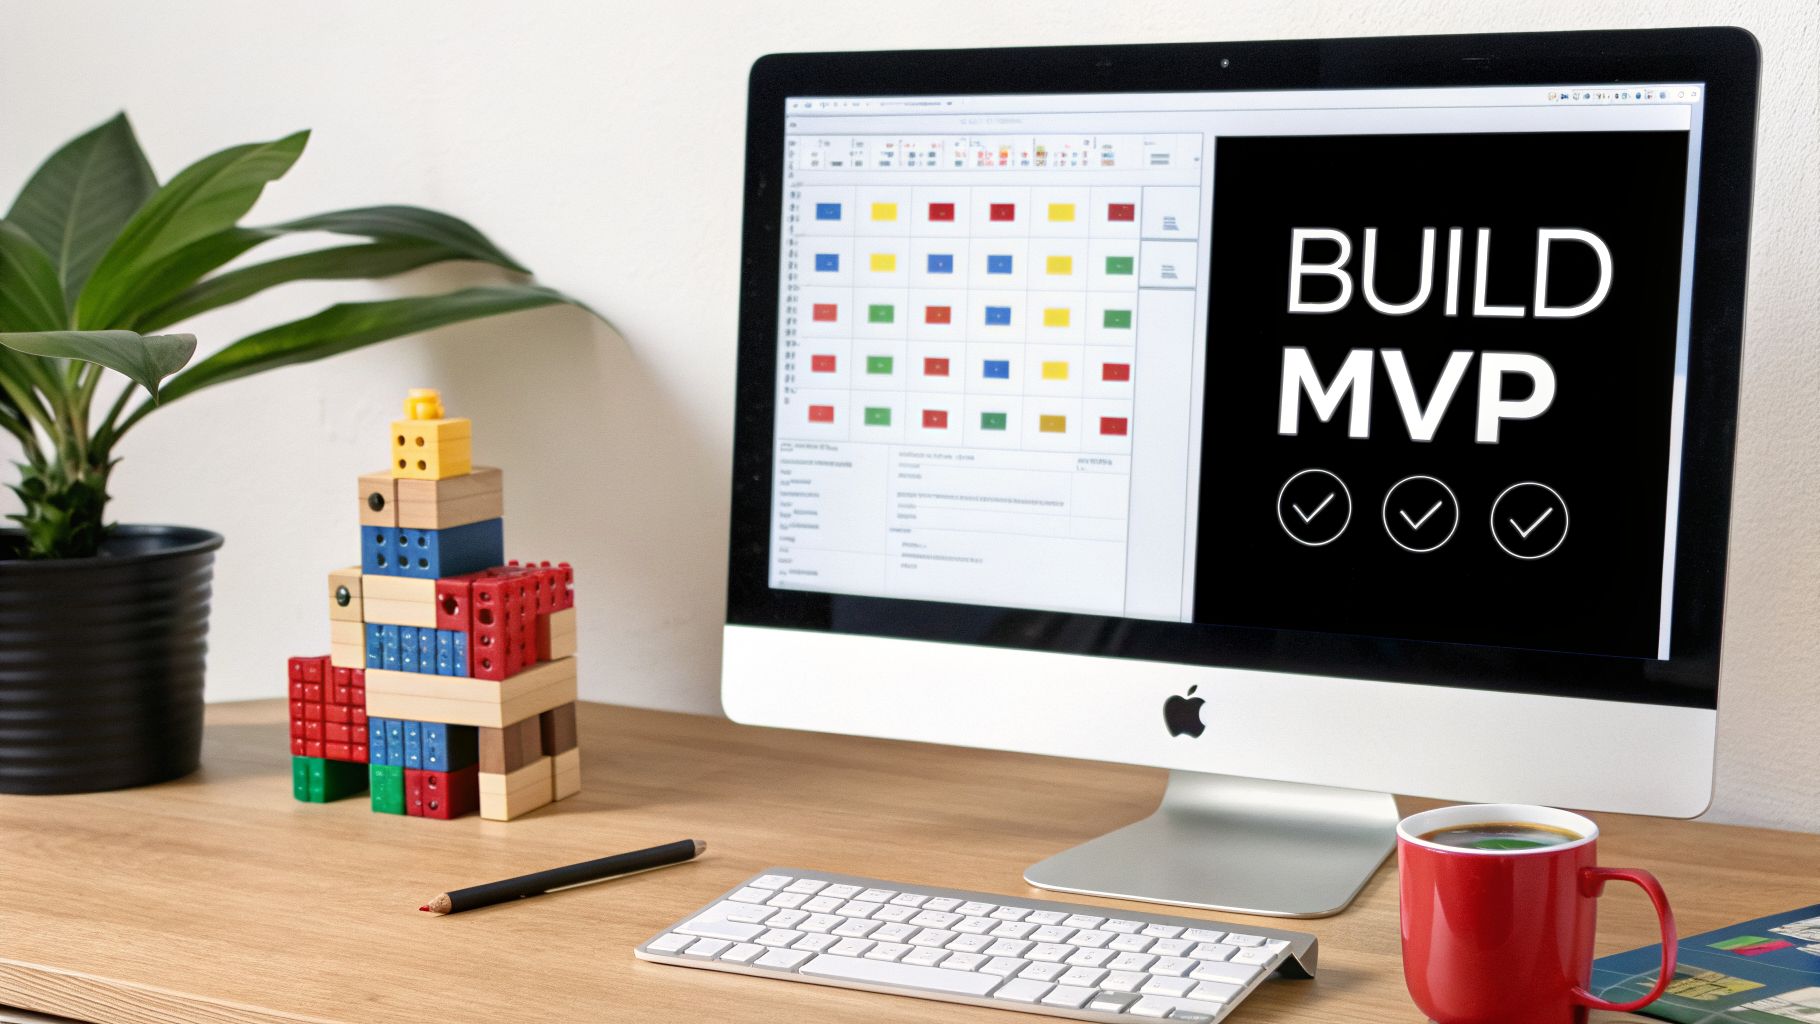
The best way to think about this is like building with digital LEGOs. Instead of wrestling with code, you're using Bubble's visual editor to snap together pre-built elements that handle everything from user logins to database queries. The name of the game here is focus. Build just enough to solve that one critical problem for your first users, and resist the temptation to add anything else.
Setting Up Your Database and Workflows
Your first real construction task is to build your app's database. This isn't as scary as it sounds—it's just the digital filing cabinet where all your information lives, whether it's user profiles, project details, or product listings. In Bubble, this is a completely visual process. You start by creating "Data Types" (like a "User" or a "Project") and then give them "Fields" (like "Name," "Email," or "Project Deadline").
Once the database structure is in place, you make your app actually do things with workflows. Workflows are the engine of your app; they’re the "if-this-then-that" logic that springs into action when a user clicks a button or performs some other action.
A classic example is a user sign-up workflow:
When a user hits the "Sign Up" button...
Then Bubble creates a new record in the "User" data type.
And it logs that new user in.
Finally, it sends them to their dashboard page.
This screenshot from Bubble's workflow editor shows you exactly how these step-by-step instructions are put together.
Each box is a specific command, letting you chain together complex actions without ever seeing a line of code. This visual approach makes it incredibly intuitive to map out and, more importantly, to debug your app's logic.
The Power of Iteration
Here's where no-code really shines: the sheer speed of iteration. In the old world of traditional development, a seemingly small change could take days or even weeks. With Bubble, you can make meaningful updates almost instantly. Did a user get confused during sign-up? You can tweak the workflow and push the fix live in a matter of minutes.
A core principle of successful product development is that your MVP is not the final product—it’s the first step in a continuous conversation with your users. No-code tools supercharge this feedback loop.
This rapid build-measure-learn cycle is the heartbeat of a successful launch. You can quickly roll out features based on real feedback, test different designs, or even pivot your entire strategy without getting bogged down by a slow development pipeline. For your marketing, picking the right no-code landing page builder lets you test different value propositions with the same agility. The goal is to stay nimble and let your user data show you the way forward.
Stage 4 Integrating and Testing Your Application
Your app is now more than just a collection of features; it's starting to feel like a real product. But no app is an island. This is the stage where you connect it to the wider world and then put it through its paces to make sure nothing breaks. Think of it like giving your app superpowers from other services, and then running a series of stress tests before the public gets their hands on it.
The main way we do this is through APIs, which are essentially pre-built bridges that let different software platforms talk to one another. In Bubble, your go-to tool for this is the API Connector. It’s your control center for plugging in all the critical services your app needs to function professionally.
Connecting to the Outside World
The API Connector is what lets you avoid reinventing the wheel. You can tap into powerful, established platforms to handle complex jobs that users simply expect. For a new product, this often means setting up a few key connections.
Payment Processing: Instead of building a secure payment system from scratch (a monumental task), you connect to Stripe. This lets you handle subscriptions and payments safely and reliably.
Location Services: Need to display a map, search for addresses, or calculate delivery routes? You can integrate Google Maps to handle all the heavy lifting for location-based features.
Artificial Intelligence: Want to add some smarts to your app? You can tap into services like OpenAI to generate text, analyze data, or even power a chatbot, all through a simple API call.
Here's a look at Bubble's API Connector interface. It might look a little technical at first, but it’s quite straightforward once you get the hang of it.
You’re essentially just telling Bubble what kind of information you want to send or receive, turning what used to be a major coding project into a fill-in-the-blanks exercise.
A Founder-Friendly Approach to Testing
With your key integrations wired up, it’s time for quality assurance. This isn't just a final checkbox; it’s about protecting your reputation. A buggy, unreliable app is one of the fastest ways to lose a user's trust, often for good. Your goal is to find and squash every bug you possibly can before a real user ever encounters one.
Don't think of testing as a chore you do at the end. Weave it into your building process. A stable, reliable product is your single greatest asset at launch.
The best way to start is with a simple, repeatable checklist. This makes sure you cover all your bases and don’t get sidetracked.
A Simple Pre-Launch Testing Checklist:
Workflow Testing: Go through every single user action. Click every button. Fill out every form. Does the "Sign Up" workflow create a new user correctly? Does deleting a project actually remove it from the database?
User Path Simulation: Put yourself in your user’s shoes. If your target user is "Alex, a freelance designer," act like Alex. Try to create a new client, build a project, and send an invoice. Does the flow make sense? Does it feel intuitive?
Edge Case Testing: Now, try to break things on purpose. What happens if a user uploads a massive image file? Or enters their name into a number-only field? Pushing your app to its limits is how you find hidden weaknesses.
Cross-Browser Check: Open your app in Chrome, Safari, and Firefox. A layout that looks perfect in one browser might be a mess in another. Ensure the experience is consistent everywhere.
Taking the time to be disciplined here is what separates an amateur product from a professional one. It ensures that when you finally launch, you’re putting your best foot forward.
Stage 5: It’s Time to Launch
You’ve made it. Getting to the launch stage is a huge milestone, but this is where so many great products fall flat. A brilliant app with a terrible launch will almost always fail. This is where your go-to-market (GTM) strategy comes in—it's your battle plan for introducing your app to the world and landing those first crucial users.
Don't worry, this plan doesn't need to be some massive, expensive affair. In fact, for most new founders, a "soft launch" is way smarter than a big, splashy public reveal. The real goal here is to build some early momentum, get priceless feedback from people using your app in the wild, and prove that your solution actually works. This is the moment you officially shift from building a product to building a business.
Choosing Your Launch Approach
So, how should you roll this out? You have a couple of solid options.
A private beta is often the smartest first move. This just means inviting a small, hand-picked group of users to get early access. Think back to that waitlist you built during the validation stage—that’s your goldmine. This controlled test flight lets you find bugs and get brutally honest feedback without the pressure of the public eye.
Once you’ve worked out the initial kinks, you can move to a more public launch on a platform like Product Hunt. This community is packed with early adopters who are genuinely excited to try new things.
A successful debut on a site like Product Hunt can send thousands of curious visitors your way in a single day, giving you a massive wave of initial users and feedback.
Gaining Early Traction on a Budget
You absolutely do not need a giant marketing budget to make an impact. Your initial marketing message should be razor-sharp, focusing on the one core problem you solve for your ideal customer. Use that simple message everywhere. And speaking of budget, having a clear financial picture is critical. Our guide on how much app development costs can give you some valuable perspective as you map out your resources.
The goal of your launch isn't to get thousands of users overnight. It's to find your first 10 true fans—people who absolutely love what you've built, use it consistently, and would be genuinely upset if it disappeared.
Here are a few high-impact, low-cost ways to find them:
Tap into Online Communities: Share what you’ve built in relevant Reddit, Facebook, or Slack groups where your target users already are. Just be sure to be a helpful member first, not just a spammer dropping links.
Lean on Your Network: Never underestimate the power of your friends, family, and professional contacts. A personal ask for support or a share can go a surprisingly long way.
Create Simple Content: Write a blog post or film a quick screen recording that explains the problem your app solves. Walk people through how it works—show, don't just tell.
Common Questions I Hear from Founders
As you get deeper into the no-code world, some very practical questions will start to bubble up (pun intended). Let's tackle the big ones I hear most often from non-technical founders. These are the real-world concerns that come up on the journey from idea to launch.
How Long Does It Really Take to Build a No-Code MVP?
This is usually the first thing everyone wants to know. While a traditional, coded app can easily take six months to a year just to get a first version out, no-code is a different ballgame. I’ve seen focused founders design, build, and launch their core product on Bubble in 4 to 12 weeks.
Of course, that’s a range, not a rule. The final timeline depends on how complex your app is, how much time you can dedicate each week, and your learning curve with the platform. The true power here isn't just speed for speed's sake; it's getting your product in front of real users fast so you can start learning and improving.
What Is the Single Biggest Mistake to Avoid?
Falling in love with your idea and jumping straight into the build without validating it first. It's the most common and costly mistake I see. You spend months building something beautiful, only to find out you've created a solution for a problem no one actually has—or at least, not one they’re willing to pay to solve.
Your most important job in the early stages isn't to build, but to listen. Test your core assumptions with your target audience first. Before you build the whole app, use Bubble to create a simple landing page or a one-feature prototype to prove people actually want what you're planning.
Can I Actually Build a Scalable Business on a No-Code Platform?
Yes, absolutely. Let's clear this up right now: a platform like Bubble isn't just for tinkering or building prototypes. It's engineered to scale and currently powers businesses with hundreds of thousands of users.
Think of it as your foundation for growth. You can launch your MVP, gather user feedback, and then build out more features over time. As your user base grows, you can easily:
Optimize your database structure for better performance.
Connect to any external service you need through the API Connector.
Upgrade your server capacity with a few clicks to handle more traffic.
It's a robust platform you can grow with, not one you'll grow out of.
How Do I Decide Which Features to Include in My MVP?
You have to be ruthless. Your MVP should do one thing for one type of person exceptionally well. The goal is to solve a single, painful problem, not to build a Swiss Army knife.
A great exercise is to list every feature you've ever dreamed of for your app. Then, sort them using a framework like MoSCoW (Must-have, Should-have, Could-have, Won't-have). Your MVP consists only of the "Must-haves." Everything else is just noise until real users start telling you what they need next.
Ready to stop guessing and start building with confidence? At Codeless Coach, we provide one-on-one Bubble tutoring to guide you through every stage. Book a session and get the expert help you need to build your app the right way, faster.


