Feb 26, 2026
Prototyping an App: Your Guide to Building a No-Code MVP
Learn how prototyping an app with no-code tools blurs the line with an MVP. This guide shows non-technical founders how to build a functional prototype.

In the old days of app development, prototyping meant creating a bunch of static mockups that just looked like a real app. They were a necessary step, but ultimately, they were throwaway work. That entire model has been turned on its head.
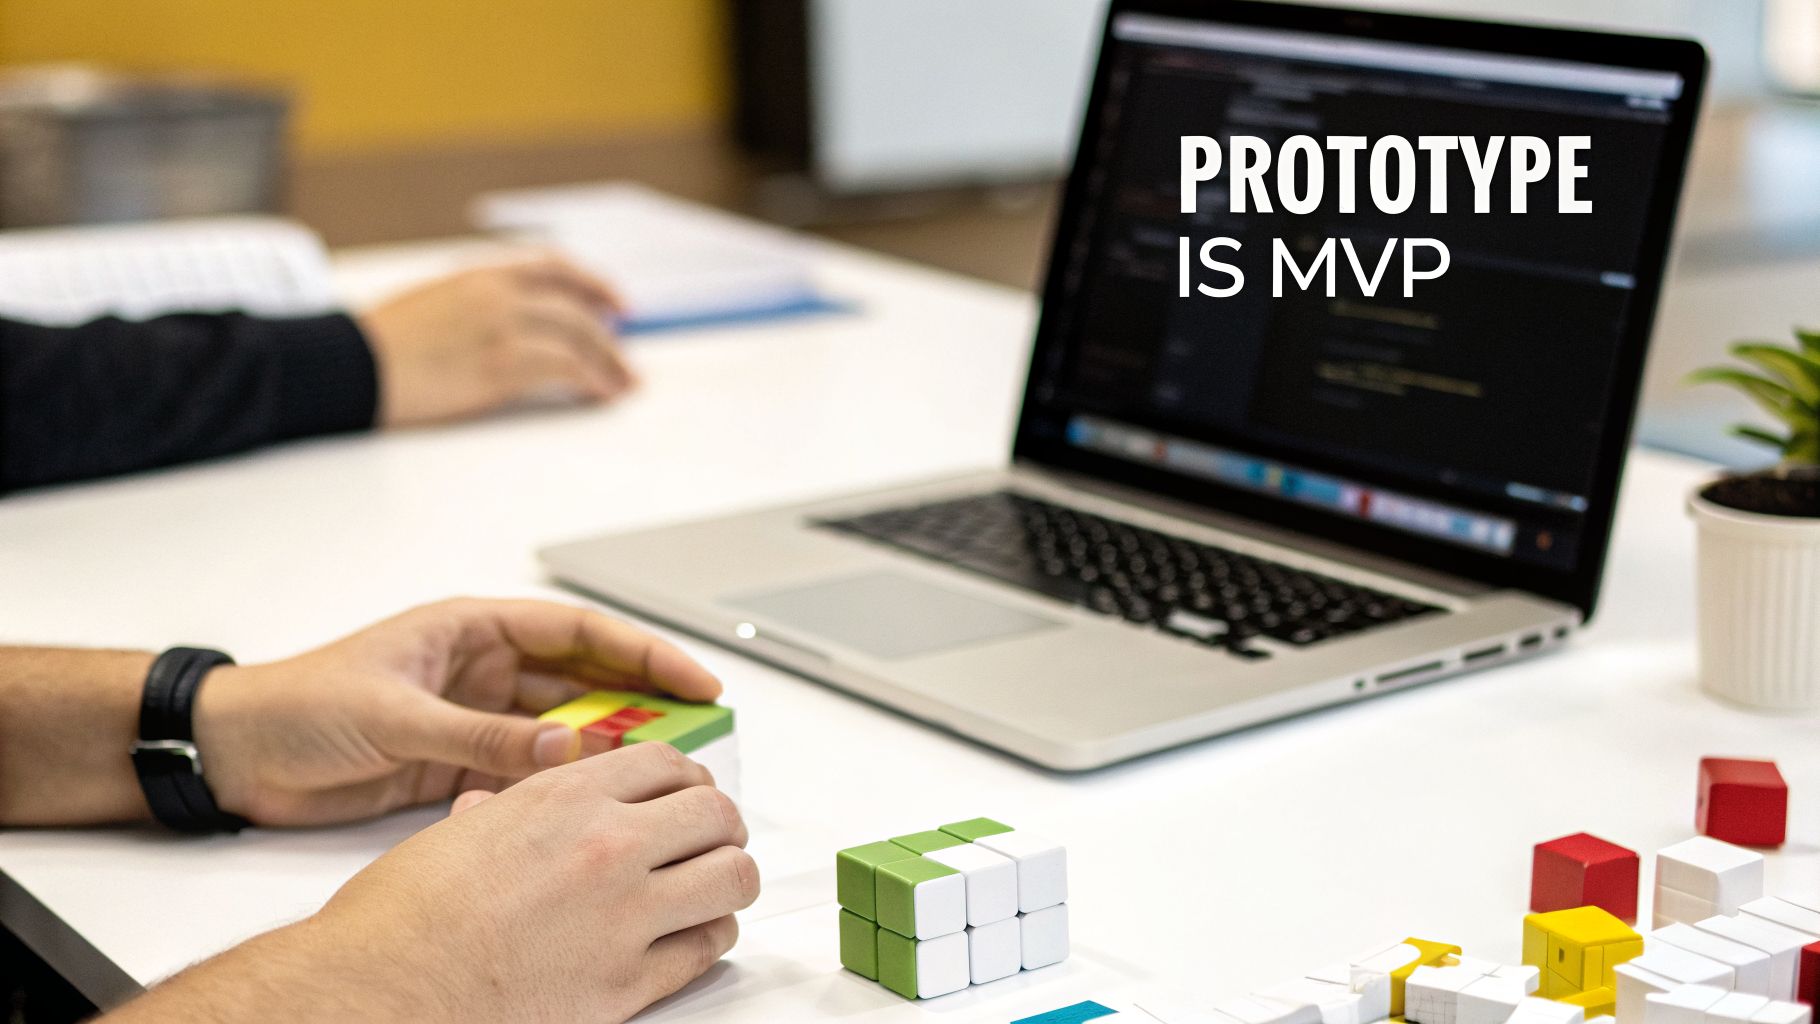
With powerful no-code platforms, the game has changed. Prototyping an app no longer means creating a disposable mockup; it means building the first, functional version of your actual product. This merges the prototyping and MVP stages into one fluid, efficient process, where the prototype is the MVP.
The Modern Mindset for Prototyping an App
Let's be clear: the line between a prototype and a Minimum Viable Product (MVP) has vanished, especially with a tool like Bubble. For a non-technical founder, this is a massive advantage. It means the moment you start prototyping, you're genuinely building the foundation of your business.
Instead of spending weeks in a separate design tool creating clickable images, you're building real features, defining actual user workflows, and structuring the database that will power your application. This work isn't a simulation; it's a tangible asset that grows with your business.
Why This New Approach Is So Powerful
This isn't just a small tweak in the workflow; it’s a seismic shift in how software gets made. The rapid prototyping market is booming for a reason—it was valued at USD 4.01 billion in 2025 and is on track to hit a staggering USD 24.71 billion by 2035.
Why the explosive growth? Because this method can slash development time by 50-70%, helping founders get to market and validate ideas faster than ever before. You can read more about the drivers behind this market growth to see where things are headed.
Here's what that actually means for you:
Real Feedback, Fast: You can get a working product into users' hands in days, not months. This gives you feedback on actual functionality, not just their opinion on a static picture.
Massive Cost Savings: The traditional design-to-development handoff is expensive and notoriously inefficient. By building directly, you skip that entire step. You build it once.
True Validation: When a user clicks a button, they are triggering a real workflow and interacting with a live database. The insights you gain from this are infinitely more valuable than watching someone click through a series of JPEGs. You’re testing the core logic of your app from day one.
A Quick Comparison
To see how much things have changed, here’s a look at the old way versus the new no-code approach.
Aspect | Traditional Prototyping | No-Code Prototyping (Bubble) | Key Takeaway for Founders |
|---|---|---|---|
Output | Static, non-functional mockups (e.g., Figma, Adobe XD) | A functional, live web application with a real database. | You get a usable product from day one, not just pictures of one. |
Process | Design first, code later (separate, sequential phases). | Design, logic, and database are built simultaneously. | Eliminates the costly and error-prone "handoff" to developers. |
Feedback Loop | Feedback on visual design and theoretical user flows. | Feedback on actual features, speed, and usability. | You're testing the business logic, not just the interface. |
Transition to MVP | The prototype is thrown away; the app is coded from scratch. | The prototype is the MVP. It's iterated on and scaled. | Your initial time and effort directly build your final product. |
Cost & Time | High cost and long timelines due to separate teams (design, dev). | Drastically lower cost and faster time-to-market. | Get to market and start learning from real users for a fraction of the cost. |
The takeaway is simple: the no-code path turns your prototype from a temporary sketch into the first, living version of your business.
Building with Lego Bricks, Not Sculpting Marble
Think of traditional coding like sculpting from a block of marble. It demands specialized skill, it's painstakingly slow, and if you make a mistake, you can't just glue a piece of marble back on. Changes are incredibly difficult and expensive.
No-code prototyping, on the other hand, is like building with Lego bricks. You can snap core components together, see how they work, and if you don’t like it, you just pull them apart and try a new configuration. There's no waste.
This "Lego" approach gives you the agility to build, test, and iterate almost in real-time. For example, you could build a user signup flow, show it to a potential customer, and get feedback that it has too many fields. With a tool like Bubble, you can remove two fields from the form and the database in less than five minutes. That kind of speed was pure fantasy just a few years ago.
Ultimately, this modern mindset reframes app prototyping. It's no longer a visual warm-up act; it's the first, tangible step of your real-world build. It's not a test run—it's the start of your actual business.
Defining Your App’s Core Purpose Before You Build
Jumping straight into a powerful no-code tool like Bubble without a plan is like setting sail without a map or a destination. It's so tempting to start building right away, I know. But the most successful projects I've seen always begin with a moment of intense clarity before a single element is dragged onto the canvas. This is all about defining your app's core reason for existing.
This isn’t the time to list every feature you've ever dreamed up. Far from it. This is an exercise in ruthless prioritization. Your goal here is to identify the single, most critical problem you are solving for a very specific type of person. Getting this right is what prevents scope creep, keeps your build focused, and ensures your prototype is designed to answer your most important business questions from day one.
The Job Story Framework
To really nail down your app’s value, I always recommend a simple but incredibly effective framework called the "Job Story." It completely shifts your focus from making assumptions about who your users are to understanding the situation and motivation that drives them to look for a solution in the first place.
The format is beautifully simple:
When [a specific situation occurs], I want to [perform a core action or achieve a goal], so I can [achieve a desired outcome].
This isn't just a fill-in-the-blanks exercise; it forces you to articulate the why behind your app. It connects a real-world trigger to a user's motivation and their ultimate payoff.
Let's say you're building a niche freelance marketplace. A weak user story might be something like, "As a freelance writer, I want a profile so I can get clients." It's vague and doesn't really tell us anything useful.
Now, let's reframe that as a Job Story:
"When I’ve just finished a big project and my pipeline is empty, I want to quickly find and apply for high-quality, short-term gigs, so I can avoid an income gap without committing to a long-term contract."
See the difference? This single sentence tells you everything you need to know. The user is anxious about cash flow (the situation), needs to find work fast (the motivation), and values flexibility and financial stability (the outcome). Your prototype must be laser-focused on solving this specific job.
From Story to Essential User Flows
Once you've locked in your Job Story, you can map it to the absolutely essential user flows. A user flow is just the path someone takes through your app to get what they came for. For an early-stage prototype, you aren’t building every possible path. You're building the one or two critical journeys that directly make that Job Story a reality.
For our freelance marketplace example, the essential flows are pretty clear:
User Sign-Up and Profile Creation: The user has to be able to quickly create a profile that makes them look good to potential clients.
Job Discovery and Application: The user needs to easily search for relevant gigs and apply with zero friction.
That’s it. Seriously. Your prototype doesn't need a messaging system, a payment processor, or a complex review system yet. Those are all secondary. The primary mission is to prove you can solve the core job: connecting a great freelancer with a potential gig.
Defining Success for Your Prototype
Finally, you have to decide what "success" actually looks for this prototype. It’s not about getting 10,000 sign-ups; it's about answering a specific, crucial question. Before you build anything, write down what you need to prove. This success metric will guide your entire process.
If you want to go deeper on this, check out our guide on what a Minimum Viable Product really is and how it’s different from just a raw idea.
So, what is your prototype's main objective?
Validating Demand? Maybe your goal is to see if users are even willing to sign up and create a profile to solve this problem. Success could be getting 25 high-quality profiles created.
Testing a Workflow? Perhaps you need to know if users can navigate the job application flow without getting stuck. Success here might be an 80% completion rate during user tests.
Securing Feedback? Are you trying to get investors or early adopters to understand the core value? Success is getting consistently positive verbal feedback on your app's purpose.
This strategic groundwork—defining the job, mapping the core flow, and setting clear metrics—is what turns your prototype from a simple collection of screens into a powerful business tool designed to give you clear, actionable answers.
From Napkin Sketch to a Bubble Wireframe
Alright, you’ve nailed down the core problem your app will solve. Now comes the fun part: giving that idea a face. This is where your abstract concepts start looking like actual screens a user can interact with. And no, you don't need to be a design wizard or own expensive software to get started. Honestly, the best tool is often the simplest one you have: a pen and paper.
The point isn't to create a pixel-perfect masterpiece. The goal here is low-fidelity wireframing—basically, quick and dirty sketches of your app's main screens and how they link together. Think of it like an architect's first blueprint. You're just mapping out the rooms and hallways, not picking out the furniture and paint colors.
Start with Rough, Low-Fidelity Sketches
I'm a big fan of digital whiteboarding tools like Whimsical for this initial phase. Why? Because they're incredibly fast and forgiving. You can throw together simple boxes for screens, add some placeholder text, slap on a few button shapes, and draw arrows to map out how a user gets from point A to point B.
This is a zero-pressure, high-speed way to explore different layouts and user journeys. You're not getting bogged down in the tiny details like fonts, colors, or brand guidelines. Instead, you're answering the big, important questions first:
What are the absolute must-have elements on the main dashboard?
How many clicks does it take to get from the home screen to creating a new project?
What's the bare minimum we need on the sign-up form?
This planning stage is all about connecting the user's problem to the solution you're building, and then figuring out how you'll even know if it's working.
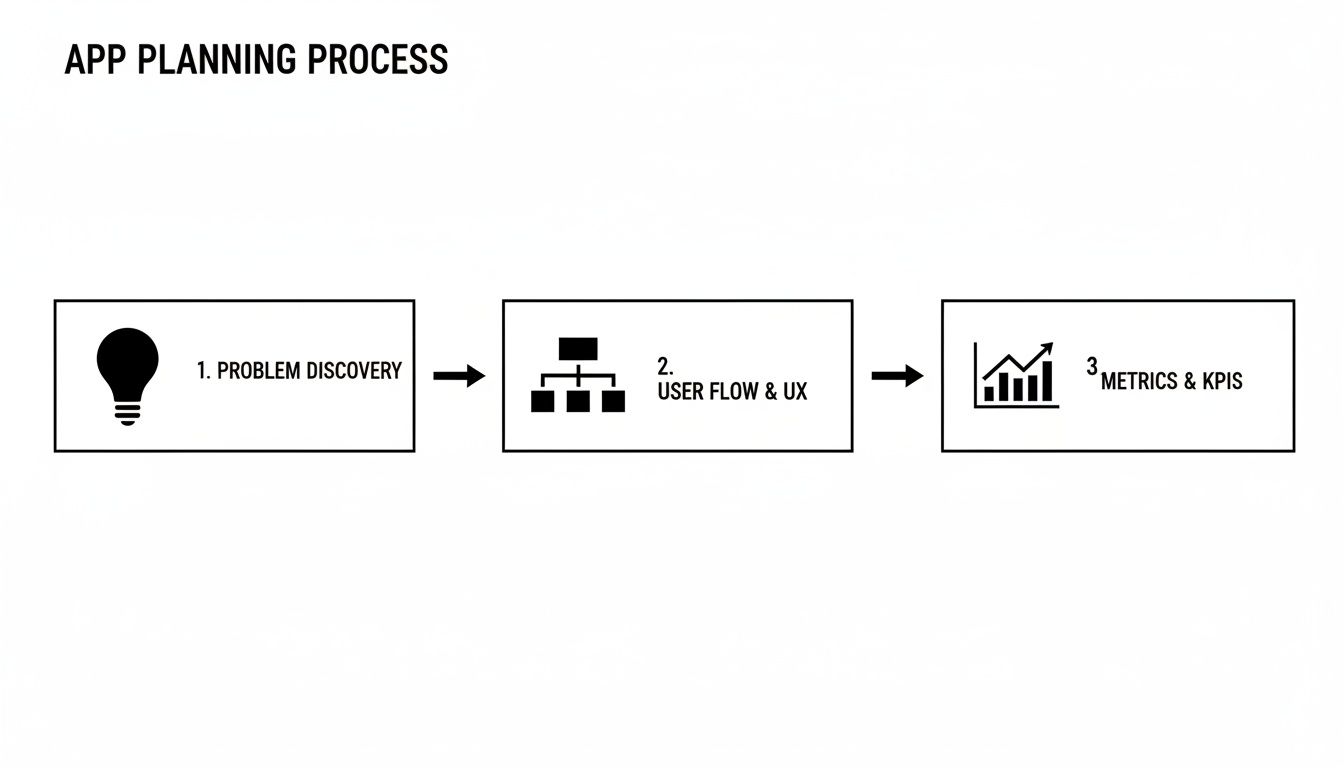
As you can see, prototyping isn't just drawing. It's a strategic process that ties everything back to the core problem and the metrics that will prove you've solved it.
Jump Straight from Sketch to Bubble
Once you have those rough sketches, the traditional route would be to meticulously recreate them in a design tool like Figma. But if you're building on a no-code platform like Bubble, you can—and should—skip that step entirely. This is one of the biggest wins of going no-code: you build your high-fidelity wireframes directly in the tool that will eventually be your live app.
This simple shift in workflow can save you weeks of redundant effort. Instead of creating a pretty "picture" of your app that gets tossed out later, every single element you build in Bubble is a functional piece of your final product.
The market is catching on to this efficiency. The global Rapid Prototyping Tool market was valued at an impressive USD 14.25 billion in 2025 and is projected to hit USD 36.01 billion by 2034. It's no surprise that cloud-based solutions now hold 68% of the market share, letting teams build and iterate together in real-time. You can dig deeper into how these tools are accelerating development to see why this is quickly becoming the new standard.
Building Your Wireframes in Bubble
As you start translating your paper sketches into Bubble, your mindset needs to shift slightly. You're moving from pure brainstorming to thinking about structure and usability. You're not just drawing boxes anymore; you're creating real, responsive layouts that will need to work on different screen sizes.
This is a crucial mindset shift: think in reusable components. Instead of building the same header or footer on every single page, you create it once as a "Reusable Element." Then you can just drop it wherever it’s needed. This will save you countless hours down the road.
Here are a few practical tips to get you started on the right foot:
Embrace the Responsive Engine: Before you do anything else, get comfortable with Bubble's layout system. Use containers (groups) with row, column, and align-to-parent layouts to build flexible designs from day one.
Identify Your Reusables: Look at your sketches. What components show up everywhere? Headers, footers, navigation sidebars, and sign-up popups are common ones. Build each of these as a Reusable Element for total consistency.
Structure Your Pages: Create a new page in your Bubble editor for each unique screen you sketched out. For our project management tool, you'd probably have pages like
dashboard,project_view, andsettings.Function Over Form (For Now): Don't get sidetracked by aesthetics yet. Use Bubble’s standard text elements, buttons, and input forms. The goal is to build a structurally sound, navigable wireframe that perfectly matches your user flow. You can make it pretty later.
By building your wireframes directly in Bubble, you're doing more than just prototyping. You're laying the actual, functional foundation of your MVP. Every element, every page, and every layout choice is a direct investment in the product you’ll eventually launch.
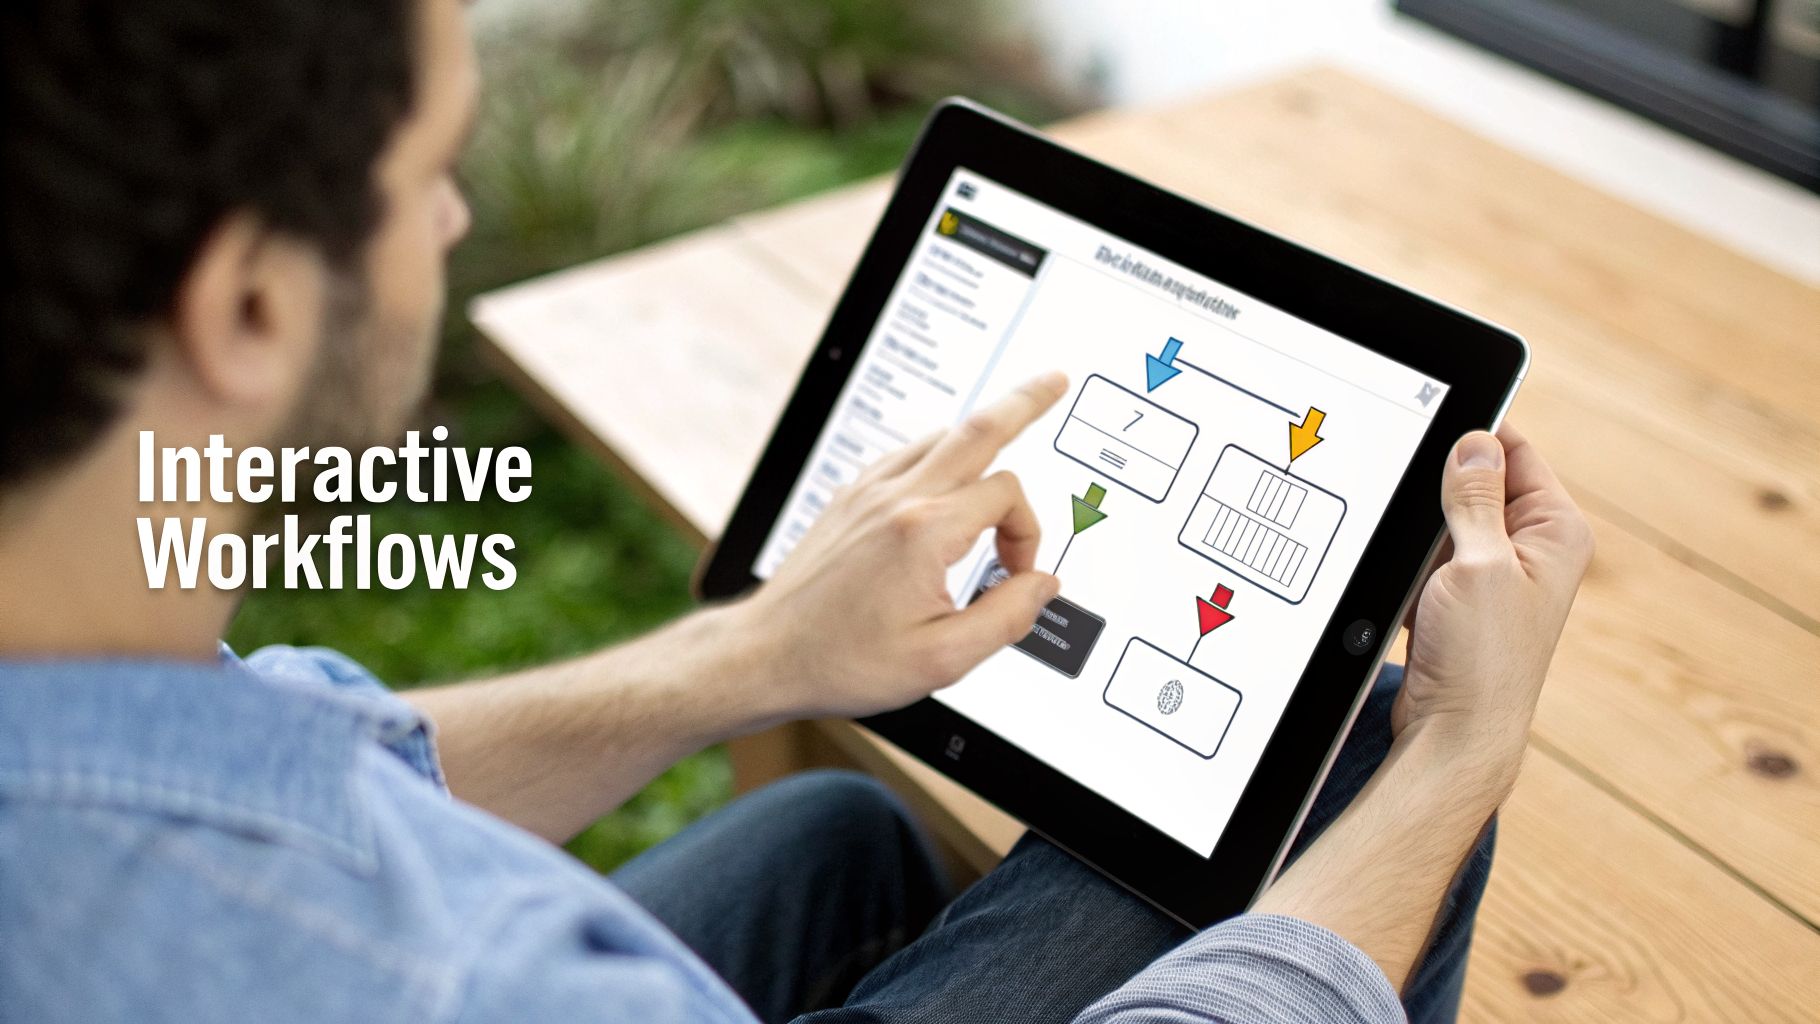
Building Interactive Workflows in Your No-Code Prototype
So, you have your wireframes. They look great, but right now, they're just pretty pictures. It's time to make your app feel real by adding the logic that makes things happen. In the world of Bubble, we call these workflows—they're the brains behind the operation, telling your app what to do when a user clicks a button, fills out a form, or does pretty much anything else.
This is the magic step where your static blueprint transforms into something people can actually use and react to. You're not building the entire engine yet, just enough to create the illusion of a fully working app. The goal is to simulate the core user journey so you can test your biggest assumptions.
Breathing Life Into Your Clicks
Let's start with the absolute basics: getting from one screen to another. When someone clicks your "Sign Up" button, they should land on the sign-up page. It’s that simple. In Bubble, you just select the button, tell it to "start/edit workflow," and pick the "Go to page..." action. Done.
But great interactivity is more than just page-hopping. Think about modern apps—they often react right on the screen. Maybe you have a settings page with an "Advanced Options" toggle. Instead of sending the user to a whole new page, a workflow can just reveal a hidden section right there. This feels slick, and it's a simple way to make your prototype feel much more professional.
How to Fake a Database (The Smart Way)
One of the biggest questions I get from founders at this stage is, "How do I show user profiles or a list of products without any real data?" You don't need a complex database yet. You just need to get clever.
Here are a couple of my go-to tricks in Bubble:
Option Sets are your friend: Think of an Option Set as a simple, fixed list you build right into the editor. You could create one called "SampleProducts" and add a few items with attributes like Name, Price, and an Image. Then, you just tell your app to display that list. Easy.
Create temporary data: You can also just create a "Fake_User" data type and manually pop a few examples into the "App Data" tab. This gives you just enough content to make your interface look populated without any of the backend headaches.
Pro Tip: Don't waste time building a real login system for your prototype. Just add a workflow to the "Log In" button that navigates the user straight to the dashboard. You're testing the dashboard experience, not the security of your login. Fake it 'til you make it.
Adding a Touch of Realism with APIs
Want to take it up a notch? You can use Bubble's API Connector to pull in placeholder content from other services. This is a game-changer for making a prototype feel dynamic and polished without having to create all the content yourself.
You could, for example, connect to an API that provides random user avatars or "Lorem Ipsum" text. It adds a layer of visual variety that makes your app look less like a mockup and more like a live product. It’s a small detail that makes a huge difference, especially when you're showing it to potential investors.
This trend of simulating real functionality is everywhere. The market for electronic prototyping, which is crucial for apps that need to interact with hardware, was valued at USD 3.7 billion in 2024 and is projected to hit USD 9.62 billion by 2033. This mirrors what we're doing in no-code—creating realistic user flows without needing the full backend infrastructure.
To get the flow of your app just right, it’s worth understanding the fundamentals of how to structure Workflows. Getting this right early on will save you a ton of cleanup work later.
Essential Bubble Workflows for Your Prototype
To give you a head start, here are some of the most common and impactful workflows you should build into your prototype. Focusing on these will give you the most bang for your buck in user testing.
Workflow Action | Bubble Feature to Use | What It Tests | Pro Tip |
|---|---|---|---|
User Sign-Up |
| The onboarding flow and if users can easily create an account. | Don't worry about email confirmation yet. Just capture their info and navigate them to the next step. |
User Login/Logout |
| The experience of a returning user and ease of access. | For the prototype, you can even fake the login by just navigating to the dashboard on button click. |
Creating Data |
| The core value proposition—can users add the primary item (e.g., a post, a project, a task)? | Keep the input form simple. Only include the absolute must-have fields for the test. |
Displaying Data |
| Whether users find the way you present information intuitive and useful. | Use Option Sets or temporary data entries as the source to keep things simple and fast. |
Navigation |
| The overall user flow and discoverability of key features. | Ensure every major section of your app is reachable in just a few clicks from the main dashboard. |
Showing/Hiding Elements |
| How users interact with on-page options and settings. | Use this for things like dropdown menus, modals, and "show more" toggles to keep the UI clean. |
Building these basic workflows is what brings your story to life. Every click, transition, and piece of sample data works together to show, not just tell, how your app is going to solve a real problem.
If you find yourself getting stuck, remember that some hands-on guidance can save you weeks of frustration. A little Bubble.io coaching can go a long way in getting these core interactions right and moving you confidently toward your MVP.
Gathering User Feedback That Actually Matters
You’ve done the hard work and now have a clickable, interactive prototype. So, what’s next? It's time to put it in front of real people. This is the moment of truth, the whole reason we prototype in the first place—to see if the idea you've been obsessing over actually solves a real problem for real users.
A prototype is only as good as the feedback it pulls in, and getting quality feedback is an art. It's not about asking people if they "like" your app. It's about sitting back, staying quiet, and watching what they do. That's where the truth is.
The good news? You don't need a fancy lab or a PhD in user research to nail this. All you need is a solid plan, a handful of willing participants, and the discipline to listen more than you talk.
Finding the Right Testers
First things first, you need testers. And I can't stress this enough: do not ask your friends, family, or your co-founder. They love you. And because they love you, they will lie. They’ll tell you it’s “amazing” and “so cool” because they don’t want to crush your spirit. That kind of feedback isn't just worthless; it’s actively harmful, giving you a false sense of security.
You have to find people who genuinely represent your target user and have zero personal stake in your success. Here are a few places I've had luck:
Social Media Groups: Find Facebook groups or Slack communities where your ideal users are already hanging out. Building a tool for freelance writers? Go find a group for freelance writers. Simple.
Niche Forums: Reddit is an absolute goldmine. There are subreddits for pretty much every interest on the planet, full of engaged, brutally honest people.
Local Meetups: Check for local industry meetups on sites like Meetup.com. There's an extra layer of insight you can get from watching someone interact with your prototype in person.
When you reach out, just be straight with them. Explain that you're an entrepreneur building a new tool to solve [a specific problem] and you're looking for feedback on an early version. A lot of people are happy to help for free, but offering a small gift card for their time shows you value their input. Aim for five to seven testers. That’s usually the magic number to start seeing the most critical patterns and usability roadblocks.
Crafting a Simple Testing Script
Whatever you do, don't just hand over the prototype and ask, "So, what do you think?" That’s way too vague. You need to give them specific tasks to complete that map directly to the core user journeys you designed. This gives you a clear lens to see exactly where they get stuck.
Keep your script simple and task-oriented. This isn't an interview; it's an observation session.
Your real goal is to see what people do, not just what they say. The best way to do this is to encourage them to "think aloud" as they navigate, voicing their thoughts, confusions, and what they expect to happen next.
Instead of a leading question like, "Was the signup process easy?" frame it as a task: "Show me how you would create a new account and set up your profile."
Keep a few powerful, open-ended questions in your back pocket to prompt them if they go quiet:
"What did you expect to happen when you clicked that?"
"Was there anything on this screen that felt confusing?"
"If you were trying to find [a specific feature], where would you look first?"
Turning Feedback into Action
After a few of these sessions, you'll be swimming in notes, quotes, and observations. Your job is to find the patterns. Don't go redesigning a feature because one person didn't like it. But if three or more testers stumble in the exact same spot? That’s a fire you need to put out.
Organize all the feedback into clear, actionable buckets like "Usability Issues," "Feature Requests," and "Bugs." If you want to get really effective bug reports, giving testers a simple bug report template can make a world of difference. It helps them provide the exact details you need, turning vague complaints into fixable problems.
Finally, take those patterns and turn them into a prioritized to-do list. The goal of your next iteration isn't to cram in more features. It's to sand down the rough edges and fix the friction points you just uncovered. This loop—build, test, learn, and refine—is the very heart of building a product people will actually love to use.
So, What's Next? Taking Your Prototype Live
You’ve done it. You’ve navigated the entire prototyping journey, built an interactive model of your app, and—most importantly—put it in front of real people. The feedback is in, and it confirms you're onto something big.
In a typical, old-school development cycle, this is the point where you’d hand off your beautiful designs to a team of engineers and then wait... and wait. For months. They’d have to build everything from the ground up.
But that’s not your story. Because you built your prototype on a powerful no-code platform like Bubble, the work you’ve already put in isn’t just a throwaway mockup. It's the literal foundation of your final product. The path from prototype to a launched Minimum Viable Product (MVP) isn't about starting over; it's about building on what you’ve already proven works.
From Prototype to MVP: Flipping the 'On' Switch
The line between your validated prototype and a live, breathing app is really just about swapping out the simulated parts for real, functioning systems. Your UI and core user flows are already there, which is a massive head start. Now, you can laser-focus on building out the backend functionality that transforms your proof-of-concept into a real business.
Here’s what that transition usually looks like:
Building a Real Database: It's time to move beyond placeholder text and temporary data. You'll set up your permanent database structure with the right data types, fields, and privacy rules to handle real user information securely.
Setting Up Real User Logins: That "fake login" button that got you through user testing? It's time to replace it with a full-blown user authentication system. This means building out the sign-up and login workflows, password resets, and everything else needed to manage user accounts.
Plugging in a Payment Processor: If your app is going to make money (and I hope it is!), you'll integrate a payment gateway like Stripe. You'll build the logic to manage subscriptions, process one-time payments, and handle customer data right inside your app.
Connecting to the Outside World: Remember those third-party services you planned for? Now’s the time to use the API Connector to forge live connections. Whether you’re sending automated emails, pulling in map data, or using another service, this is where it all comes together.
The most powerful realization for a no-code founder is that prototyping isn't just a preliminary step—it's the first phase of construction. Every element and workflow you created during validation is a building block for your final product, dramatically shortening the path to launch.
This approach gives you incredible momentum and confidence. You aren't just guessing what people might want; you are methodically adding functionality to a core experience you know they already like.
If you want a bird's-eye view of this entire journey, our guide on how do I make an app lays out the whole process. It’s all about building smarter, not harder, and using that hard-won user feedback to create an app people are excited to use from day one.
Ready to turn your idea into a real, scalable product without writing a line of code? At Codeless Coach, we provide one-on-one Bubble tutoring to help you build and launch your app with confidence. Book a session today.


